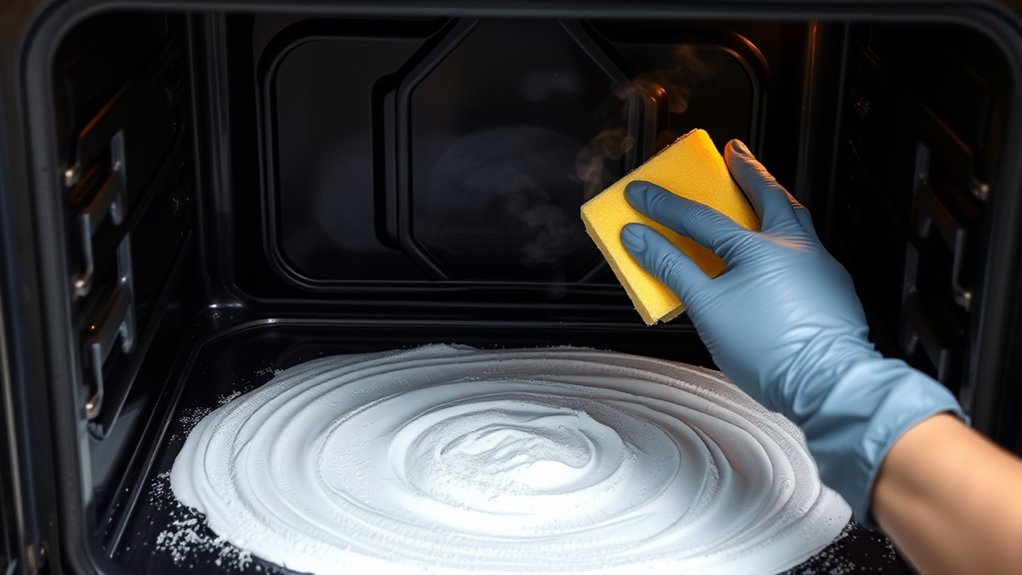
How to Clean Oven With Baking Soda
A clean oven can feel like a fresh start. Cleaning your oven with baking soda is an effective and natural way to tackle grime. You’ll unplug and cool it, pull out the racks, and wipe away crumbs before you mix a thick baking soda paste with just enough water to spread.
Apply the paste to greasy spots, let it sit overnight, then wipe and scrub away the softened grime. The stubborn marks, the glass door, and the lingering film all need a careful next step. This method helps restore your oven’s shine without harsh chemicals.
Key Takeaways
- Remove racks, crumbs, and loose items, then let the oven cool completely before cleaning.
- Mix about 1/2 cup baking soda with 2–3 tablespoons water to form a thick, spreadable paste.
- Coat dirty oven surfaces with the paste, avoiding heating elements and vents, and leave it on overnight.
- Wipe off dried paste with a damp cloth or sponge, rinsing often, and spot-treat stubborn stains if needed.
- Clean racks and the glass door separately, then rinse away residue and leave the oven door open to air out.
What You Need to Clean an Oven With Baking Soda
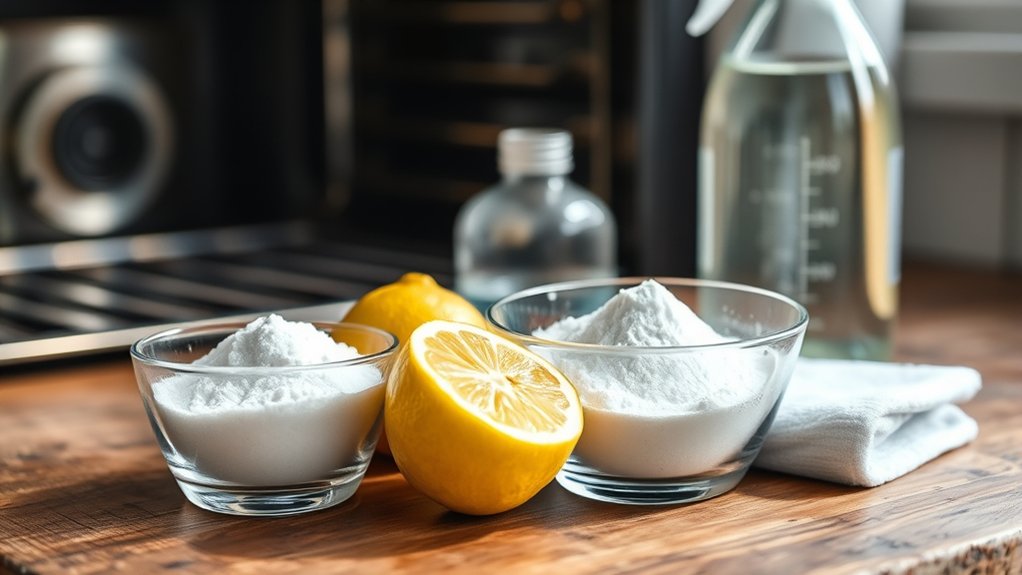
Before you start, gather a few simple supplies so the job goes smoothly: baking soda, water, a small bowl, a spoon or spatula for mixing, rubber gloves, a spray bottle or damp cloth, and a nonabrasive sponge or scrub brush. Put on gloves first, then measure baking soda into the bowl.
Add just enough water to make a spreadable paste; this cleaning chemistry helps lift grease without harsh fumes. Keep the spray bottle or damp cloth handy so you can moisten spots as needed.
Use the sponge or scrub brush for scrubbing, but choose a nonabrasive tool so you don’t scratch the surface. Follow basic safety tips: work in a cool oven, protect your hands, and keep the area well lit.
If you want, place a towel nearby to catch drips. Once you’ve lined up these tools, you’re ready to mix and apply the paste efficiently.
Clear Out the Oven Before You Start
Now that you’ve gathered your supplies, empty the oven so you can clean every surface without obstacles. Remove oven racks, thermometers, pizza stones, foil, and any other loose items.
Empty the oven first, removing racks, thermometers, stones, foil, and any loose items so every surface is easy to clean.
If you’ve used preheating tips before, let the oven cool completely first so you don’t trap heat or steam while you work. Open a window or switch on the fan for basic ventilation considerations, especially if crumbs or grease smell stale.
- Lift out the racks and set them aside in a sink or bathtub.
- Take out pans, liners, and removable accessories.
- Check corners, door edges, and the bottom for forgotten debris.
Wipe up loose crumbs with a dry cloth or handheld vacuum before you move on. A clear oven gives you better access, helps the baking soda cleaner reach every spot, and keeps you from missing buildup around the door seal, walls, and rack supports.
Mix a Baking Soda Paste That Sticks
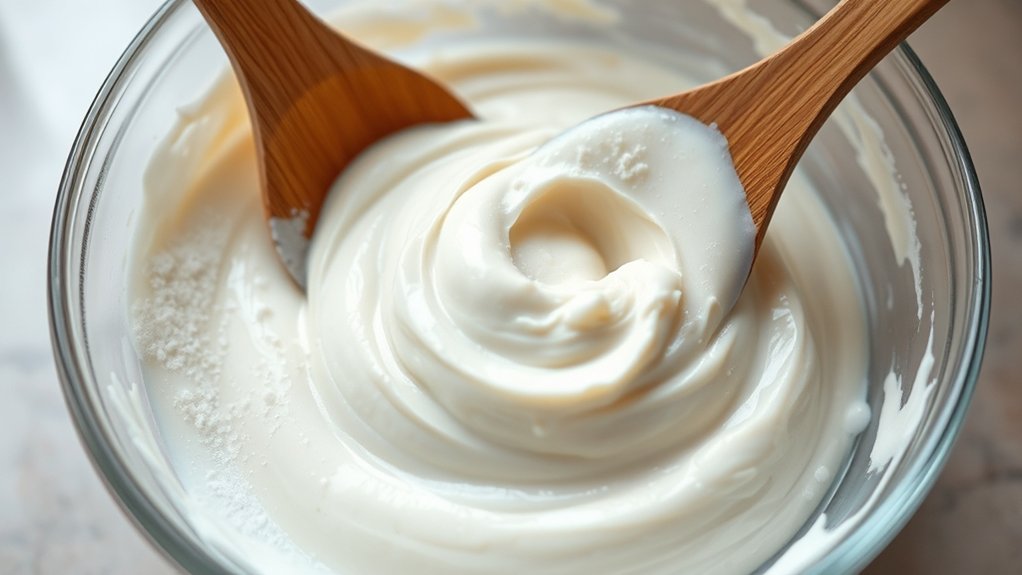
Mix baking soda with just enough water to make a thick, spreadable paste. Aim for a ratio that lets the mixture cling to the oven walls instead of running off.
Use your fingers or a sponge to coat the dirty surfaces evenly, focusing on the toughest spots.
Perfect Paste Ratio
For a paste that actually clings to oven grime, start with about 1/2 cup baking soda and just enough water to make it thick and spreadable, usually 2 to 3 tablespoons. Stir slowly so you can judge paste consistency before adding more liquid. Use ratio testing in small steps, because a little water goes a long way.
- Add 2 tablespoons water first.
- Mix until the paste looks smooth, not runny.
- If it still crumbles, add water 1 teaspoon at a time.
You want a mixture that stays on your sponge or hand without sliding off. If it feels too stiff, add a few drops of water; if it loosens too much, sprinkle in more baking soda. Once you hit the right ratio, you can spread it evenly without drips.
Thick, Spreadable Texture
Aim for a paste that’s thick enough to stay put but soft enough to spread easily with a sponge or your fingers. Start by stirring baking soda and a little water until it looks like frosting, not soup. If it drips, add more baking soda; if it crumbles, add a few drops of water.
You want a texture that clings to vertical spots without running, because that helps with oven maintenance and gives the cleaner time to work. This balance reflects baking soda science: enough moisture activates the paste, but too much weakens it.
Mix slowly, scrape the bowl sides, and check the consistency after each small adjustment. When the paste mounds on a spoon and holds its shape, you’ve got it right.
Cover Dirty Surfaces
Once your paste has that thick, spreadable texture, spread it over the dirty oven surfaces with your fingers, a sponge, or a soft cloth. Focus on greasy spots, burnt-on splatters, and the oven floor, but skip heating elements and vents. For cleaning safety, wear gloves and keep the oven cool before you start.
- Apply a thin, even layer so the paste sticks.
- Press it into stuck-on grime without scrubbing hard.
- Leave the coated areas covered so the paste can work on stains and odor elimination.
If a patch looks dry, add a little more paste. You want full coverage, not clumps. When every dirty area is coated, let the baking soda sit and do the heavy lifting.
Apply the Baking Soda Paste to Oven Surfaces
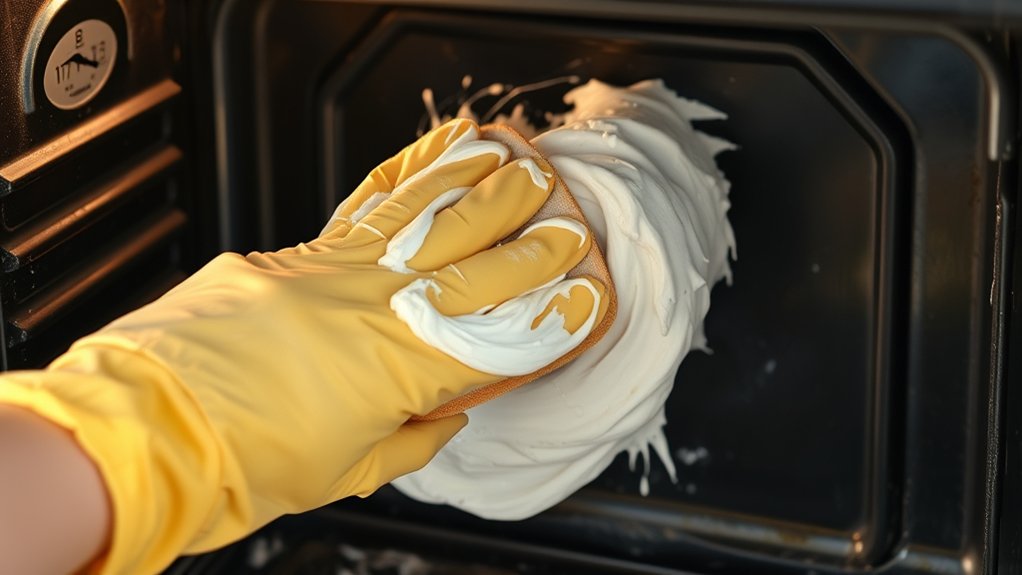
Use a sponge or cloth to coat the oven interior with the baking soda paste, spreading it in an even layer. Focus on stubborn spots like baked-on grease and dark stains, adding a little extra paste where needed.
Once you’ve covered the surfaces, let the paste sit so it can loosen the grime.
Coat Oven Interior
Now spread the baking soda paste across the oven’s interior, covering the bottom, sides, door, and any greasy spots you can reach. Keep the layer thin and even so it clings without dripping. For oven safety, make sure the appliance is off, cool, and unplugged before you start.
Use a soft sponge or cloth, and work in small sections so you don’t miss corners.
- Dab paste onto flat surfaces first.
- Smooth it over seams, edges, and the door.
- Check that every coated area looks lightly covered.
This step supports eco friendly options because you’re cleaning without harsh fumes or strong chemicals. If the paste feels too dry, add a little water to help it spread.
When you finish, the oven should look evenly coated and ready for the next step.
Focus On Stubborn Spots
Turn your attention to the spots that need the most help, like baked-on grease, splatters, and dark stains. Use your baking soda paste to target each problem area directly.
Spread a thicker layer over tough marks, then smooth it with a damp cloth or sponge so it clings well. Press gently on the stain, but don’t scrub hard yet; you want full coverage for better stain removal.
Work around the oven door, racks, corners, and any discolored patches on the walls. If you see areas near heating elements, keep the paste on nearby surfaces only and avoid contact with delicate parts.
Baking soda’s mild abrasiveness and heat resistance make it a practical choice for this step, so you can focus on dirty spots without damaging the finish.
Let Paste Sit
Once you’ve spread the baking soda paste, let it sit so it can loosen the grime. You don’t need to scrub yet; the baking soda needs time to break down baked-on residue. Leave it on for at least 12 hours, or overnight if you can, and keep the oven door closed.
- Let the paste stay wet on stubborn areas.
- Check that the coating covers all dirty spots.
- Wait before wiping, so cleanup’s easier.
During this pause, avoid turning on the oven or disturbing the paste. If you’re planning two word discussion ideas for your cleaning routine, think “wait time” and “gentle lift.” When the paste has rested long enough, you’ll remove loosened mess with much less effort.
Let the Paste Sit Overnight
After you spread the baking soda paste over the oven’s dirty surfaces, let it sit overnight so it can break down baked-on grease and grime. Close the oven door to keep the paste in place, and leave the oven off while the mixture works.
Spread the baking soda paste, close the oven, and let it sit overnight to loosen baked-on grime.
This waiting period gives the baking soda time to loosen stubborn buildup without extra scrubbing. For best results, follow a few simple tips: make sure your surface prep was thorough, with racks removed and loose crumbs cleared away first.
If any areas look especially thick, you can apply a little extra paste before you stop for the night. Don’t rush this step, because the longer rest helps the paste soften residue and makes the next cleaning stage easier.
In the morning, you’ll have a much cleaner surface and less effort ahead. Just let the paste do its job quietly while you sleep, and resist the urge to touch it.
Wipe Away the Baking Soda Residue
Now that the paste has had time to work, use a damp cloth or sponge to wipe away the dried baking soda from the oven’s surfaces. Rinse and wring out your cloth often so you don’t spread residue around. Work from the top down, and keep your strokes gentle for easier stain prevention.
If you see white streaks, wipe again with clean water until the surface looks smooth.
- Fold the cloth into a flat pad for better contact.
- Refresh the water whenever it turns cloudy.
- Dry the oven with a clean towel to reduce lingering moisture and support odor control.
Check the door, racks, and corners for leftover paste, then give those spots one last pass. When you finish, your oven should look cleaner and feel fresh without extra scrubbing.
Remove Stubborn Oven Stains Without Damage
If a few stubborn stains are still clinging to the oven, spot-treat them with a thick baking soda paste and let it sit a little longer before wiping again. Use a damp sponge, press gently, and work in small circles so you don’t scratch the surface.
For tough spots, keep the paste on for 15 to 20 minutes, then lift it with a plastic scraper held flat. This helps with damage prevention while loosening grime.
| Stain Type | What to Do |
|---|---|
| Dried grease | Reapply paste and wait 10 minutes |
| Burned-on food | Soften with warm, damp cloth first |
| Dark marks | Scrub lightly with nonabrasive pad |
Check each area after every pass. If the stain remains, repeat the process instead of using harsh cleaners.
Finish by wiping with a clean, damp cloth and drying the spot. That slow, careful method clears stubborn stains without harming the oven finish.
Clean Oven Racks and the Glass Door
Next, you’ll clean the oven racks by soaking them in warm water with a little baking soda, then scrubbing away the loosened grime.
For the glass door, spread a baking soda paste on the dirty spots and let it sit briefly before wiping it clean with a damp cloth. Finish by rinsing both surfaces well and drying them so they look clear and streak-free.
Cleaning Oven Racks
Before you tackle the oven’s interior, remove the racks and soak them in hot, soapy water to loosen grease and baked-on grime. While they soak, mix baking soda with a little water until you get a spreadable paste.
After 20 minutes, scrub the racks with a nonabrasive sponge and focus on stubborn spots. If needed, sprinkle on more paste for extra cleaning power.
- Lift out each rack carefully.
- Soak, scrub, then rinse thoroughly.
- Dry completely before reinstalling.
For better rack cleaning, use baking soda on any remaining residue, then wipe away loosened debris with a damp cloth. This simple routine helps you restore shine without harsh chemicals and keeps the racks ready for your next bake.
Glass Door Care
Now turn to the glass door by wiping away loose crumbs and grease with a damp microfiber cloth. Sprinkle a thin layer of baking soda over any stuck-on spots, then mist the area lightly with water. Let the paste sit for 15 minutes so it can loosen grime without scratching the glass door.
Use a nonabrasive sponge to scrub in small circles, focusing on baked-on splatter near the edges. Wipe clean with a fresh damp cloth, then dry the surface with a lint-free towel for a streak-free finish.
If your oven racks were removed earlier, check the door seal and hinge area for drips, and clean them too. Finish by opening the door and inspecting the glass door for residue before you close the oven.
Remove Odors and Leftover Film
To finish the job, wipe away any lingering baking soda film with a clean damp cloth, rinsing and wringing it out as needed so you don’t smear residue back onto the oven surfaces. Work from the top down, and keep your cloth only slightly wet for better film removal.
If you spot stubborn streaks, make a fresh pass with a little warm water, then buff dry with a microfiber cloth. For odors neutralization, leave the oven door open for a short time so any faint baking soda scent can fade.
- Wipe all interior surfaces.
- Rinse the cloth often.
- Dry the oven thoroughly.
Check corners, racks, and seams where paste can hide. A careful final wipe keeps the oven looking clean and helps remove the last traces of odor without adding another heavy cleaning step.
Keep Your Oven Cleaner for Longer
Once the oven is clean and dry, a few simple habits can help you keep it that way longer. Make oven maintenance part of your routine: wipe spills as soon as the oven cools, so they don’t bake on.
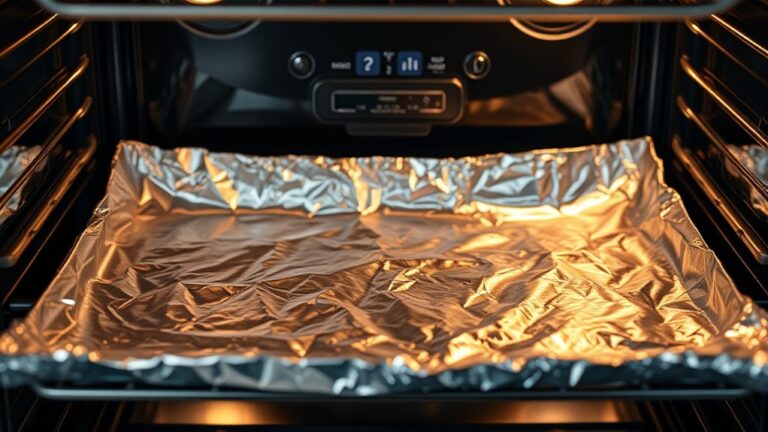
Line the lower rack with a reusable mat or foil only if your model allows it, and keep food on a sheet pan to catch drips. If something bubbles over, stop and clean it right away with a damp cloth and mild soap.
Use baking dishes with enough room to prevent splatter, and avoid overcrowding shelves. For baking science, remember that high heat makes grease harder to remove, so check food early and lower the temperature if your recipe allows it.
Run a quick weekly wipe of the door, racks, and interior edges. Small steps like these reduce buildup, cut odors, and make your next deep clean much easier.
Frequently Asked Questions
Can Baking Soda Clean a Self-Cleaning Oven?
No, you shouldn’t use baking soda on a self-cleaning oven. Check oven safety first, then use approved cleaning methods.
Let the oven’s self-clean cycle work, and wipe residue only after it cools completely.
Is Vinegar Necessary When Cleaning With Baking Soda?
No, you don’t need vinegar; baking soda کیا lifts grime on its own. Use water to make a paste, spread it, wait, scrub, then wipe clean.
Add vinegar only if you want extra fizz.
How Often Should I Deep Clean My Oven?
You should deep clean your oven every 3 to 6 months, and sooner if spills build up.
Start with regular wipe-downs after use; that keeps oven cleaning manageable and prevents tougher messes.
Can Baking Soda Damage Oven Heating Elements?
Usually, baking soda won’t damage your heating elements if you keep it off them. Check your oven’s compatibility, avoid self cleaning cycles with residue, and gently wipe away paste before you turn the oven on.
Does Baking Soda Work on Burnt-On Grease?
Yes, it can loosen burnt-on grease. You’ll make a paste, spread it on, wait, then scrub gently.
Don’t soak heating elements, or you risk oven damage. Wipe clean and repeat if needed.
Conclusion
Now you know how to clean your oven with baking soda, from clearing out debris to wiping away the last film. For a smarter kitchen habit, add this detail: ovens that are cleaned regularly can use less energy because built-up grime traps heat and forces longer cook times.
Keep the paste simple, let it work overnight, and finish with a thorough rinse. If you stay consistent, you’ll spend less time scrubbing and keep your oven fresh longer.
By making cleaning your oven with baking soda a regular routine, you ensure a more efficient, cleaner cooking environment every time.