How Does a Self Cleaning Oven Work
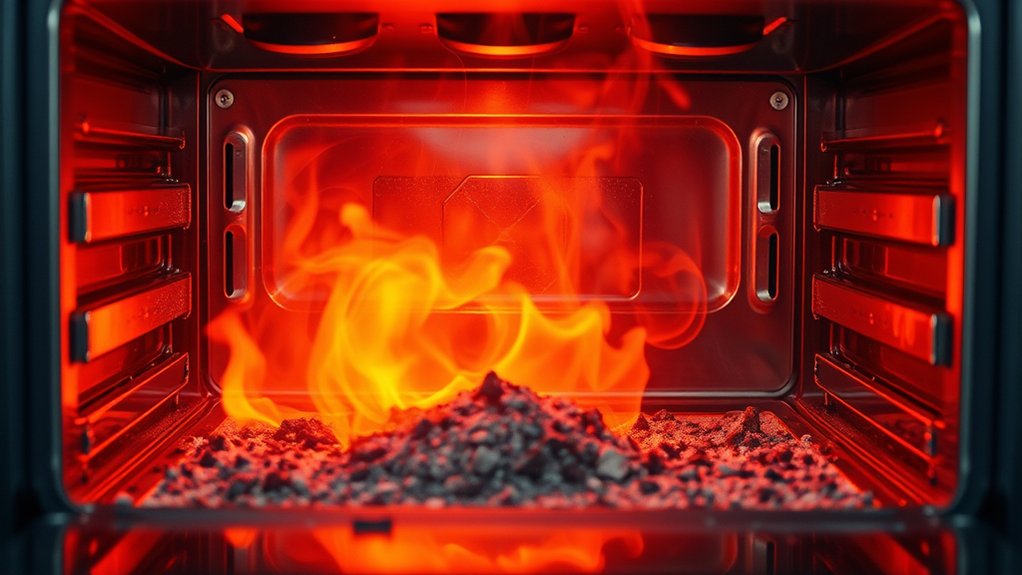
When you start a self-cleaning oven cycle, your oven either drives heat to extreme levels or uses steam and moderate heat to loosen grime. The self-cleaning oven door locks automatically, and the insulation traps the heat inside.
As the temperature rises, baked-on residue begins to break down into ash or soft debris.
What you remove before the cycle and what you check after it ends can make a big difference.
The next step explains why these precautions are important for keeping your oven clean and functioning well.
Key Takeaways
- A self-cleaning oven uses very high heat or steam to loosen or burn off food residue.
- In high-heat cycles, soil is carbonized into ash that can be wiped away after cooling.
- The oven locks its door during the cycle to prevent opening at extreme temperatures.
- Before starting, remove items, follow rack instructions, and ensure good kitchen ventilation.
- After the cycle, let the oven cool fully, then wipe out ash and check seals and hinges.
How a Self-Cleaning Oven Works
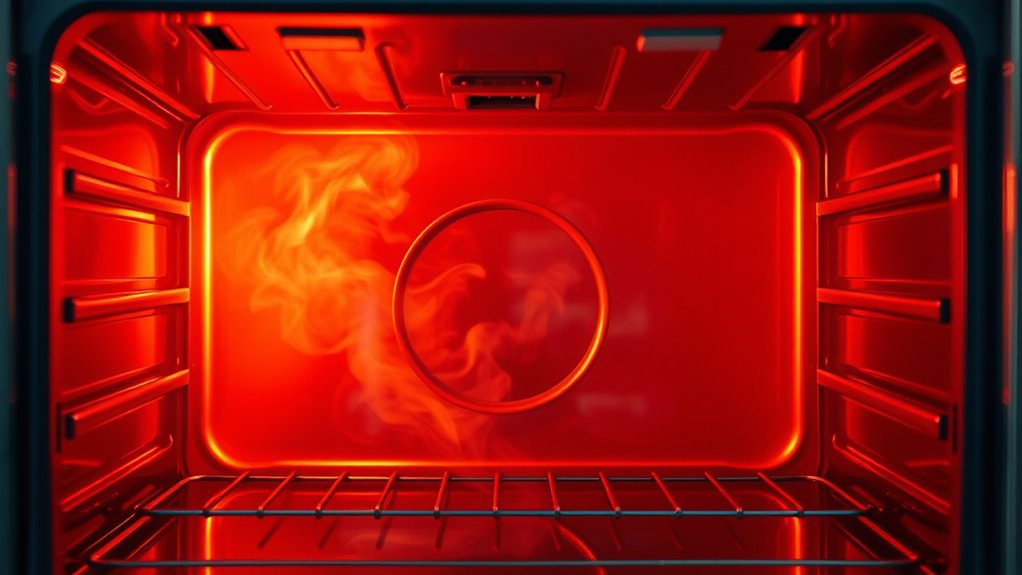
A self-cleaning oven works by using very high heat or a specialized cleaning cycle to break down baked-on food residue inside the oven cavity. You activate this function through the control panel, and the appliance raises internal temperature enough to carbonize soil into ash.
Self-cleaning ovens use intense heat to carbonize baked-on residue, leaving behind only ash to wipe away.
Many cooktop models pair the oven with insulated walls and reinforced components so the cabinet can tolerate the cycle. You should keep the interior empty, remove racks if the manufacturer recommends it, and verify door latch safety before starting.
The latch locks the door so you can’t open it while temperatures remain extreme. Because the process generates intense heat, you should maintain proper kitchen ventilation and avoid touching the exterior until it cools.
After the cycle ends, you wipe away the remaining ash with a damp cloth. This method reduces manual scrubbing and helps you maintain a cleaner oven cavity between regular uses.
The Self-Cleaning Cycle Step by Step
Once you select the self-clean cycle, you close the door, confirm the latch engages, and set the cycle length if your model allows adjustment. The control board then verifies door lockages before it starts heating. During cycle timing, you should leave the oven untouched and keep children away.
The appliance raises internal temperature, and residue on the cavity walls breaks down into ash. Wait for the lock indicator before walking away. Keep cookware, foil, and oven racks out unless your manual says otherwise. Ventilate the kitchen and monitor the display for fault codes.
When the cycle ends, the oven cools automatically. Do not force the door open until the lock releases. After cooldown, wipe the loose ash from the interior with a damp cloth. Check the gasket, hinges, and latch area for debris, then restore the racks.
If you notice uneven cleaning, review cycle timing and start conditions before running another cycle.
High-Heat vs. Steam Self-Cleaning Ovens
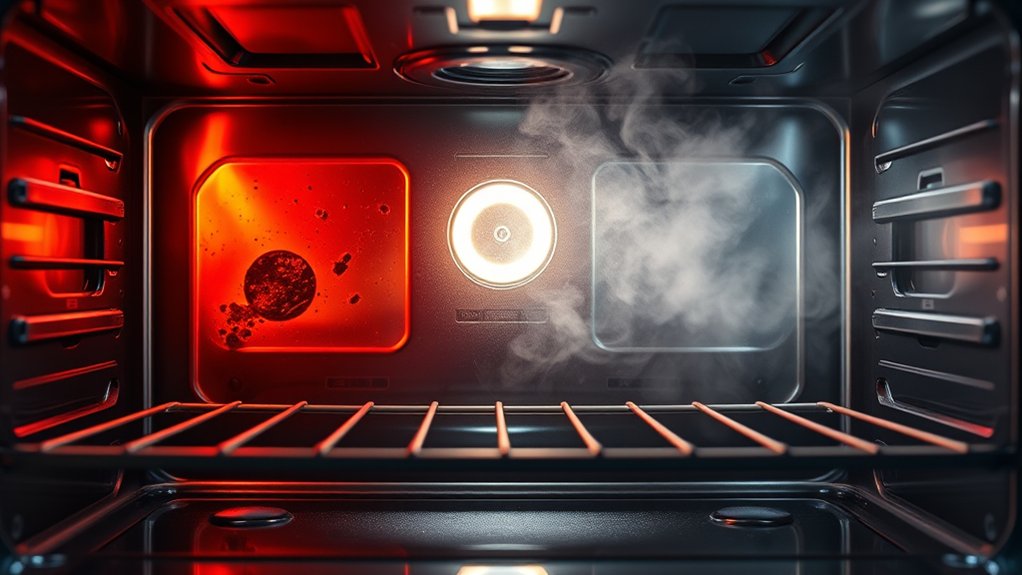
High-heat self-cleaning ovens use extreme temperatures to oxidize baked-on residue into ash, while steam-cleaning models rely on moisture and moderate heat to soften grime for easier wiping. In high heat mode, you’ll typically see a locked cavity, a longer cycle, and significant energy use, but you get more aggressive soil removal.
With steam cleaning, you add water, start a shorter cycle, and let condensation loosen fresh spills; then you wipe the interior once it cools. Choose high heat when you need deep cleaning of carbonized buildup. Choose steam cleaning when you want a fast maintenance cycle between heavier cleanings.
Both methods work best when you follow the oven’s cycle settings exactly and allow full cool-down before opening the door. Your decision should match the soil level, cleanup time, and heat tolerance of your kitchen surfaces.
What to Remove Before You Start
Before you start a self-clean cycle, remove oven racks, broiler pans, thermometer probes, foil, and any loose utensils from the cavity. You should also clear crumbs, grease-heavy pans, and silicone liners, because high heat can damage them and distort airflow.
Check that the cavity is empty so the control system can complete burner ignition and raise temperature evenly. Close the door firmly, then confirm the door latch engages; the oven won’t reach self-clean mode unless the latch locks properly.
- Take out all removable metal accessories.
- Remove items that can warp, melt, or spark.
- Verify nothing blocks the door gasket or latch.
If you leave objects inside, they can discolor surfaces, interfere with heat distribution, or trigger safety faults. Inspect the interior visually before starting, and make sure no rack support clips or stray hardware remain.
Once you’ve cleared the oven, you can initiate the cycle with fewer risks and more predictable performance.
How to Clean Up After Self-Cleaning
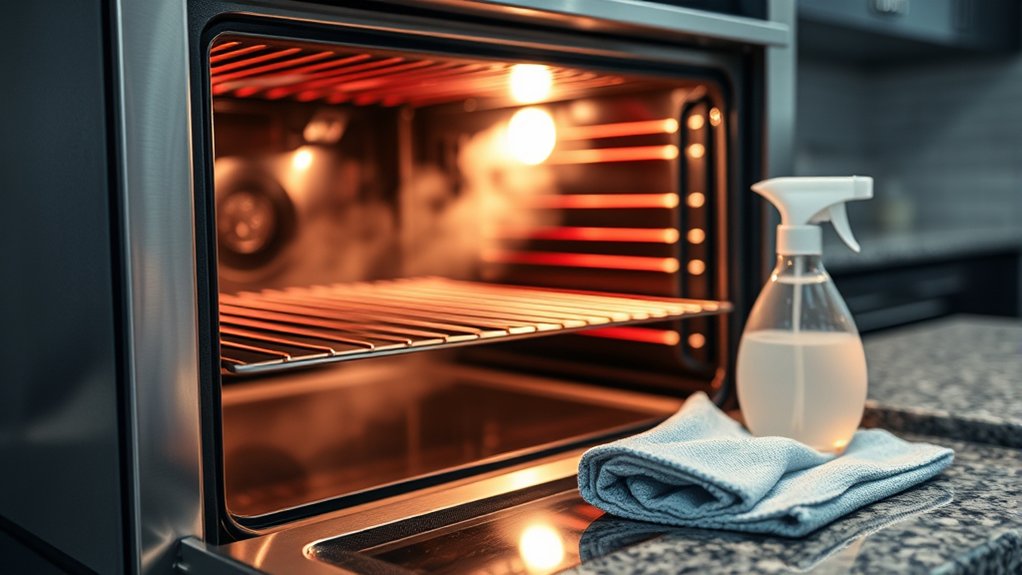
After the cycle ends and the oven has cooled completely, open the door and remove the gray ash that remains from burned food residue. Use a damp microfiber cloth or nonabrasive sponge to wipe the cavity, rack rails, and door edges, then rinse the cloth often so you don’t spread residue.
For stubborn spots in the cleaning aftermath, apply a paste of baking soda and water, let it sit briefly, and wipe it away. Clean the gasket carefully with a soft cloth; don’t scrub or saturate it.
Inspect the window for streaks and clean it with a glass-safe cleaner if needed. Empty the bottom of the oven and vacuum loose debris if your model allows it.
Finish with odor control by leaving the door open for a short period, then run the vent or kitchen fan. Replace racks only when dry, and reset any clock or controls before you use the oven again.
Frequently Asked Questions
Are Self-Cleaning Ovens Safe for Pets and Children Nearby?
No, you shouldn’t assume self-cleaning ovens are safe pets and child exposure nearby; you should keep them out of the kitchen, ventilate well, and never touch the door until cooling finishes.
How Often Should a Self-Cleaning Oven Be Used?
You should run it like a rare storm, only when buildup demands it, typically every 3 to 6 months.
Your maintenance frequency depends on use; how often to run cycles should match grease, spills, and odor levels.
Do Self-Cleaning Ovens Use a Lot of Electricity?
No, you usually won’t use much electricity overall, though self-clean cycles draw high power for a few hours.
You should monitor self cleaning energy use and keep safety for pets in mind during operation.
Can Self-Cleaning Damage Oven Racks Permanently?
Yes, you can damage oven racks permanently. Like a bridge warped by heat, they can discolor or bend.
You’ll avoid racks damage and safety concerns by removing them before cleaning, then wiping them separately.
What Brands Make the Most Reliable Self-Cleaning Ovens?
You’ll find brands reliability strongest with Bosch, Miele, GE, and Whirlpool; they typically deliver better oven durability. Check warranty terms, self-clean cycles, and service network coverage, then compare model-specific reviews before you buy.
Conclusion
A self-cleaning oven works like a reset button for baked-on mess. During a high-heat cycle, you lock the door, let the cavity reach extreme temperatures, and watch residue burn into ash. A steam cycle uses moisture and moderate heat to loosen grime instead.
Before you start, remove racks and loose items. After the oven cools, wipe out ash. Then inspect seals and hinges so your appliance stays safe, efficient, and ready for the next use.
By following these steps, you can keep your appliance functioning properly and maintain the benefits of a self-cleaning oven.