How to Cook Chicken Breast in Oven
To cook chicken breast in the oven, you start with the right temperature, because that choice affects both flavor and texture. You’ll get better results if you pat the chicken dry, season it simply, and place it in a single layer before baking.
The timing matters too, and so does one final step that keeps it from turning dry.
Key Takeaways
- Preheat the oven to 400°F and place chicken breasts on the middle rack for even, reliable cooking.
- Pat chicken dry, season with salt and spices, and lightly coat with olive oil for better browning and flavor.
- Bake in a single layer, avoiding crowding; cook thin breasts 15–18 minutes, medium 18–22, and thick 22–28.
- Check the thickest part with an instant-read thermometer and remove at 160–165°F for juicy, fully cooked chicken.
- Rest chicken 5–10 minutes before slicing against the grain to keep it tender and prevent juices from running out.
Choose the Right Oven Temperature
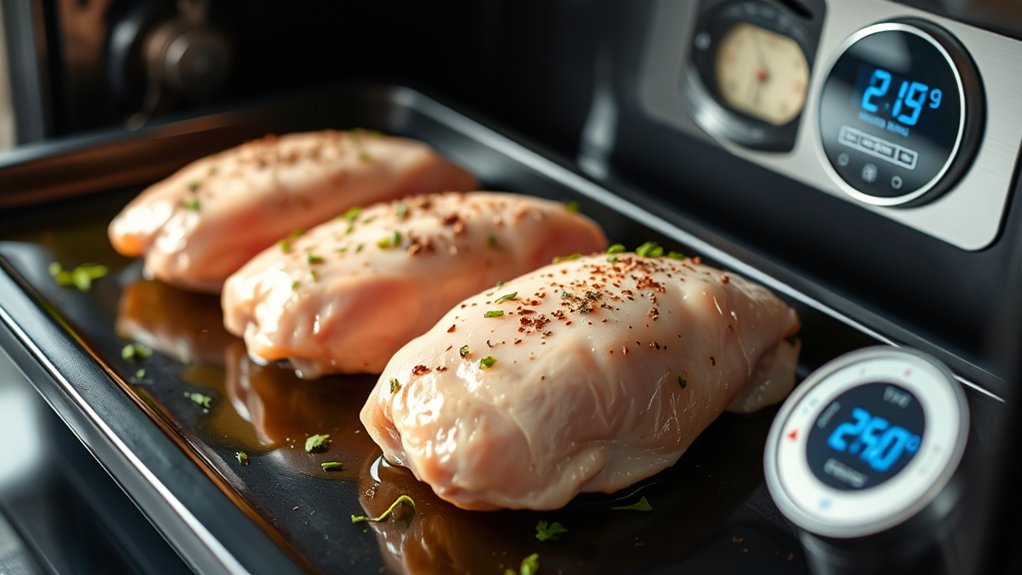
What oven temperature should you use for chicken breast? Preheat your oven to 400°F for a reliable balance of speed and moisture. At this temperature, you can cook boneless breasts evenly without drying the outer layers too quickly.
If you use thicker pieces, 375°F gives you a little more control and reduces the chance of overbrowning. For thinner cuts, 425°F can work, but you’ll need close attention so the meat doesn’t toughen. Check your oven’s accuracy with an oven thermometer, because even a small offset changes results.
You should also think about oven safety and cookware selection before you start. Use a rimmed baking sheet, ovenproof skillet, or shallow roasting pan that can handle high heat. Avoid overcrowding, since air needs space to circulate.
Place the chicken on the middle rack for the most even heat. This setup helps you cook efficiently and keeps texture consistent.
Season Chicken Breast for Better Flavor
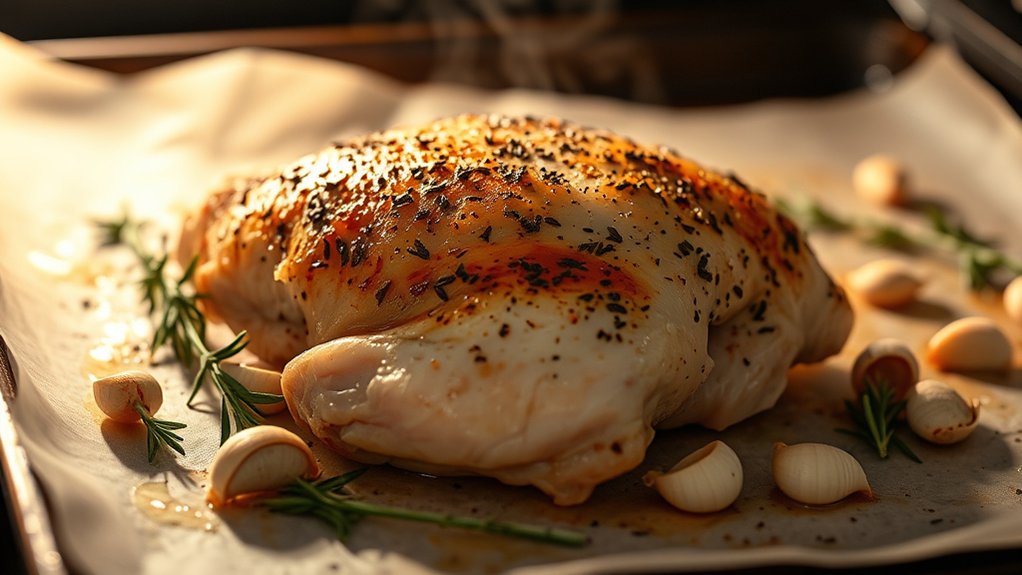
Use simple seasonings like garlic powder, paprika, black pepper, and a little dried herbs so you don’t overpower the chicken’s natural flavor. Rub the breast with olive oil first so the spices stick and the meat stays moist during baking.
Salt it before it goes in the oven so the seasoning penetrates the chicken and builds better flavor.
Choose Simple Seasonings
How should you season chicken breast for the best flavor? Start with simple seasonings so you taste the chicken, not clutter. Use salt, black pepper, garlic powder, and paprika as a base, then adjust to your preference.
These flavor combinations work well because they’re balanced, easy to repeat, and don’t overpower lean meat. For a sharper profile, add onion powder or dried thyme. For a warmer note, use smoked paprika and a pinch of cayenne.
- Salt first for even seasoning
- Mix dry spices before applying
- Keep portions light and consistent
These budget friendly tips help you build reliable flavor without buying specialty blends. Rub the seasoning evenly over every side, then let it sit briefly so the spices adhere and penetrate.
Add Olive Oil
A light coating of olive oil helps the seasoning stick and gives chicken breast a better browned finish in the oven. Use about 1 teaspoon per breast, then rub it over every surface with your fingers or a brush. Keep the layer thin; you want the meat lightly glazed, not greasy.
This olive oil usage improves heat transfer and helps the outside cook evenly while the interior stays moist. If you’re out of olive oil, choose avocado oil, melted butter, or another neutral oil as one of your olive oil substitutes.
Work the oil in before you add spices so the coating stays even. Make sure the chicken looks lightly glossy all over, with no puddles on the baking sheet.
Salt Before Baking
Salt the chicken breast before baking so the seasoning can penetrate the meat instead of sitting only on the surface. Use kosher salt and apply it evenly on both sides, then let it rest so the salt timing works in your favor.
If you have 15 to 30 minutes, the salt draws out moisture, then reabsorbs it with flavor. For deeper seasoning, salt earlier and refrigerate for up to 24 hours.
You’ll improve juiciness and texture. You’ll get more balanced flavor in every bite. You’ll reduce the chance of bland, dry chicken.
Watch the salting effects closely: the surface should look lightly moist, not wet. Skip heavy salting right before baking, because it can taste harsh and uneven.
Prep Chicken Breast Before Baking
Start by patting the chicken breasts dry with paper towels so they brown better in the oven. Next, prep chicken by trimming any excess fat, removing loose skin, and checking for uneven thickness.
If one end is much thicker, place the breast between two sheets of plastic wrap and gently pound it to an even level so it cooks more evenly. Keep your work surface clean, and wash your hands, cutting board, knife, and any surfaces that touched the meat after handling raw chicken.
If you want extra flavor, lightly brush the breasts with oil before seasoning so spices adhere well. Arrange the chicken on a clean plate while you finish prepping the pan. Avoid crowding or stacking the pieces, because each breast needs direct contact with heat once it goes in the oven.
Careful prep helps you get tender, evenly cooked chicken with better texture and appearance.
Bake Chicken Breast at the Right Time
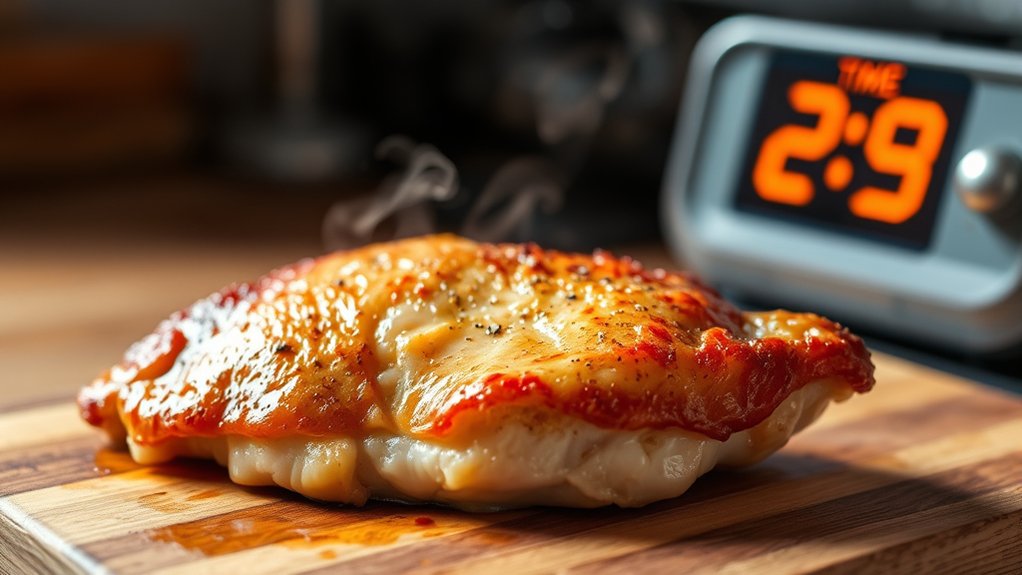
Bake chicken breast for the right amount of time based on its thickness, since thinner pieces cook faster and thicker pieces need a few extra minutes.
You should start checking for doneness early so you don’t overbake the meat and dry it out. Use a meat thermometer and pull the chicken when the thickest part reaches 165°F.
Bake Time By Thickness
How long should chicken breast stay in the oven? Use thickness guidance to set your bake time: thin breasts about 15 to 18 minutes, medium breasts 18 to 22 minutes, and thick breasts 22 to 28 minutes at 400°F.
Keep pieces in a single layer on oven racks or a rimmed sheet pan so heat moves evenly around each breast. If your chicken varies in size, bake the thicker pieces longer and the thinner ones less.
For the most consistent results, measure the thickest part before you start, then match the timing to that measurement.
- Thin: 15–18 minutes
- Medium: 18–22 minutes
- Thick: 22–28 minutes
Check Doneness Early
Once you’ve matched bake time to thickness, begin checking the chicken a few minutes early so it doesn’t overcook. Pull the pan from the oven at the first sign that the thickest part is almost done, then use a quick temperature check with an instant-read thermometer.
Insert it into the center from the side, avoiding bone and the pan. You’re aiming for 165°F, but you can stop around 160°F because carryover heat will finish the job as it rests. If the juices run clear and the meat feels firm, you’re close, but don’t rely on color alone.
Checking doneness early gives you a wider margin for accuracy, protects moisture, and keeps the breast tender instead of dry.
Keep Chicken Breast Juicy While Baking
To keep chicken breast juicy while baking, start with even pieces and don’t overcook them. Pat the chicken dry, then coat it lightly with oil or melted butter so the surface seals and browns before the interior dries out.
Season well, and if you have time, rest the breasts briefly in a simple salt solution to improve moisture retention. Use a baking dish that isn’t overcrowded; space lets hot air circulate evenly.
If you’re prepping ahead, store seasoned chicken in airtight packaging for juicy storage so it stays protected from air and evaporation. Covering the dish loosely with foil for part of the bake can also help trap steam without softening the crust too much.
- Brush on oil before baking
- Leave space between pieces
- Use foil early, then uncover
Check Chicken Breast for Doneness
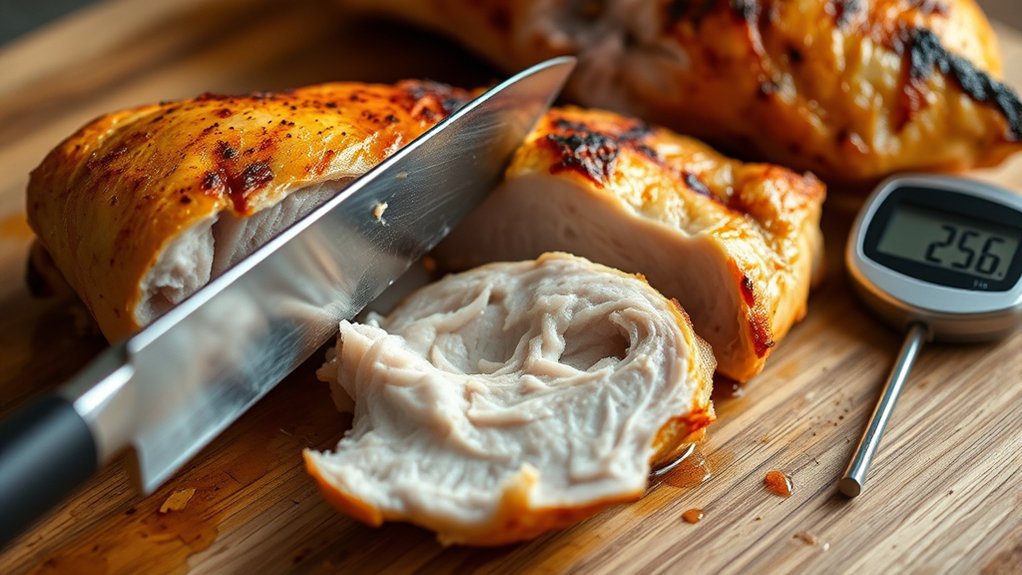
The best way to check chicken breast for doneness is to use an instant-read thermometer and insert it into the thickest part of the meat, avoiding the pan or bone if there is one. This check doneness method gives you an accurate reading fast, so you don’t have to guess or cut into the chicken early.
Look for a safe internal temp of 165°F. If the reading is lower, return the breast to the oven and check again after a few minutes. Move the thermometer to a different spot in the center to confirm the temperature is consistent throughout.
If you’re cooking several breasts, test each one separately, since thickness can vary. Don’t rely on color alone, because juices and surface browning can be misleading. A properly cooked chicken breast should register 165°F at its deepest point, letting you serve it confidently and avoid undercooking.
Let Chicken Breast Rest Before Slicing
Let the chicken breast rest for 5 to 10 minutes after it comes out of the oven before you slice it. This pause lets the juices settle, so you don’t lose moisture on the cutting board. Use simple resting techniques: place the chicken on a clean plate, tent it loosely with foil, and keep it away from drafts. Don’t wrap it tightly, or you’ll trap steam and soften the exterior.
- Resting keeps the meat juicier and more tender.
- A short wait helps the internal temperature even out.
- Proper knife safety starts with steady, cooled meat.
When you’re ready to cut, use a sharp knife and hold the breast firmly with your free hand tucked back. Slice against the grain in even pieces for cleaner cuts and less tearing. If you cut too soon, juices run out fast and the texture turns dry. By resting the chicken correctly, you improve flavor, preserve tenderness, and make slicing safer and easier.
Serve Baked Chicken Breast in Easy Meals
Serve baked chicken breast in meals that are quick, balanced, and easy to build around its mild flavor. Slice it for grain bowls with rice, quinoa, roasted vegetables, and a sharp vinaigrette.
Serve baked chicken breast in grain bowls with rice, quinoa, roasted vegetables, and a sharp vinaigrette.
Add it to salads with greens, tomatoes, cucumbers, avocado, and a light dressing for one of your best easy meal ideas. You can also tuck it into wraps or pita with hummus, shredded lettuce, and sliced peppers for a portable lunch.
For dinner, pair it with pasta, marinara, and steamed broccoli, or serve it alongside potatoes and green beans for a simple plate. Keep cooked pieces in airtight containers so you can reheat them for quick weeknight staples all week.
Seasonings, sauces, and sides can change each meal without extra effort, so you get variety from the same chicken. Keep portions even, and build each meal around protein, produce, and a smart starch.
Frequently Asked Questions
Can I Bake Chicken Breast From Frozen?
Yes, you can bake chicken breast from frozen, but you’ll need extra time and even heat. Skip frozen thawing, then check doneness carefully.
You’ve got limited marinade options, so season after baking for best flavor.
Should I Use Foil or Parchment Paper?
Parchment usually wins, unless you enjoy stubborn cleanup. You’ll get safer roasting and better browning techniques with parchment vs foil.
Use foil only if you want faster heat and less moisture, not crisp, browned chicken.
How Do I Store Leftover Baked Chicken Breast?
Store leftover baked chicken breast in storage containers or airtight bags within two hours. Refrigerate for up to four days or freeze for several months.
For leftover storage and reheating tips, choose freezing options, then use gentle reheating methods.
Can I Marinate Chicken Breast Overnight?
Yes, you can marinate chicken breast overnight. Use safe marinating techniques, keep it refrigerated, and follow food safety tips.
You’ll get better flavor and tenderness, but don’t exceed 24 hours to avoid a mushy texture.
What Herbs Pair Well With Oven-Baked Chicken Breast?
You’ll love thyme, rosemary, and oregano with oven-baked chicken breast; they often suit each other by coincidence.
For herb pairing, keep spice balance gentle with parsley, basil, or tarragon, and you’ll highlight the chicken’s flavor.
Conclusion
Now you know how to cook chicken breast in oven with confidence: choose the right temperature, season well, bake until the center reaches 165°F, and let it rest before slicing.
For example, if you’re meal-prepping for the week, one properly baked breast can stay moist in salads, wraps, and rice bowls instead of turning dry and bland.
Follow these steps, and you’ll get tender, flavorful chicken every time without guesswork. Mastering how to cook chicken breast in oven ensures delicious results for any meal.