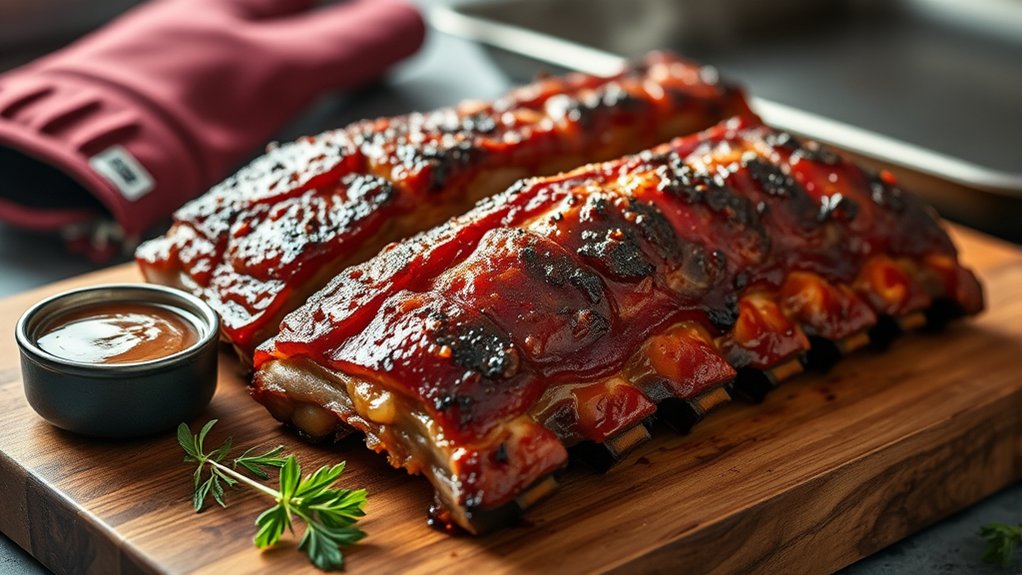
How to Cook Ribs in the Oven
If you want tender oven-baked ribs, you need to start with the right cut and the right prep. Cooking ribs in the oven requires choosing between baby backs and spare ribs, trimming away the excess, and seasoning them so the flavor reaches beyond the surface.
Then you’ll cook them low and slow until they begin to turn tender—before the final step changes everything. This method ensures your ribs come out juicy and full of flavor every time.
Key Takeaways
- Choose baby back ribs for leaner, faster cooking or spare ribs for richer flavor and better value.
- Trim loose fat and remove the membrane, then pat the rack dry and cut it to fit your pan.
- Season generously with a dry rub, optionally using mustard or oil as a binder.
- Bake ribs on a foil-lined pan at 275°F to 300°F until tender, about 2 to 3 hours.
- Sauce, wrap tightly in foil, and finish until the ribs are very tender, around 190°F to 203°F.
Choose the Best Ribs for Baking
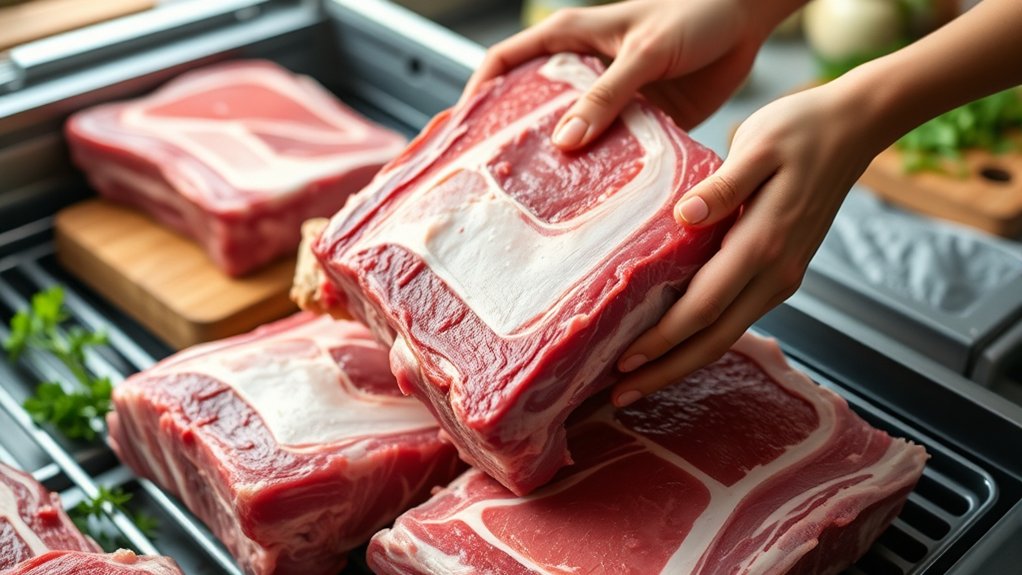
To get tender, flavorful ribs in the oven, start by choosing the right cut. You’ll usually decide between baby back ribs and spare ribs. Baby backs are leaner, smaller, and cook faster, while spare ribs offer more fat and richer flavor.
If you want a meatier rack, choose spare ribs; if you prefer a shorter cook time, choose baby backs. Check bone selection carefully: look for evenly spaced bones, a straight rack, and minimal surface damage. Avoid racks with excessive trimming, dried edges, or heavy discoloration.
You should also weigh pricing considerations, since baby backs often cost more per pound, while spare ribs usually deliver better value. Compare the total rack weight, not just the sticker price, so you know what you’re getting.
A good rack feels firm, looks fresh, and has consistent thickness across the length. With the right choice, you set up even baking and better results.
Prep the Ribs for the Oven
Before the ribs go into the oven, trim away any loose flaps of fat or membrane on the bone side, then rinse and pat them dry so the seasoning sticks evenly. Set the rack on a cutting board and inspect both sides for stray cartilage or thin edges that could dry out.
If the membrane stays attached, slide a knife under one corner, grip it with a paper towel, and pull it off in one clean strip. For even cooking, cut the rack into portions that fit your pan, but keep the pieces similar in size. Use a sharp knife and avoid tearing the meat.
These savory techniques help the ribs cook predictably and develop a better texture. If you aren’t cooking right away, wrap the ribs tightly and refrigerate them on the bottom shelf. Good storage tips keep the meat cold, clean, and ready for the oven without losing quality.
Season Ribs for Big Flavor
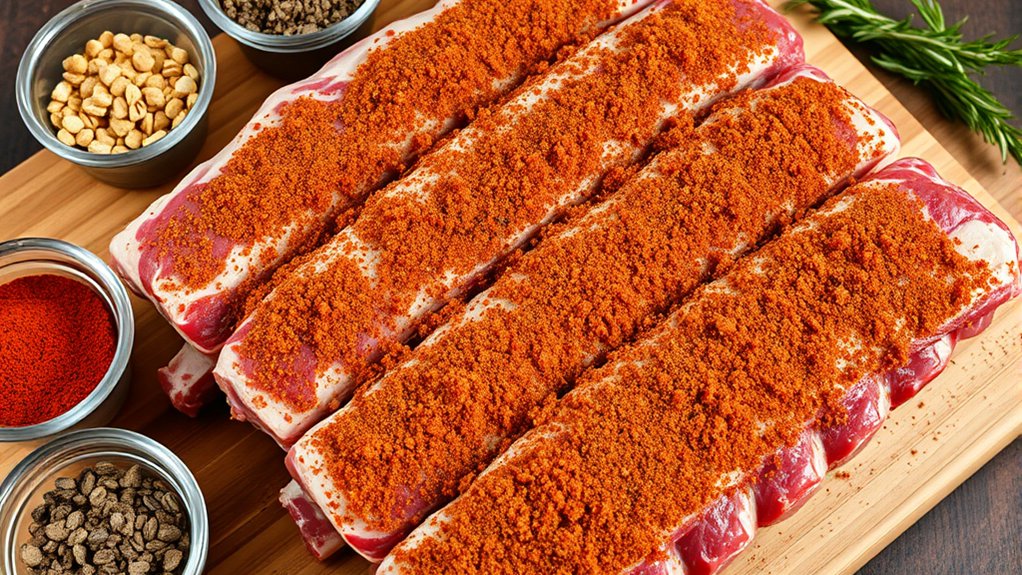
Now that the ribs are trimmed, dried, and cut to size, it’s time to build flavor with a well-balanced seasoning. You should coat both sides evenly with a dry rub that blends salt, black pepper, garlic powder, onion powder, smoked paprika, and brown sugar. Use your hands to press the mixture into the meat so it adheres well. This direct contact helps the seasoning penetrate the surface and creates a more defined crust.
For stronger results, apply your seasoning techniques in layers: start with a light mustard or oil binder, then add the rub. You can also include flavor enhancers such as chili powder, cumin, cayenne, or a touch of mustard powder if you want more depth. Don’t oversalt; ribs need balance, not harshness.
Once seasoned, let them sit briefly so the spices settle and stick evenly before you move on.
Bake the Ribs Low and Slow
Set the seasoned ribs on a foil-lined baking sheet or in a roasting pan, then bake them low and slow at 275°F to 300°F so the connective tissue breaks down without drying out the meat. Keep the ribs uncovered at first and position them in the center of the oven for even heat circulation.
Set the seasoned ribs in the oven low and slow, uncovered, until the meat turns tender and the connective tissue melts.
Bake spare ribs for about 2 1/2 to 3 hours, and baby backs for about 2 to 2 1/2 hours, until the meat has shrunk back from the bone and feels tender smoky throughout.
Check doneness with a fork: it should slide in easily, and the rack should bend without splitting. You want a controlled, gentle cook, not a blast of heat.
If the ribs start to darken too quickly, lower the oven temperature slightly and continue baking. At this stage, you’re building the soft texture that gives ribs their fall off bite while preserving a rich, meaty interior.
Wrap and Sauce the Ribs
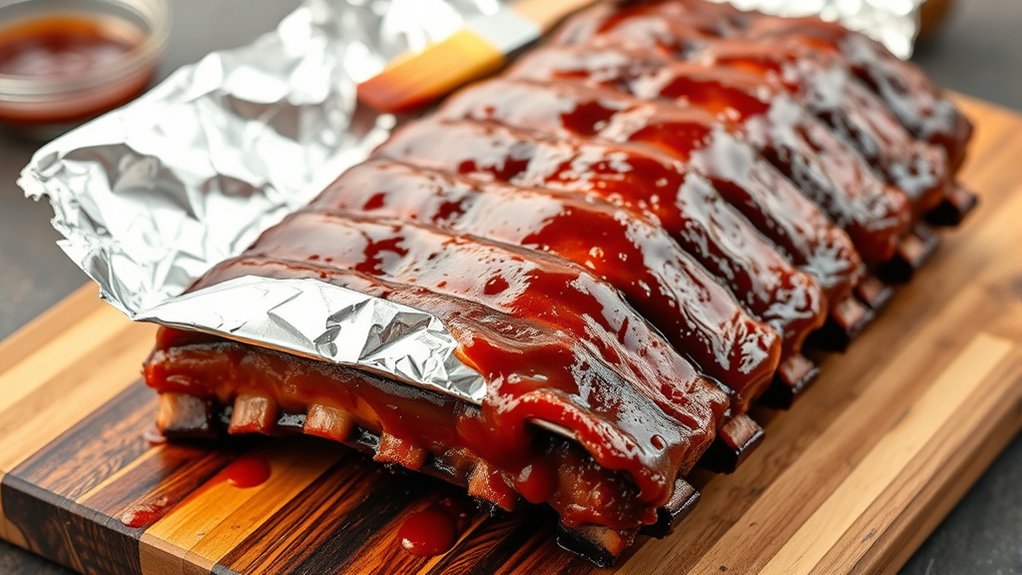
Now that the ribs are tender, you’ll brush on a generous layer of sauce to build flavor and moisture. Next, wrap them tightly in foil to trap the steam and help the sauce soak in.
Seal the packet well so the ribs finish cooking evenly and stay juicy.
Add Sauce Generously
Why stop at tender ribs when you can lock in even more flavor? Brush on a generous coat of sauce now, before you finish the ribs, so every surface gets coverage. Use a thick, balanced barbecue sauce and spread it evenly over the meat side, then the bone side if needed.
This is your first two word idea: flavor shield, which helps the sauce cling and deepen during the final cook. For the best results, choose a sauce that complements your rub instead of overpowering it.
Add a second light layer where the meat looks dry, keeping the coating even, not drenched. A well-sauced rack develops richer color, a glossy finish, and a more focused taste that holds up beautifully when you serve it.
Wrap Tightly In Foil
Once the ribs are sauced, wrap them tightly in heavy-duty foil to trap heat, steam, and flavor. Seal every edge well so the sauce stays close to the meat and the foil technique works as intended.
Place the packet on a rimmed baking sheet to catch any leaks and keep your oven clean.
- Use two layers of foil for a stronger seal.
- Crimp the edges firmly to prevent steam loss.
- Keep the meat-side up so juices baste the ribs.
- Rest the packet after baking for better tenderness tips.
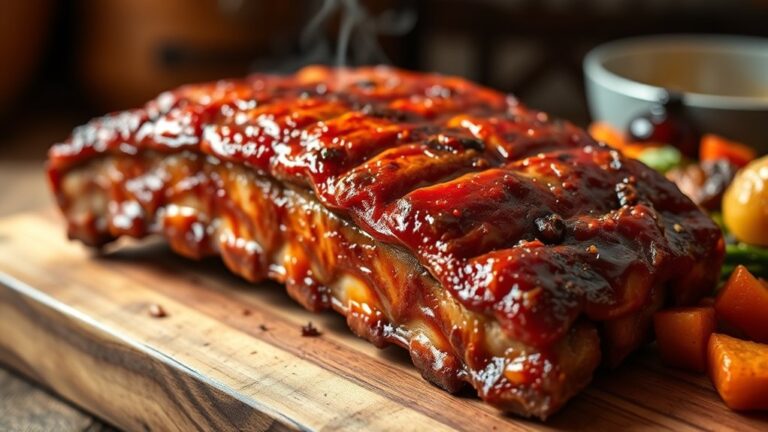
This step softens connective tissue and deepens flavor, giving you tender ribs with a glossy finish when you open the foil.
Check When the Ribs Are Done
You can check the ribs for doneness by testing both tenderness and internal temperature. Insert a fork or toothpick between the bones; it should slide in with little resistance.
Lift the rack with tongs, and if it bends easily and the surface starts to crack, you’re close. For a reliable check doneness step, use an instant-read thermometer in the thickest meat, away from bone.
Aim for about 190°F to 203°F for tender pork ribs. If you’re watching timing cues, remember that oven time varies with rack size, thickness, and your oven’s accuracy. Start checking near the end of the estimated cook time, then recheck every 10 to 15 minutes.
Don’t rely on color alone, since smoke and seasoning can mask appearance. When the ribs feel soft, spring back slightly, and register in range, remove them from the oven and let them rest briefly before handling.
Serve Oven-Baked Ribs With Easy Sides
What should you serve with oven-baked ribs? Choose side dishes that balance richness, add texture, and keep ribs roasting the star. You can plate the ribs with crisp slaw, buttery corn, or roasted potatoes because these sides cut through the fat and support the smoky glaze.
- Serve coleslaw: Its acidity refreshes each bite.
- Add baked beans: Their sweetness matches the sauce.
- Offer corn on the cob: It brings clean, simple flavor.
- Include potato wedges: They add a hearty, crisp contrast.
For a complete meal, set out pickles, cornbread, and a light salad. Keep sauces warm and serve the ribs immediately so the bark stays firm. You’ll create a balanced plate that feels deliberate, not heavy.
Frequently Asked Questions
Can I Use Frozen Ribs Straight From the Freezer?
Yes, you can, but you shouldn’t cook them from frozen. For safe frozen rib prep, thaw them first in the fridge; thawing timelines usually take 24 to 48 hours, depending on thickness.
What Rack Position Works Best for Oven-Baked Ribs?
You’ll get the best oven-baked ribs on the middle rack; it balances heat distribution like a tripod holding steady. Your rack positioning should keep ribs centered, letting you cook evenly without scorching.
How Do I Prevent My Oven From Smoking?
You prevent smoking by trimming excess fat, using a rimmed pan, and lining it with foil.
For smoke prevention, keep the rack lower and add oven ventilation by cracking a window or running the hood fan.
Can I Cook Ribs Without Aluminum Foil?
Yes, you can cook ribs without foil, but you’ll need foil alternatives like a covered pan or parchment. Use smart spicing methods, then cook low and slow. Watch closely, because tenderness builds before you expect it.
How Long Should Ribs Rest Before Slicing?
You should rest ribs 10–15 minutes before slicing. That rest time improves juiciness and slicing timing.
If you used a foil alternative, add 5 minutes; freezing impact can require slightly longer rest.
Conclusion
You’ve got the basics now: choose the ribs that fit your goal, season them well, and bake them low and slow until they’re tender. Baby backs cook faster, but spare ribs give you more meat and flavor for the money.
In fact, ribs often need just 2 to 3 hours in the oven at 275–300°F to turn out great. Let them rest, slice cleanly, and serve them with your favorite sides.
With these tips, you’ll master how to cook ribs in the oven perfectly every time.