How Long to Cook Wings in Oven
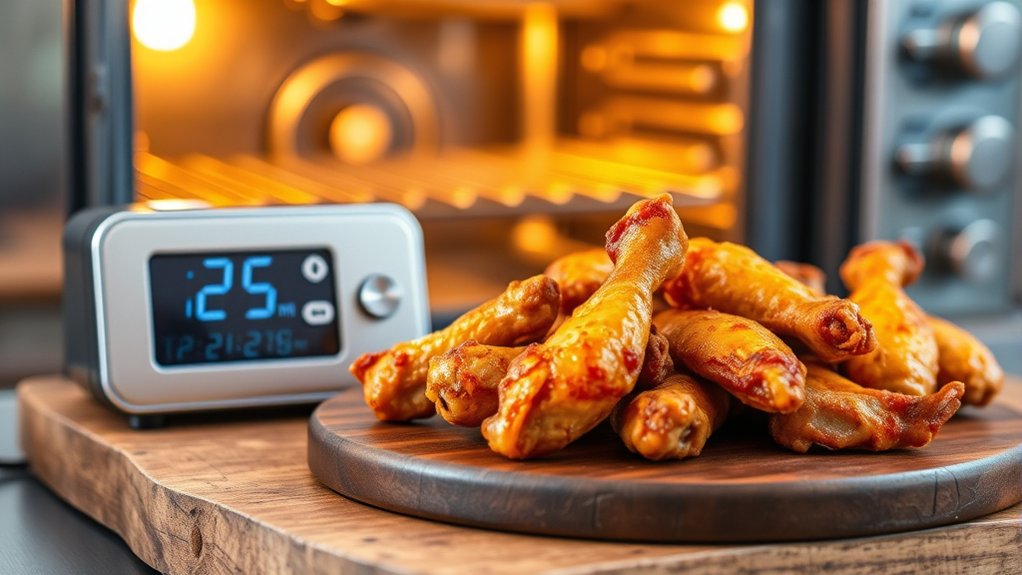
Cooking wings in the oven isn’t just about time—it’s about getting crisp skin without drying them out. When you cook wings in the oven, you’ll usually bake them for 40 to 50 minutes at 400°F to 425°F. However, size, freshness, and pan setup all play important roles in the cooking process.
If you want wings that turn golden and stay juicy, a few small steps can make a big difference. Proper preparation and attention to detail will help you achieve the perfect balance of crispy exterior and tender meat inside.
Key Takeaways
- Bake wings at 400°F to 425°F for about 40 to 50 minutes total.
- Frozen wings need about 50 to 60 minutes at 425°F, turning halfway through.
- Arrange wings in a single layer with space between them for crisp, even cooking.
- Flip wings halfway and use a thermometer; they’re done at 165°F internally.
- Rest briefly after baking, and broil 1 to 2 minutes if you want extra crisp skin.
How Long to Cook Wings in the Oven
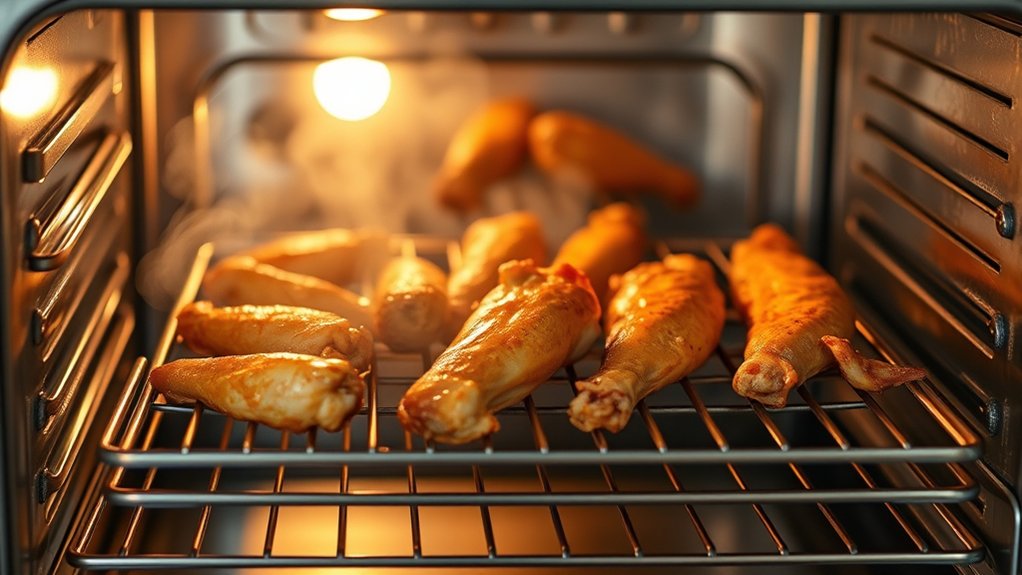
Wondering how long to cook wings in the oven? You’ll usually need 40 to 50 minutes total, depending on size and whether they’re fresh or thawed. Arrange the wings in a single layer on a lined sheet pan so heat reaches every side.
You’ll usually need 40 to 50 minutes total, depending on size and whether they’re fresh or thawed.
Flip them once halfway through cooking to help them brown evenly. If you want crispier skin, keep them in the oven a few minutes longer, but check often so they don’t dry out.
The exact How long can vary, so use a meat thermometer if you have one. Wings should reach 165°F in the thickest part, away from the bone.
Don’t overcrowd the pan, or they’ll steam instead of roast. Your Oven temperature matters too, because even cooking depends on steady heat.
Let the wings rest for a few minutes before serving so the juices settle and the skin stays a little crisp.
Best Oven Temperature for Wings
You’ll usually get the best wings at 400°F to 425°F, which gives you steady heat without drying them out too fast. If you want crispier skin, aim for the higher end of that range; if you want juicier meat, stay a little lower and cook them a bit longer.
The right setting helps you balance crunch and moisture, so you can pick the result you want.
Ideal Oven Settings
For the best oven-baked wings, set your oven to 425°F. This temperature gives you a crisp texture and even browning without overcomplicating the process.
Use the middle rack so hot air can circulate around each wing, and line your sheet pan with foil or parchment for easier cleanup. If your oven runs hot, check the wings a few minutes early. If it runs cool, add a few minutes instead of raising the heat too much.
Preheat fully before you put the wings in, because a steady oven helps them cook evenly. You can also use convection if you have it, since it boosts air movement and improves surface color.
Keep the setting simple, and you’ll get reliable results every time.
Crispiness Versus Juiciness
At 425°F, wing skin browns fast enough to turn crisp while the meat stays moist inside. You get a strong balance of crispiness vs juiciness, which is why this temperature works so well for most home ovens.
If you go lower, you’ll protect moisture, but the skin can stay soft and pale. If you go higher, you’ll deepen browning faster, yet you risk drying the meat before the skin finishes.
These oven technique tradeoffs matter most when you want reliable results without constant checking. To keep wings juicy, pat them dry, use a rack, and avoid overcrowding.
Then let them roast until the skin looks deep golden and the juices run clear.
Prep Wings for Crispy Skin
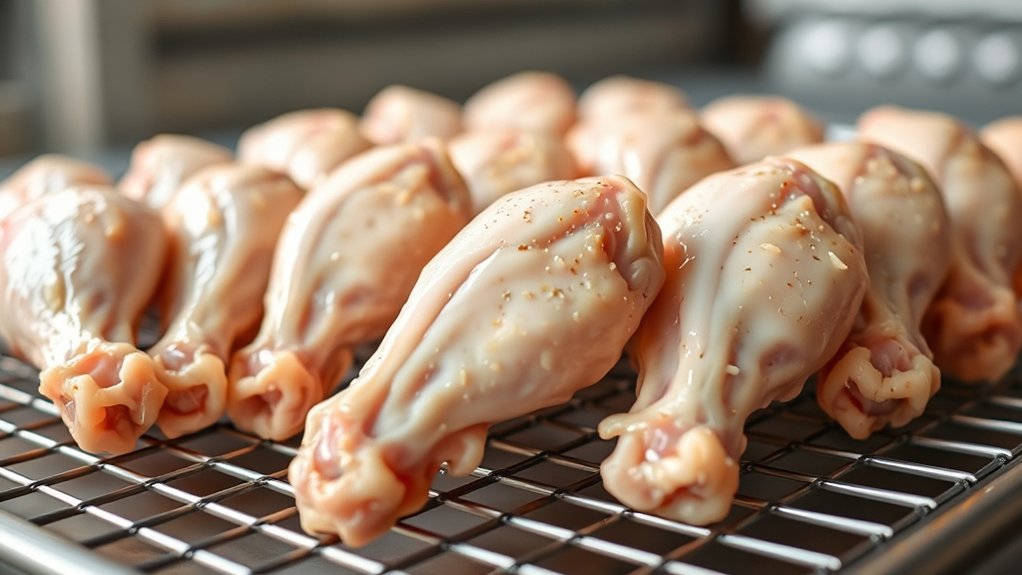
Pat the wings completely dry with paper towels so the skin can crisp up in the oven.
Then season them lightly before baking, since too much coating can trap moisture. This simple prep helps you get better texture and more even browning.
Dry Wings Thoroughly
Got it. Start by drying the wings thoroughly, because excess moisture is the enemy of crispy skin. Pat each wing with paper towels, pressing firmly on all sides, especially the joints and skin folds.
If you have time, let the dry wings rest uncovered in the fridge for 30 minutes to 1 hour so the surface can release even more moisture. Arrange them in a single layer on a rack or tray so air can circulate around each piece.
Don’t rush this step; damp skin steams in the oven and won’t turn crisp. When the wings feel dry to the touch, you’ve set yourself up for better browning and a crunchier bite.
Keep them cool, uncovered, and ready for the next step.
Season Lightly Before Baking
Once your wings are dry, season them lightly so the skin still has room to crisp up in the oven. Use just enough salt, pepper, and any dry spices to coat the surface without caking it on.
If you add too much seasoning, it can draw out moisture and slow browning. Toss the wings evenly, then let them sit a few minutes so the flavor settles in. You don’t need oil for heavy coating; a thin touch is enough.
Keep your oven timing in mind, because overloaded seasoning can make the skin soft instead of crackly. If you want extra flavor, finish with sauce after baking, not before.
That way, you keep the skin dry, the texture crisp, and the wings ready for even cooking.
Bake Wings at 400°F or 425°F
For crisp, evenly browned wings, bake them at 400°F or 425°F on a wire rack set over a baking sheet. At 400°F, you get a little more texture balance: the skin renders steadily while the meat stays juicy.
At 425°F, you speed up browning and build a deeper crunch, but you’ll want to watch the wings closely so they don’t dry out. Choose 400°F if you want stronger moisture retention and a gentler cook.
Choose 425°F if you prefer a firmer, crackly finish and don’t mind a faster bake. Either way, use a hot oven so the fat melts quickly and the skin tightens.
Set the wings in a single layer with space between them so the heat can circulate. This gives you more even color, better crispness, and reliable results every time.
Flip Wings for Even Browning
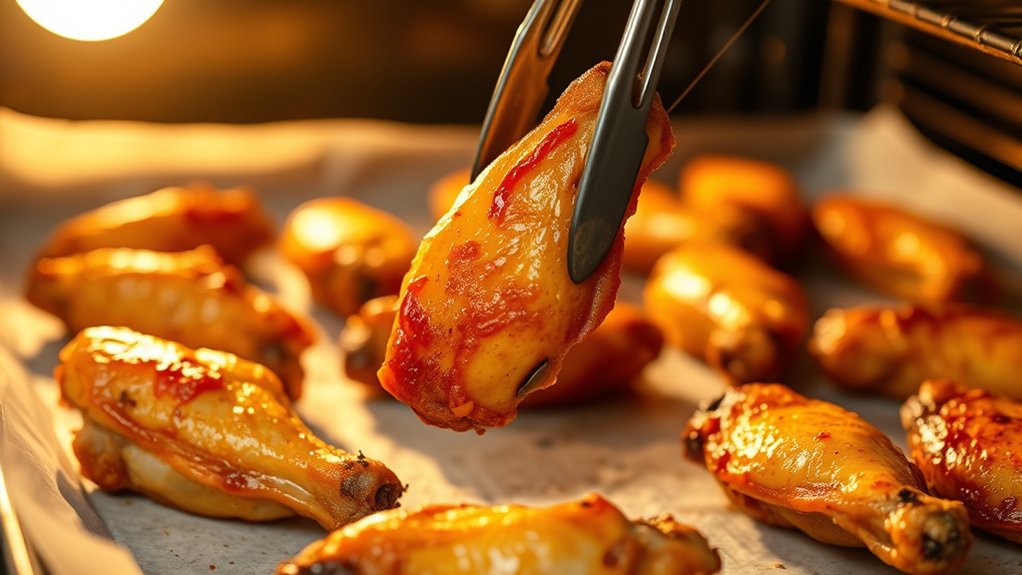
Flip the wings halfway through baking so both sides brown evenly and crisp up at the same rate. When you turn them, you improve airflow timing and keep hot oven air reaching every surface. This simple move helps you hold browning balance without extra oil or extra fuss.
| Flip cue | Result |
|---|---|
| 15 minutes in | Light, even color |
| 20 minutes in | Deeper golden edges |
| Same rack position | Better heat exposure |
| Gentle tongs | Skin stays intact |
| Single layer | Cleaner browning |
Use tongs to flip each wing quickly, then return them to the same rack. Don’t crowd the pan, since tight spacing blocks heat and slows crisping. If you’re baking a large batch, rotate the pan as you flip so each wing gets similar exposure. That little adjustment makes your wings look better and taste more evenly cooked.
Check Wings for Doneness
How do you know when oven-baked wings are done? You need a quick doneness check that combines sight, texture, and internal temperature. Pierce the thickest part of the wing, avoiding the bone, and read 165°F on an instant-read thermometer. That’s the safest target for cooked chicken.
The skin should look deep golden and crisp, not pale or soggy. When you lift a wing, it should feel firm and the juices should run clear. If the meat still looks pink near the bone, keep baking and check again in a few minutes.
Don’t rely on time alone, since wing size and oven heat can vary. Pull the wings from the oven once they hit temperature, then let them rest briefly so the juices settle. This simple check helps you serve wings that are fully cooked, juicy, and ready to eat.
How Long to Cook Frozen Wings in the Oven
Frozen wings usually need a longer oven time, so plan on baking them at 425°F for about 50 to 60 minutes total. You can keep them on a lined sheet pan and turn them once halfway through for even heat.
If you’re comparing a techniques comparison, baking from frozen is simpler than thawing first, but it usually takes longer. Use these equipment alternatives if needed:
| Option | Use |
|---|---|
| Sheet pan | Best for even spacing |
| Wire rack | Helps air move around wings |
| Foil-lined pan | Makes cleanup easier |
| Convection oven | May shorten cook time a bit |
Check a few wings near the end; they should reach 165°F at the thickest part. If your oven runs hot or cold, adjust the time by 5-minute steps. Smaller wings may finish sooner, while larger ones can need the full hour.
How to Make Oven Wings Crispy
For crispier oven wings, start with dry skin and plenty of airflow. Pat the wings very dry with paper towels, then place them on a wire rack set over a baking sheet so heat can circulate underneath. Don’t crowd the pan; leave space between each wing.
Bake at a hot temperature, around 425°F, and flip them halfway through so both sides brown evenly. If you want extra crispy skin, use a little oil seasoning to help the surface blister and turn golden. A light coating works better than a heavy one.
You can also finish the wings under the broiler for a minute or two, but watch them closely so they don’t burn. Let them rest briefly after baking so the skin stays crisp instead of softening from steam.
Season Wings for Better Flavor
What good is a crispy wing if it tastes bland? You need a simple seasoning mix that sticks and builds flavor. Pat the wings dry, then toss them with salt, black pepper, garlic powder, onion powder, and paprika.
Pat wings dry and season simply with salt, pepper, garlic powder, onion powder, and paprika for bold, crispy flavor.
For extra depth, add a little baking powder and a pinch of cayenne. These seasoning tips help the skin brown while keeping the meat savory.
You can also match your rub to your sauce goals. Use smoked paprika and brown sugar for sweet heat, or go with lemon pepper for a bright finish.
Think about flavor pairings before you bake: garlic and parmesan, chili and lime, or honey and soy all work well. Season evenly, but don’t drown the wings.
A light coating gives you better texture and keeps the oven from steaming them. Let the wings sit for 15 minutes after seasoning so the flavors settle in before they go into the oven.
Frequently Asked Questions
Can I Use a Wire Rack for Baking Wings?
Yes, you can use a wire rack for baking wings. It lifts them, lets heat circulate, and helps crisp skin.
Wire rack benefits include even cooking, less sogginess, and easier cleanup.
What Sauces Work Best for Oven-Baked Wings?
You’ll nail oven-baked wings with buffalo, honey garlic, or barbecue sauces; a citrusy glaze adds brightness, while a smoky rub brings depth.
Toss wings after baking, and you’ll have the whole nine yards.
Should Wings Be Patted Dry Before Seasoning?
Yes, you should pat wings dry before seasoning. You’ll help the dry seasoning stick better, and you’ll get crispier skin in the oven.
Just use paper towels and season right away for best results.
Can I Marinate Wings Overnight?
Yes, you can marinate wings overnight for deeper flavor. You’ll get better taste if you refrigerate them in a sealed container, but don’t go much longer than 24 hours, or the texture can suffer.
How Do I Store Leftover Baked Wings?
Store leftover baked wings properly in airtight containers and refrigerate them within two hours. Marinating overnight benefits don’t apply here; use refrigeration tips, reheat within 3–4 days, and keep them sealed to stay fresh.
Conclusion
So, how long should you cook wings in the oven? Plan on about 40 to 50 minutes at 400°F to 425°F for crisp, evenly browned wings. Preheat fully, use a wire rack, and give them space so the skin can crisp up.
Flip them halfway through the cooking time, then broil briefly if you want extra crunch. Always check for an internal temperature of 165°F in the thickest part to ensure they are fully cooked. Let the wings rest before serving.
For the best results, remember that how long to cook wings in the oven depends on these steps to achieve perfectly crispy and safe-to-eat wings every time.