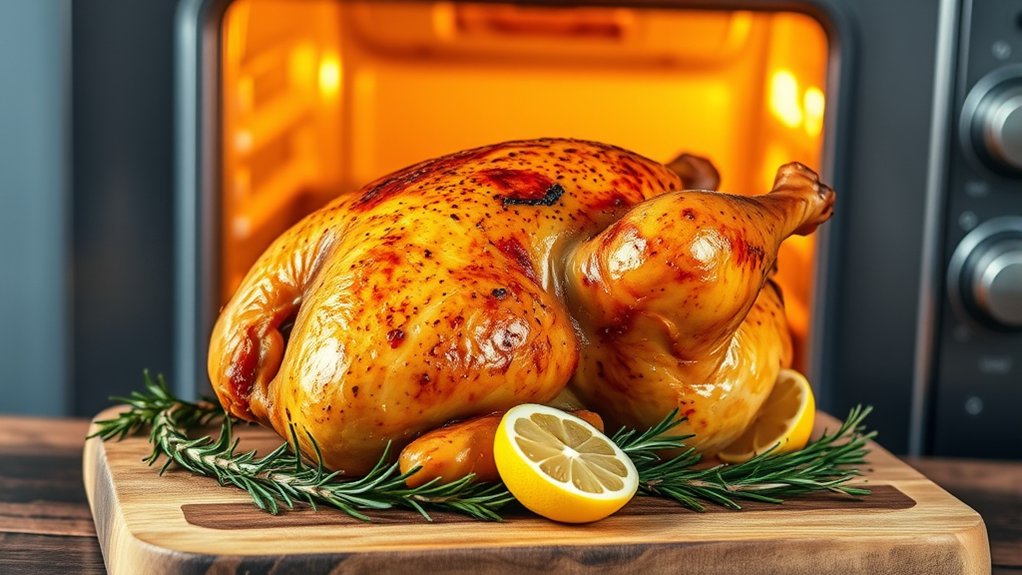
How to Prepare Whole Chicken in Oven
You can turn a plain whole chicken into something far more satisfying with a few careful steps.
Preparing a whole chicken in the oven is simple and rewarding. Choose a fresh 3–6 pound bird, pat it dry, and season inside and out with salt, pepper, and herbs.
Lift the skin lightly if you want deeper flavor, then roast it breast side up at 425°F until the thigh reaches 165°F.
A few small details make all the difference.
Key Takeaways
- Choose a 3 to 4 pound chicken for small meals or 5 to 6 pounds for family dinners, and inspect for fresh, firm skin.
- Remove giblets, pat the chicken dry, and keep your workspace clean to prevent cross-contamination.
- Season inside and out with salt, pepper, garlic powder, herbs, and optional lemon, onion, or garlic stuffing.
- Roast breast-side up at 425°F, about 20 minutes per pound, until the thigh reaches 165°F.
- Rest the chicken 10 to 15 minutes before carving, then refrigerate leftovers within two hours in shallow containers.
Choose the Right Whole Chicken
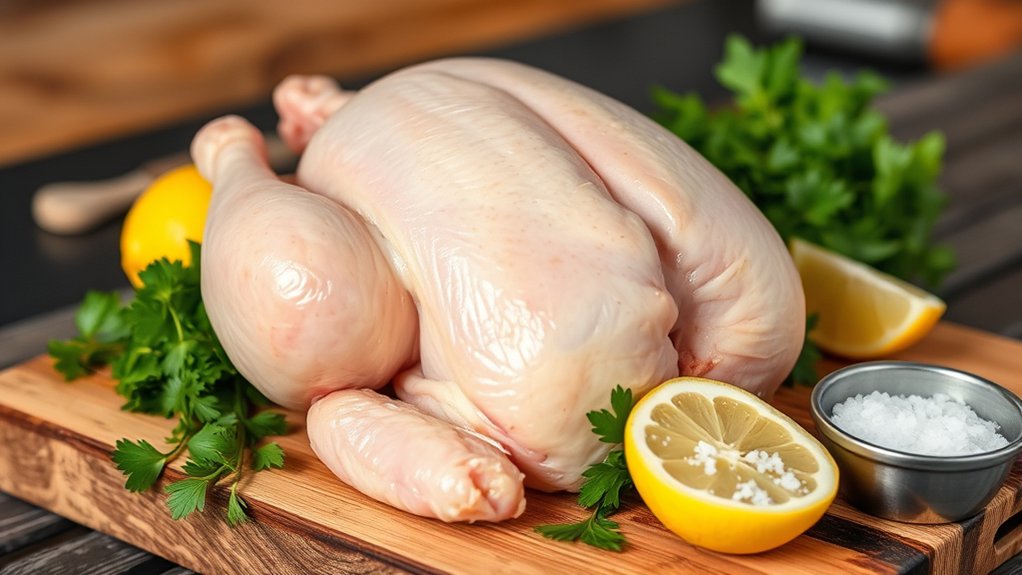
Choose a whole chicken that fits your needs before you start cooking. For a small meal, pick a bird around 3 to 4 pounds; for a family dinner, choose 5 to 6 pounds.
Check chicken sourcing first. You want a reliable supplier that follows safe handling and clear labeling. If possible, select air-chilled chicken for better texture and less retained water.
Examine the skin for a pale, even color and avoid packages with tears, excess liquid, or off odors. Lift the bird if you can; it should feel firm, not slimy.
Compare labels for fresh, frozen, organic, or free-range options, then match the bird to your budget and cooking plan. If you want flexibility, think about seasoning alternatives in advance, such as herb pastes, citrus, or spice rubs, so you can pair the chicken with your preferred flavor profile.
Pick a bird that looks clean, smells neutral, and suits your oven size.
Prep the Whole Chicken for Roasting
Remove the giblets from the chicken cavity and set them aside or discard them. Rinse the chicken only if needed, then pat it dry inside and out with paper towels.
A dry surface helps the skin brown evenly and lets the seasoning stick better.
Remove Giblets
Before you season or truss the bird, check the cavity and take out the giblets, neck, or any other packaging tucked inside. Set these pieces aside on a clean plate or in a bowl so you can inspect them and decide whether to use them for stock or discard them.
If the packet tears, gather every bit for proper giblets cleanup, then wash your hands and any surface that contacted it. Keep raw poultry separate from other ingredients, and handle the cavity carefully so you don’t damage the skin.
When you’re done, complete giblets disposal promptly in a sealed trash bag or container. This step clears the bird for roasting and helps you move to the next prep stage with a clean, organized workspace.
Pat Chicken Dry
Now that the cavity is clear, use paper towels to pat the chicken dry inside and out, pressing firmly to remove excess moisture from the skin. Dry patting helps the skin brown evenly and crisp better in the oven.
Work methodically, lifting the wings, thighs, and breast so you pat chicken in every crease. Replace damp towels as needed; wet paper won’t remove enough moisture. If liquid pools on the cutting board, tilt the bird and blot again.
| Area | Action |
|---|---|
| Cavity | Blot thoroughly |
| Skin | Pat until matte |
| Wings and thighs | Dry creases |
| Cutting board | Clear moisture |
When you finish, the chicken should feel tacky, not wet, and ready for seasoning or trussing.
Season the Whole Chicken Inside and Out
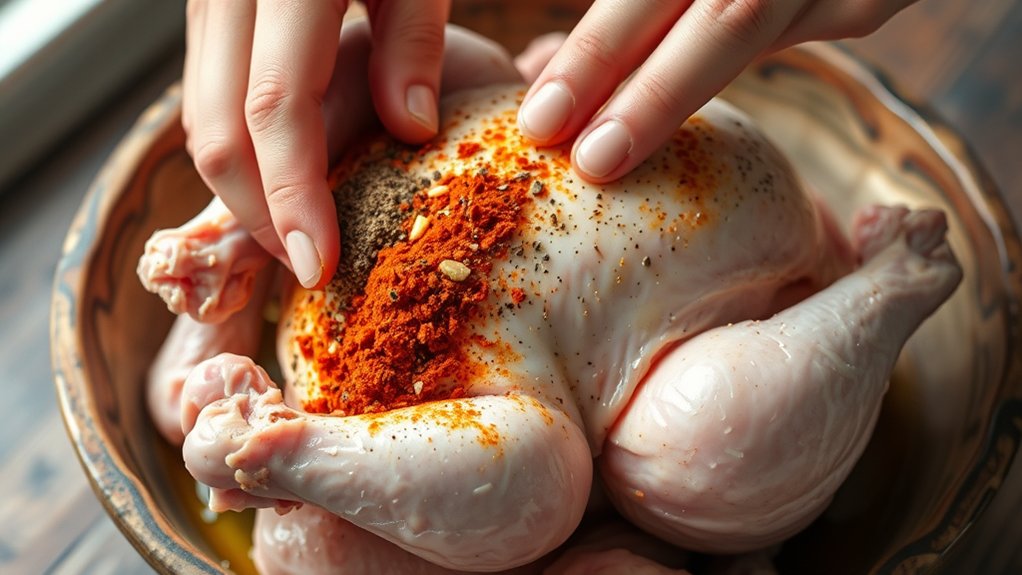
Season the chicken generously inside the cavity and all over the skin so every bite has flavor. Begin with seasoning inside: sprinkle salt, pepper, garlic powder, and any dried herbs directly into the cavity, then rub them lightly against the meat with your fingers.
Next, focus on seasoning outside by coating the breast, thighs, legs, and wings evenly. Use enough salt to reach every surface, but don’t leave clumps. Add paprika or thyme if you want extra color and aroma.
Gently lift the skin over the breast and work a little seasoning beneath it for deeper flavor, then smooth the skin back down. Turn the chicken as needed so you cover the underside, back, and joints.
If you use oil, apply a thin layer first so the spices stick. Check that the bird looks evenly coated before you move on to roasting.
Stuff the Chicken for Extra Flavor
For extra aroma, you can stuff the cavity with a few simple ingredients before roasting. Use quartered onion, halved garlic, lemon pieces, and fresh herbs such as thyme, rosemary, or parsley. These ingredients release steam and perfume the meat from within, giving you deeper flavor without adding extra fat.
Keep the cavity loosely filled so heat can circulate. If you prefer, tuck in celery, fennel, or a small apple for subtle sweetness. Choose seasonings that match your seasoning variations: paprika and garlic for a savory profile, citrus and dill for a brighter one, or sage and black pepper for a more classic roast.
Consider stuffing alternatives if you want a lighter approach; a few herb sprigs and lemon slices work well on their own. Always use dry ingredients and avoid packing anything tightly, since that can slow even cooking and make removal difficult later on.
Roast the Chicken in the Oven
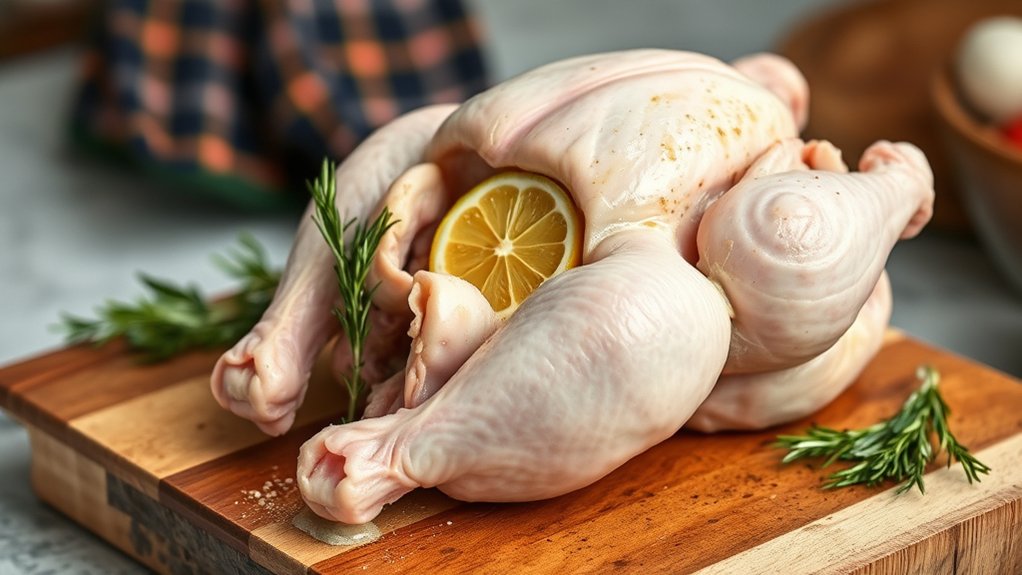
Preheat your oven to the correct temperature before you roast the chicken. Set the chicken in a roasting pan, breast side up, and place it on the center rack for even heat.
Then monitor the roasting time closely so the chicken cooks through without drying out.
Preheat the Oven
Set your oven to 425°F and let it fully preheat before the chicken goes in; a hot oven helps the skin brown and crisp while the meat cooks evenly. Check the oven temperature with the display or a separate thermometer if you have one, since an accurate reading prevents undercooking.
While it heats, place your roasting pan on a stable oven rack and confirm pan safety by making sure it’s ovenproof and free of damaged handles or warped edges. Don’t open the door repeatedly, because each glance drops heat and slows recovery.
Wait until the oven signals readiness and the temperature holds steady. Then you’ll be ready for the next step, which is positioning the chicken for roasting.
Position the Chicken
Now, place the chicken breast side up in the center of the roasting pan so the heat can circulate evenly around it. You’ll keep the bird stable, expose the breast to direct heat, and help the legs cook at a steady rate.
For safety and hygiene, handle the chicken with clean hands and keep the pan ready before you transfer it. If you used knife skills to trim excess skin or remove giblets, set those pieces aside properly.
Tuck the wing tips under the body.
Leave space around the chicken for air flow.
Avoid crowding the pan with vegetables.
Pat the skin dry if you haven’t already.
Monitor Roasting Time
How long should you roast it? Start by tracking the clock from the moment you put the chicken in the oven. For a standard whole bird, roast at 375°F and check it after about 20 minutes per pound.
Keep the skin from overbrowning by watching the color closely. If it darkens too fast, tent it loosely with foil. Use an oven thermometer to confirm your oven stays at the set temperature, since heat swings can change timing.
You should also keep monitoring temperature inside the chicken; the thickest part of the thigh should reach 165°F, and juices should run clear. Don’t rely on time alone. Test early, then continue roasting in short intervals until the bird is done and rests properly before carving.
Check the Chicken’s Internal Temperature
Insert a meat thermometer into the thickest part of the chicken’s thigh, avoiding the bone, and check that it reads 165°F. If it’s lower, keep roasting in short intervals and test again. This step confirms doneness more reliably than color alone and helps you avoid undercooking.
Insert a meat thermometer into the thickest part of the thigh and confirm it reaches 165°F.
- Insert the probe from the side, not the top.
- Check the breast as well if you want confirmation.
- Wipe the thermometer clean after each reading.
- Watch for excessive moisture around the pan, which can signal trapped steam and affect smoke management.
Move quickly so heat doesn’t escape from the oven for long. If the juices still look cloudy, rely on the thermometer, not guesswork. Once the lowest safe temperature appears, you can stop roasting confidently.
Consistent temperature checks give you control, improve safety, and help you serve chicken that’s fully cooked without drying it out.
Let the Chicken Rest Before Carving
Let the chicken rest for 10 to 15 minutes before carving so the juices can settle back into the meat. You’ll improve texture, reduce mess, and get cleaner slices. These resting reasons matter because heat keeps moving inward while the surface relaxes, which stabilizes moisture.
Watch carve timing closely; if you cut too soon, juices escape and the meat can dry out.
| Benefit | Result |
|---|---|
| Juice redistribution | Moister meat |
| Temperature equalizing | Safer, steadier carving |
| Fiber relaxation | Cleaner slices |
| Less surface runoff | Better presentation |
Set the bird on a cutting board and leave it uncovered. Don’t tent it tightly, or steam can soften the skin. Use the rest period to gather your knife and platter, then carve only when the juices no longer surge from the cut.
This simple pause gives you more control and a better final result.
Serve or Save the Leftovers
Once you’ve carved the chicken, serve the portions right away while they’re still warm, or cool the leftovers promptly for storage. If you’re not eating everything, use shallow containers so the meat drops below 40°F quickly.
Serve carved chicken right away, or chill leftovers quickly in shallow containers to keep them safe and fresh.
Label each package with the date, then refrigerate it within two hours. For longer leftover storage, freeze the chicken in airtight bags and press out excess air. This keeps texture better and supports efficient meal planning later.
- Portion the meat before chilling.
- Keep white and dark meat separate if you want easier use later.
- Refrigerate for 3 to 4 days.
- Reheat only what you need to avoid waste.
When you’re ready to eat again, warm the chicken to 165°F and add moisture with broth or sauce. Use the bones for stock if you want another practical meal.
Frequently Asked Questions
How Do I Thaw a Frozen Whole Chicken Safely?
You thaw a frozen whole chicken safely in the fridge, on a tray, 24 hours per 4-5 pounds. Keep it wrapped and separate from foods. Maintain freezer organization to prevent cross-contamination and assure thawing safety.
Can I Roast Chicken With Vegetables in the Same Pan?
Yes, you can, like a well-choreographed duet. You’ll pan roast chicken with carrots, potatoes, and onions, then roast vegetables in the same pan.
Keep pieces evenly sized, season well, and stir halfway for even browning.
What Oven Rack Position Works Best for Whole Chicken?
You’ll get the best results on the middle oven rack, where heat circulates evenly.
Center your chicken placement in the pan, leaving space around it so you roast it consistently without overbrowning.
How Do I Make the Skin Extra Crispy?
Pat the skin dry, salt it generously, and refrigerate uncovered overnight. You’ll get better crisping results when you brush on oil, use seasoning blends sparingly, and roast at high heat, then broil briefly.
How Long Can Cooked Chicken Stay in the Fridge?
Cooked chicken lasts 3–4 days in your fridge, time, the quiet gatekeeper. You should refrigerate it within 2 hours, use airtight cookware alternatives, and track kitchen timing carefully to keep it safe and flavorful.
Conclusion
Now you know how to prepare whole chicken in oven with confidence. You choose a fresh bird, season it well, roast it until the thigh reaches 165°F, and let it rest so the juices stay inside.
What could be more rewarding than pulling a golden, fragrant chicken from your oven? Slice it, serve it, or save the leftovers promptly.
With these steps, you’ll turn a simple whole chicken into a reliable, delicious meal every time. Mastering how to prepare whole chicken in oven ensures a tasty and satisfying dish for any occasion.