How Long to Cook Chicken in Oven
How long to cook chicken in the oven depends on the cut, thickness, and oven temperature. You can’t treat breasts, thighs, drumsticks, wings, and a whole bird the same, because each one finishes at a different pace.
To keep it juicy, you need the right layout, steady heat, and a good check for doneness. The exact timing changes more than most people expect, and that’s where things get interesting.
Key Takeaways
- Oven time depends on the cut: boneless breasts cook fastest, while thighs, drumsticks, wings, and whole chicken take longer.
- Bake chicken in a single layer at a moderate temperature for even cooking, moisture retention, and better browning.
- Thick or larger pieces need more time; pound or slice breasts for uniform thickness and more even doneness.
- Check the thickest part near the end of cooking and aim for 165°F in breast and 175°F in thigh.
- Rest chicken after baking so carryover heat finishes cooking and juices redistribute for juicier meat.
Chicken Oven Times by Cut
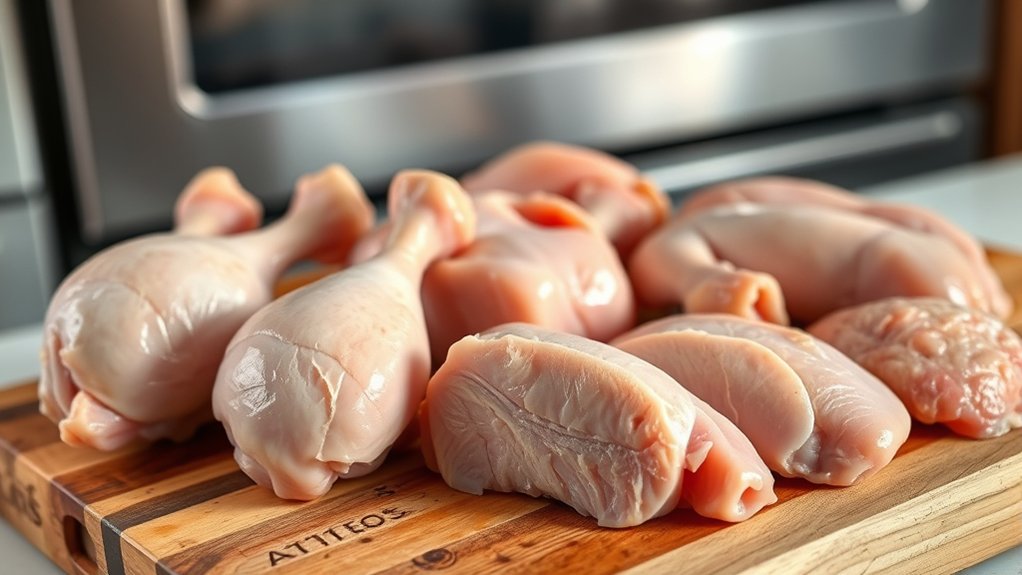
Chicken oven times vary by cut, so you’ll want to match the cooking time to the piece you’re baking. Boneless chicken breasts usually finish fastest, while thighs, drumsticks, and wings need a bit longer.
Chicken oven times vary by cut, so match the cook time to the piece you’re baking.
If you’re baking a whole chicken, expect the longest cook time because the thicker sections heat more slowly. You should also account for size: larger pieces take more time, and smaller ones can dry out if you leave them in too long.
For best results, arrange the pieces in a single layer so heat circulates evenly. If you want juicy flavor, avoid overcrowding the pan, since steam can soften the surface.
For skin crispiness, keep the skin exposed and let the hot air reach every side. Check the thickest part of each cut near the end of cooking, and pull it when the meat is fully done but still moist.
Bake Chicken Breasts at the Right Temp
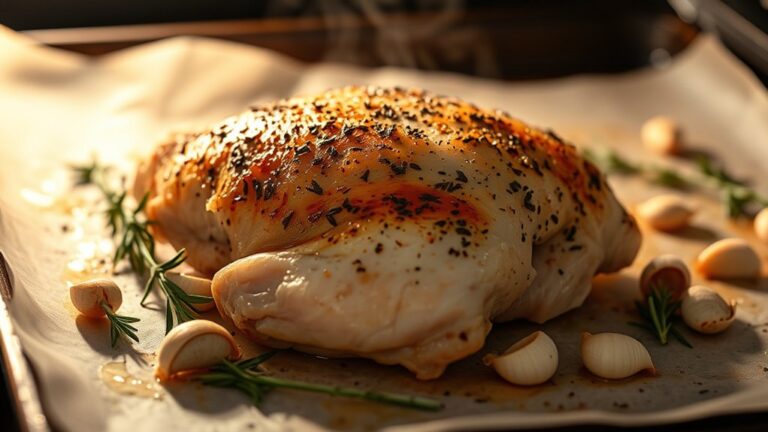
Bake chicken breasts at 375°F for a reliable balance of speed and juiciness. You’ll need to adjust the time based on thickness, since thinner breasts cook faster and thicker ones need more time.
Check the internal temperature at the thickest part and pull them when they reach 165°F.
Ideal Oven Temperature
What oven temperature gives you juicy, evenly cooked chicken breasts without drying them out? Set your oven to 400°F for a reliable balance of speed and moisture retention. At this temperature, you help the outside cook efficiently while the inside reaches safe temperatures before the meat overcooks.
You’ll also support a juicy texture because the chicken spends less time in the oven than it would at a lower setting. If your oven runs hot, use an oven thermometer so you can trust the actual heat.
Preheat fully before baking, and keep the temperature steady throughout cooking. Avoid lowering the heat midway unless a recipe specifically tells you to. Consistent oven heat gives you more predictable results, cleaner browning, and better control over doneness every time you bake chicken breasts.
Breast Thickness Matters
Thickness changes everything, so you can’t rely on oven temperature alone when you cook chicken breasts. A thin breast cooks much faster than a thick one, even in the same hot oven, so you need to adjust your timing to match the meat.
For even results, pound thicker pieces to a uniform thickness or slice extra-large breasts lengthwise. This helps the heat reach the center at the same pace and protects juicy thickness from drying out.
If one end is narrow and the other is bulky, the slim side will overcook before the center is done. Consistent size also improves breast texture, giving you a tender, even bite instead of a stringy edge and underdone middle.
Check Internal Temperature
To know when chicken breasts are done, check the internal temperature with an instant-read thermometer at the thickest part of the meat. Insert the probe from the side so you get an accurate reading without touching the pan or bone.
You should aim for 165°F, which is the safe minimum for poultry. If the center reads lower, keep baking and check temperature again after a few minutes.
Once it hits 165°F, remove the chicken and let it rest, because carryover heat can finish cooking the middle. Resting also helps the juices settle, so the meat stays moist.
Use this simple method every time to verify doneness and avoid dry, overcooked breasts.
Cook Chicken Thighs for Juicy Results
Chicken thighs stay especially juicy in the oven because their higher fat content helps protect the meat from drying out. You should pat them dry, season them generously, and arrange them skin-side up on a lightly oiled pan.
Chicken thighs stay juicy in the oven thanks to their higher fat content and forgiving, flavorful nature.
For the best juicy thighs, roast at 400°F and start checking at 35 minutes for bone-in pieces; boneless thighs usually finish sooner, around 25 to 30 minutes. Use a thermometer to confirm the thickest part reaches 165°F.
If you want crisp skin, avoid crowding the pan, since trapped steam softens the surface. Let the thighs rest for 5 to 10 minutes after cooking so the juices settle back into the meat. This short rest keeps each bite tender and flavorful.
If the skin browns too quickly, loosely cover the pan with foil near the end. Choose thighs when you need dependable results and forgiving cooking times.
Roast a Whole Chicken Evenly
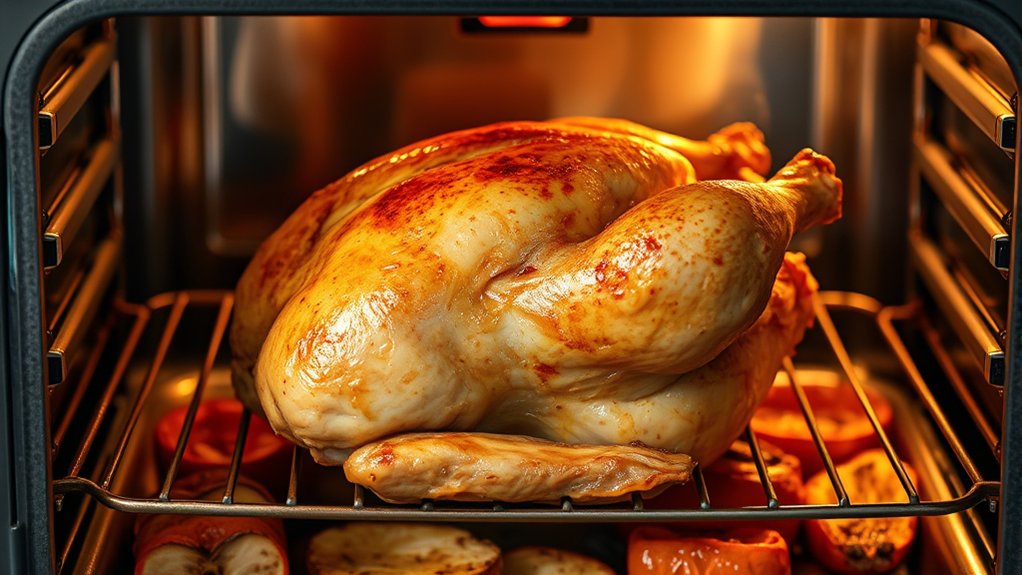
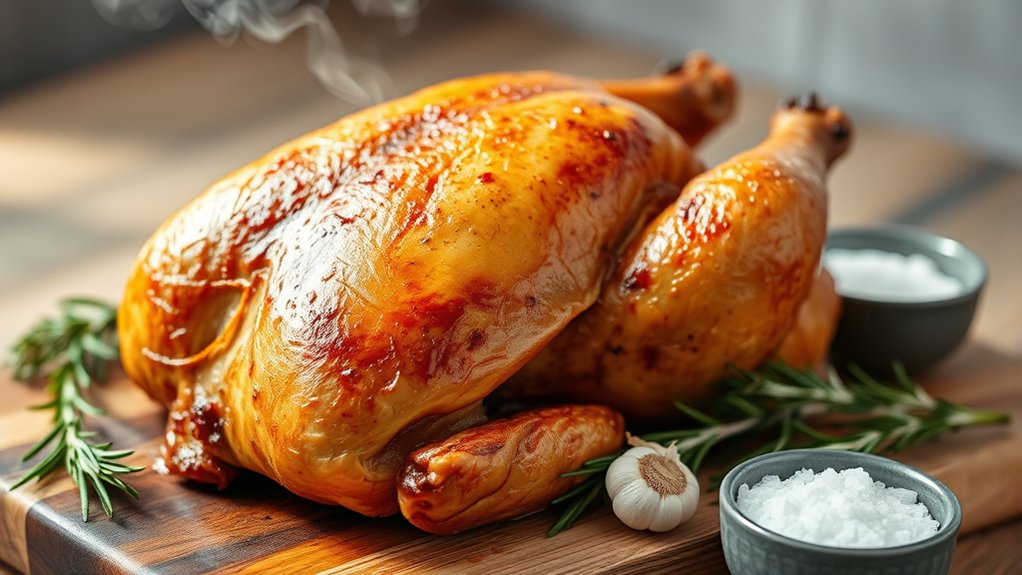
Season the whole chicken evenly, making sure you coat the breast, thighs, wings, and cavity so every part cooks with the same flavor. Truss it with kitchen twine to keep the legs and wings close to the body, which helps it roast more uniformly.
Halfway through roasting, rotate the pan so the heat reaches all sides and the chicken browns evenly.
Even Seasoning Coverage
A whole chicken cooks more evenly when you season every surface, including under the skin and inside the cavity. Pat the bird dry, then rub salt and spices across the breast, thighs, wings, and back for even seasoning.
Lift the skin gently and spread a thin layer directly on the meat; this helps flavor penetrate and supports even browning in the oven. Season the cavity too, but keep the layer light so the salt doesn’t overpower the meat.
- Use fine salt for quick, uniform coverage.
- Mix herbs with oil for better sticking.
- Coat all sides before roasting.
- Check for missed spots under the legs.
When you season consistently, you reduce bland patches and help the chicken roast with balanced color, flavor, and texture throughout.
Truss For Uniform Cooking
Trussing helps your whole chicken cook more evenly by keeping the wings and legs close to the body, which prevents the thinner parts from drying out before the breast is done. Use kitchen twine to tie the legs together at the ankles, then loop it around the tail and under the wings to secure them snugly.
Keep the bird compact so heat reaches all surfaces at a similar rate. These trussing techniques also improve even roasting by shaping the chicken into a tighter form that exposes fewer loose edges.
If your bird is very large, tuck the wing tips underneath instead of forcing them outward. Truss firmly, but don’t cinch so tightly that you tear the skin or compress the meat.
Rotate Midway Through Roasting
About halfway through roasting, rotate the chicken so it browns and cooks evenly on all sides. This rotate midway step improves your roasting technique by exposing every surface to consistent heat and reducing hot-spot overbrowning.
Use tongs or oven mitts, then turn the pan 180 degrees if your oven heats unevenly.
- Check color on the breast and thighs.
- Keep the oven door open briefly.
- Baste only if you want extra moisture.
- Return the bird to the center rack.
If one side looks pale, leave it facing the hotter wall next time. For a whole chicken, this quick adjustment helps you roast evenly without drying the meat.
Check Chicken Doneness Without Guesswork
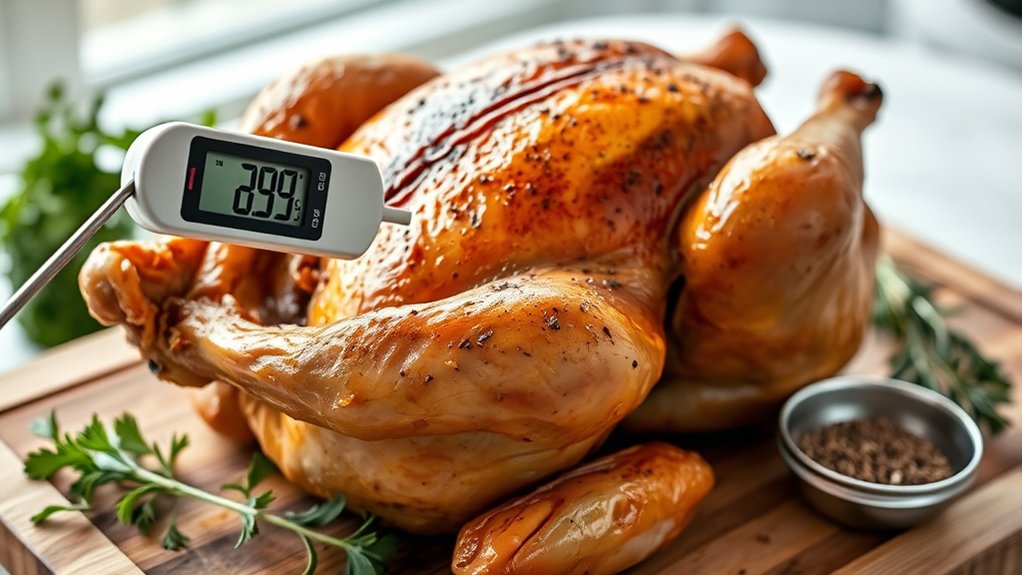
How do you know when chicken is done without cutting into it and losing the juices? Use an instant-read thermometer and check the thickest part of the breast or thigh, avoiding bone. You’re aiming for 165°F in the breast and 175°F in the thigh, which gives you perfectly cooked meat with reliable moisture retention.
Insert the probe from the side if possible, so you get an accurate reading from the center. If you don’t have a thermometer, pierce the thickest area and watch the juices; they should run clear, not pink. The meat should also feel firm but still spring back slightly when pressed.
For whole birds, check both the breast and the inner thigh, since they finish at different rates. Once it hits temperature, remove the chicken from the oven and let it rest before serving. This final check removes the guesswork and helps you serve safe, evenly cooked chicken every time.
Keep Oven Chicken Juicy and Tender
Juiciness comes from a few simple habits you can control from the start. Pat chicken dry, then season it well and add a light coating of oil so heat reaches the surface evenly. Use a moderate oven, and don’t crank the temperature unless you need extra browning.
Juiciness starts early: dry, season, lightly oil, and roast at a moderate temperature for even, tender results.
Roast on a rack or in a shallow pan so air can circulate and fat can drip away without drying the meat. Check early, then pull the chicken as soon as it reaches safe doneness, because carryover heat keeps cooking it.
- Brine briefly for better juicy texture.
- Let seasoned chicken rest 15 minutes before roasting.
- Cover loosely with foil if the skin browns too fast.
- Rest the chicken after cooking to hold tender moisture.
When you slice, cut against the grain and keep the juices in the meat. These small steps help you serve chicken that stays moist, tender, and satisfying.
Frequently Asked Questions
Can I Cook Frozen Chicken Directly in the Oven?
Yes, you can cook frozen chicken directly in the oven, but you’ll need extra oven time and a thermometer. Bake until the thickest part reaches 165°F, and don’t season or stuff it beforehand.
Should I Cover Chicken With Foil While Baking?
Yes, you should cover chicken with foil for the first half of baking to keep moisture in; then uncover it to brown. Adjust timing for oven wattage, since higher wattage cooks faster and dries quicker.
Does Marinating Change Oven Cooking Time?
No, marinating usually doesn’t change your oven cooking time much; you still follow temperature timing and check doneness. Marinating effects mostly improve flavor and tenderness, but you should always cook chicken to 165°F internally.
How Do I Reheat Cooked Chicken Without Drying It Out?
You can reheat chicken gently at 325°F, covered with foil, with a splash of broth or water for moisture retention. Use reheating methods like oven, skillet, or microwave, and stop when it’s just hot.
What Oven Rack Position Works Best for Chicken?
Use the middle rack, not the top or bottom, for most chicken. You’ll get even rack heat, steadier browning, and better chicken placement.
Keep the bird centered, with space around it, so air circulates and cooks evenly.
Conclusion
You can nail oven chicken by matching the cut to the cook time and checking the thickest part, not the clock. Breasts usually finish fastest, thighs need a bit longer, and a whole chicken takes the most time.
Since chicken can lose moisture fast, let it rest after baking. Remember this useful stat: a 165°F breast and a 175°F thigh signal safe, juicy doneness, so you don’t have to guess.
Mastering how long to cook chicken in oven ensures your poultry is both safe and delicious every time.