How to Clean Microwave Oven
Cleaning your microwave oven doesn’t have to take long. You can start by unplugging it, removing the turntable and ring, and loosening stuck-on splatter with a bowl of hot water and lemon or vinegar.
After a few minutes of steam, wipe the interior from top to bottom, then clean the tray, door, and vents. A few simple steps can leave it fresh, but there’s one part people often miss.
Key Takeaways
- Unplug the microwave, remove the turntable and roller ring, and clear out crumbs and loose debris.
- Steam the interior with a bowl of water plus vinegar or lemon for 3–5 minutes to loosen splatters and odors.
- Wipe the inside with a soft sponge or microfiber cloth, then dry thoroughly to prevent streaks and moisture buildup.
- Wash the turntable and roller ring in warm soapy water, rinse them well, and let them dry completely.
- Clean the exterior, buttons, and vents with a damp cloth or soft brush, avoiding abrasive pads and direct spraying.
Gather Your Microwave Cleaning Supplies
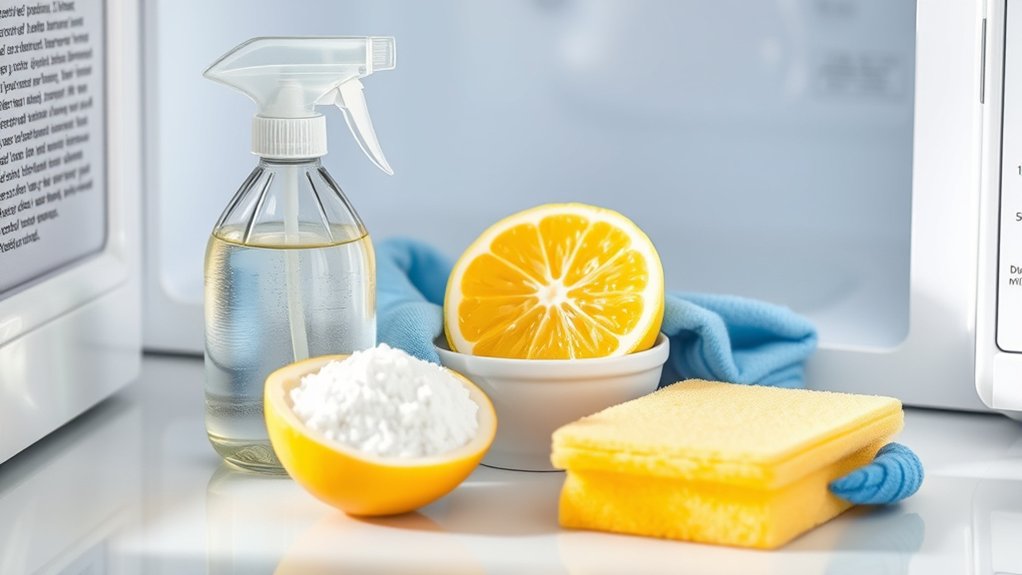
Before you start, gather a few simple cleaning supplies: a microwave-safe bowl, water, white vinegar or lemon juice, a soft sponge or microfiber cloth, and a dry towel. Set everything on the counter so you can work quickly and avoid searching mid-clean.
If you want a mild option, use vinegar or lemon juice; both help loosen stuck-on food and reduce odors. If your microwave only needs a light wipe, plain water can work well. Choose cleaners based on the mess: use vinegar for stronger buildup, or lemon juice for a fresher scent.
Avoid abrasive pads, steel wool, and harsh chemicals, since they can damage surfaces. Keep the towel handy for drying the interior after you wipe it down. When you gather supplies first, you make the rest of the job smoother and faster. Having the right tools ready also helps you clean evenly and safely.
Unplug the Microwave and Clear It Out
Unplug the microwave, then open the door and remove the turntable, roller ring, and any other loose parts. This step supports unplug safety and helps you clear clutter before you clean. Set the pieces aside on a nearby counter or sink so they’re easy to reach later.
Unplug the microwave and remove the turntable, roller ring, and loose parts before you start cleaning.
Check that the cord is fully out of the outlet. Lift out the glass turntable carefully. Remove the roller ring and note how it fits. Take out dishes, racks, or covers left inside.
Next, inspect the cavity for crumbs, wrappers, or splashes that block your cleaning. Clearing everything out gives you full access to the interior and keeps you from missing spots. If any parts are greasy, don’t scrub them yet; just separate them for washing later.
Keep the door open while you work so you can see inside clearly and avoid bumping loose items.
Use Steam to Loosen Food Splatter
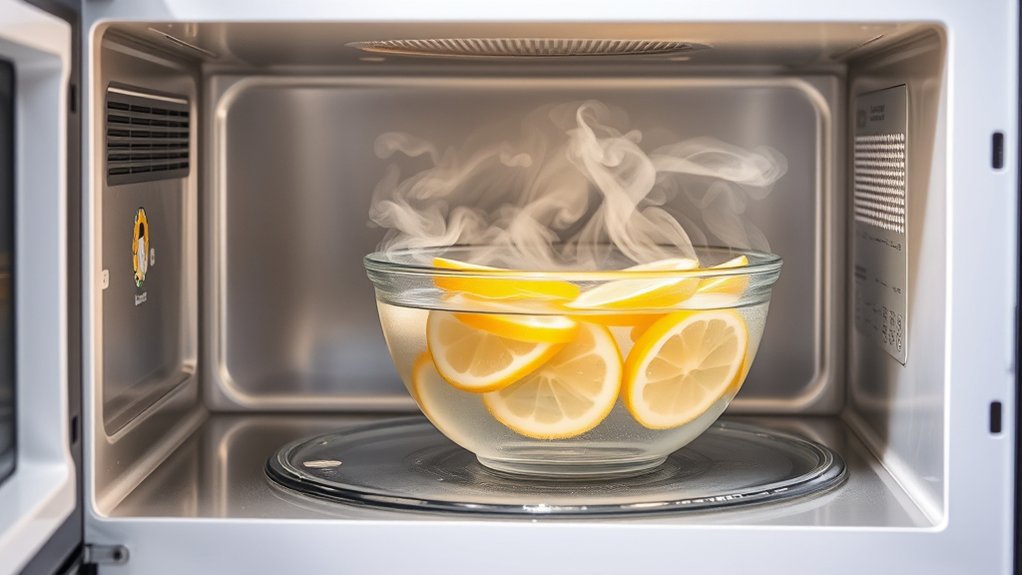
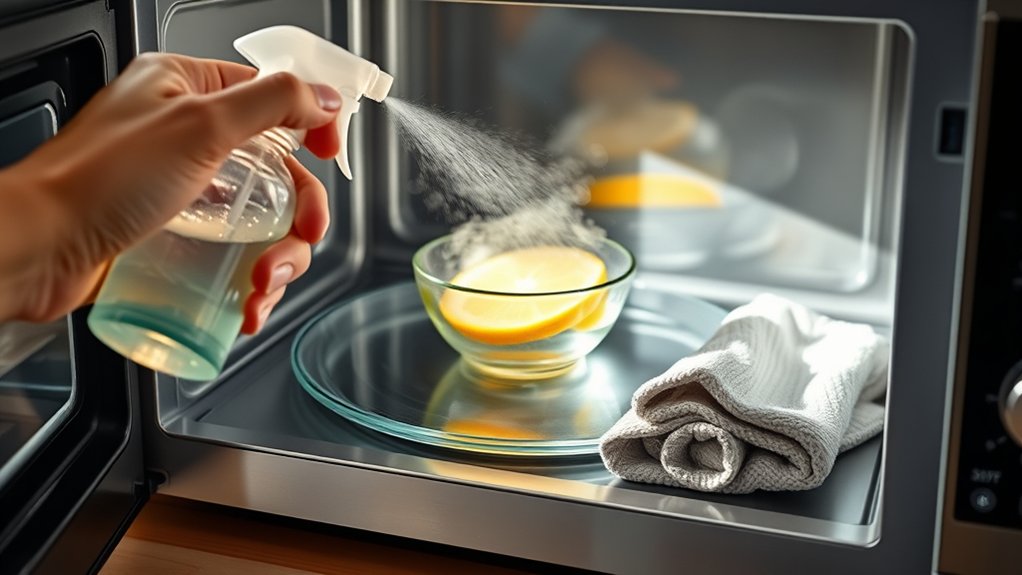
Fill a microwave-safe bowl with 1 to 2 cups of water, then add a few slices of lemon or a splash of vinegar if you want extra cleaning power. Place it in the microwave and heat it on high for 3 to 5 minutes, until the water steams and the interior fills with moisture.
Let the bowl sit inside with the door closed for another 5 minutes so the steam cleaning can soften stuck-on splatter. This step helps loosen dried food residue without scrubbing hard. Use oven mitts when you remove the hot bowl, and open the door carefully to avoid the burst of steam.
Don’t rush this pause; the extra time makes cleanup easier and safer. If the splatter looks stubborn, repeat the process once more before moving on. Keep the microwave closed during the steaming period so the moisture can work effectively on every dirty surface inside.
Wipe Down the Inside Walls and Ceiling
Once the steam has loosened the grime, take a soft sponge or microfiber cloth and wipe the inside walls and ceiling of the microwave. Work from the top down so loosened residue doesn’t drip onto clean areas.
Dip the cloth in warm water, wring it out well, and use gentle pressure. For stubborn spots, pause and rub in small circles.
- Focus on corners where splatter hides.
- Rinse the cloth often to avoid spreading mess.
- Keep moisture light so panels don’t drip.
- Check this inside walls discussion for missed spots.
If you need topic ideas for a quick routine, clean one section at a time and finish with a dry cloth. That removes streaks and helps the interior air out faster.
Stay patient, and don’t scrub with abrasive pads, since they can scratch the surface and make future cleaning harder.
Clean the Microwave Turntable and Ring
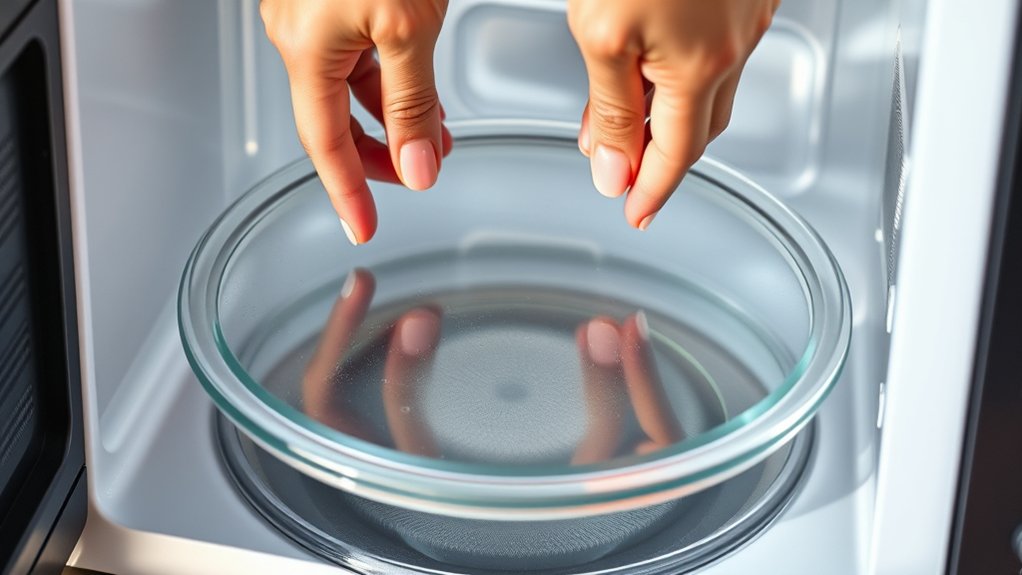
Next, remove the turntable plate and the ring underneath so you can wash them separately. Handle both with clean hands and set them on a towel to avoid slipping.
Wash the plate in warm, soapy water, then rinse and dry it fully before you put it back. For the ring, use a soft sponge or cloth and clean the wheels and support arms carefully.
If food has dried on, soak the parts for a few minutes, then wipe them away. Check that the roller track is free of crumbs and debris before reassembly.
This step supports microwave safety because a clean, properly seated turntable rotates smoothly and won’t wobble. Good turntable care also helps prevent noise and uneven heating.
Avoid harsh scrubbers that can scratch plastic or damage the finish. Once everything is dry, return the ring first, then place the plate on top and confirm it sits level.
Remove Stubborn Microwave Stains
For stubborn splatters and stuck-on stains, apply a paste of baking soda and water or spray a microwave-safe cleaner directly onto the spot. Let it sit for 5 to 10 minutes so the stain loosens, then wipe with a damp microfiber cloth.
For tougher marks, repeat the stain removal step instead of scrubbing hard, which can spread stubborn residues.
- Use a soft sponge on dried food.
- Keep the cloth warm, not dripping.
- Work from the stain’s edge inward.
- Rinse and dry the area right away.
If residue remains, make another small batch of paste and target only the problem areas. Avoid abrasive pads, which can scratch the interior. You should also check corners, the ceiling, and the door frame, since splashes often hide there.
Finish by wiping the surface once more with clean water so no cleaner stays behind.
Remove Microwave Odors
To remove microwave odors, you can steam a bowl of vinegar and water inside for a few minutes. For a fresher scent, heat lemon water and let the steam spread through the microwave.
If smells linger, leave an खुले? Wait.
Vinegar Steam Method
If your microwave still smells after wiping it down, the vinegar steam method can help neutralize lingering odors. Mix 1 cup of water with 2 tablespoons of vinegar in a microwave-safe bowl, then heat it for 3 to 5 minutes until the mixture steams.
Keep the door closed for several minutes so the steam cleaning loosens odor-causing residue. Carefully remove the bowl, then wipe the inside with a soft cloth.
This vinegar method works best when you:
- Use a shallow, microwave-safe bowl
- Watch the liquid so it doesn’t boil over
- Let steam sit before opening the door
- Wipe dry to finish the job
Repeat if needed, but avoid overusing liquid.
Lemon Water Freshening
Lemon water is a simple way to freshen your microwave and lift stubborn odors. Fill a microwave-safe bowl with 1 cup of water, then add several lemon slices or 2 tablespoons of lemon juice. Heat it on high for 3 to 5 minutes, until the water steams and the inside feels humid.
Keep the door closed for another 2 minutes so the lemon aroma can work on lingering smells. Carefully remove the bowl with oven mitts. Wipe the walls, ceiling, turntable, and door with a soft cloth or sponge.
If needed, dip the cloth in the warm lemon water for extra cleaning power. The citrus zest helps leave a clean scent, and you can repeat the process whenever odors return.
Baking Soda Absorption
Baking soda absorbs lingering odors in your microwave without adding a strong scent. Use baking soda for simple odor absorption after spills, burnt food, or strong leftovers. Place an open bowl inside the empty microwave overnight, and let it work quietly.
For faster results, stir the powder before you set it out.
- Pour 1/2 cup baking soda into a small bowl.
- Leave it uncovered in the microwave.
- Keep the door closed for several hours.
- Replace it if odors remain.
Afterward, remove the bowl and wipe the interior with a damp cloth. If smell still lingers, repeat the process the next day. This method costs little, needs no heat, and helps you keep your microwave fresh.
Polish the Microwave Door, Handle, and Controls
Wipe the microwave door, handle, and control panel with a damp microfiber cloth to remove fingerprints, splatters, and grime. If marks remain, spray a little mild dish soap solution onto the cloth, not the surface, then wipe again.
Next, use a dry microfiber cloth to polish door glass until it looks clear and streak-free. Then polish handle surfaces with the same cloth, paying attention to edges where oils collect.
For buttons and touchpads, press lightly as you clean so you don’t damage the controls or force liquid into them. If buildup sits in crevices, wrap the corner of the cloth around a cotton swab and clean gently.
Finish by buffing all touched areas with a fresh dry cloth to remove any moisture. Keep the door, handle, and controls dry so they stay clean longer and respond properly every time you use the microwave.
Clean the Microwave Vent and Exterior
Wipe the microwave’s exterior with a damp cloth and a mild cleaner to remove fingerprints, grease, and dust. Pay close attention to the vents, since buildup there can affect airflow and performance.
Use a soft brush or vacuum attachment to clear the vent grilles without pushing debris farther inside.
Wipe Exterior Surfaces
Next, give the microwave’s exterior a quick clean by targeting the vent, handle, buttons, and door. Use a soft cloth dampened with warm water and a little mild soap, then wipe gently to remove fingerprints, grease, and dust.
For good exterior maintenance, dry each area right away so moisture doesn’t sit on the finish. This simple routine supports surface protection and helps your appliance stay looking new.
Focus on easy-to-reach spots and avoid abrasive pads that can scratch.
- Wipe the handle with light pressure.
- Clean buttons without soaking them.
- Buff the door for a streak-free shine.
- Finish by drying all surfaces thoroughly.
If you clean the outside weekly, you’ll prevent buildup and keep the microwave neat, safe, and ready to use.
Clear Vent Grilles
After you’ve cleaned the handle, buttons, and door, check the vent grilles for dust and grease buildup. Unplug the microwave, then use a soft brush or vacuum attachment to lift debris from the vent grilles. Work gently so you don’t push dirt deeper into the openings.
If residue remains, wipe the area with a damp microfiber cloth and a little mild dish soap, then dry it right away. Keeping these vents clear helps maintain proper air flow and reduces strain on the fan.
If you notice unusual fan noise, clean the grilles again and inspect for blocked openings. Don’t spray cleaner directly into the vents, and never let moisture drip inside. Regular care keeps the exterior cleaner and the microwave running more efficiently.
Prevent Future Microwave Messes
To keep your microwave cleaner longer, cover food with a microwave-safe lid or paper towel to catch splatters. You’ll save time if you wipe small drips right away and prevent spills before they harden. Use shallow, microwave-safe dishes so sauces don’t slosh over the sides.
Cover food with a microwave-safe lid or paper towel to catch splatters and keep cleanup easy.
Stir foods halfway through heating to spread heat evenly and reduce bubbling. When you store leftovers, label containers with the contents and date so you know what’s inside and heat them in smaller portions.
- Use covers on soups, sauces, and greasy foods.
- Leave space in containers for steam to escape.
- Heat food in short bursts and check often.
- Clean the turntable after messy meals.
You can also place a plate under bowls that might overflow. If food boils over, stop the cycle, let the steam settle, and clean the spot immediately. These habits cut cleanup and keep your microwave fresher.
Frequently Asked Questions
How Often Should I Deep Clean My Microwave Oven?
You should deep clean your microwave oven every month, and sooner if spills happen often. Set frequency planning around usage, then wipe it weekly to prevent buildup and keep odors, grime, and stains from sticking.
Can I Use Bleach to Clean a Microwave Safely?
No, you shouldn’t use bleach inside a microwave; it can leave harmful fumes and residue. Prioritize bleach safety by choosing chemical alternatives like vinegar, lemon, or mild dish soap, and wipe surfaces with a damp cloth.
What Should I Do if Sparks Appear Inside the Microwave?
Stop the microwave immediately and unplug it. You should remove metal, check for damage, and avoid further use.
If sparks continue, call a technician because sparks safety and electrical hazards matter.
How Do I Clean a Microwave Filter or Exhaust Fan?
Remove the filter, then wash it in warm, soapy water and dry it fully; 1 clogged vent can slash airflow 30%.
You’ll clear dust buildup, vacuum the fan area, and keep up vent maintenance regularly.
Is It Safe to Clean a Microwave With Baking Soda?
Yes, it’s safe if you use baking soda gently. You’ll get a quick, effective clean in 10 second scenarios.
Avoid abrasive scrubbing, wipe residue well, and your safety verdict stays positive.
Conclusion
Now that you’ve cleaned the inside, the job isn’t finished until the outside shines too. A spotless turntable and a fresh-smelling cavity look impressive, but greasy vents and smudged controls can still make the microwave feel dirty.
Wipe the door, handle, and exterior, then keep spills from hardening by covering food and doing quick cleanups. You’ll spend a few minutes now and save yourself stubborn scrubbing later.
Regularly maintaining both the inside and outside will ensure your microwave oven stays clean and works efficiently for a long time.