How to Cook Ham in Oven
To cook ham in the oven, you start by choosing the right cut and setting your temperature with care.
A fully cooked ham only needs gentle heat to stay juicy, but the wrong timing can dry it out fast.
You’ll want to know how long to bake it, when to glaze it, and how to tell it’s done without guessing.
Understanding these steps ensures your ham turns out flavorful and moist every time.
Key Takeaways
- Choose the right ham: fully cooked or raw, bone-in for flavor, boneless for easier slicing, and size it for servings and leftovers.
- Prepare it by removing packaging, patting dry, trimming excess fat, and optionally marinating before placing it in a roasting pan.
- Bake ham at 325°F for gentle, moist heating; use an oven thermometer and keep the pan snug-fitting.
- Glaze during the last part of baking with thin, even layers of honey mustard, brown sugar, maple, or pineapple glaze.
- Cook pre-cooked ham to 140°F, rest briefly, slice against the grain, and serve warm for best juiciness.
How to Choose a Ham for Baking
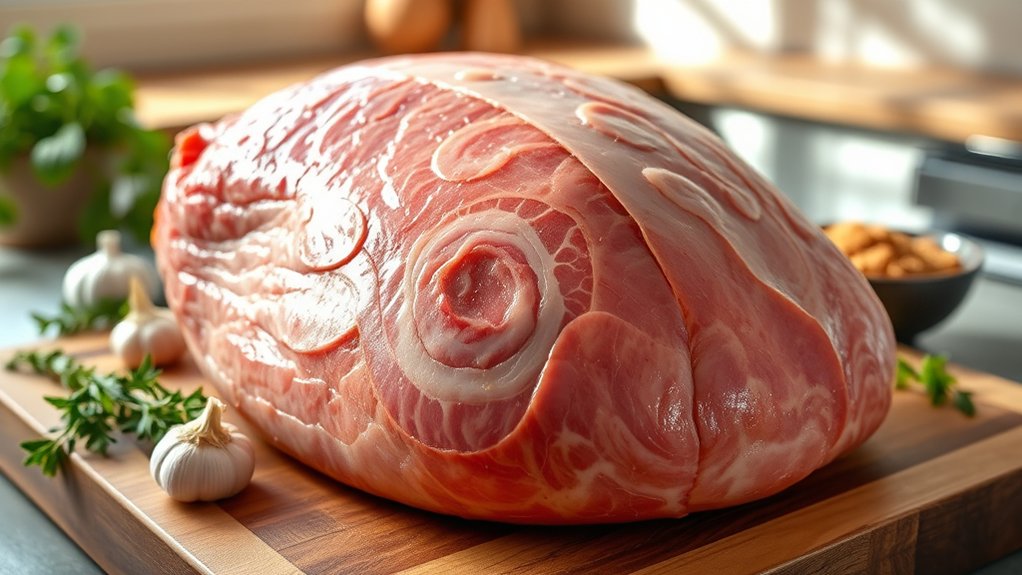
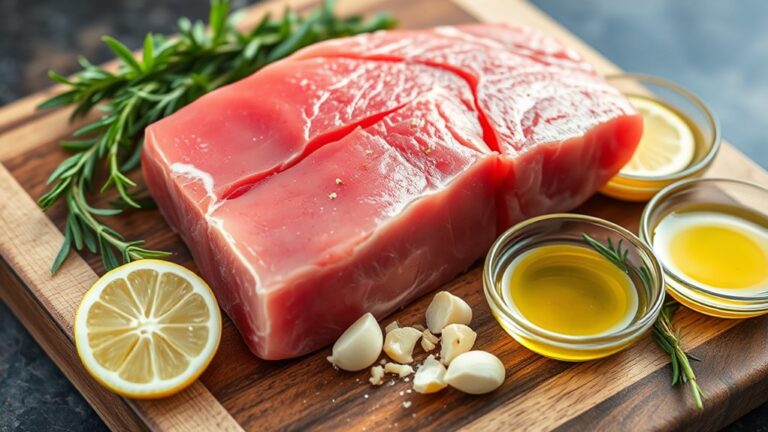
When you’re choosing a ham for baking, start by deciding whether you want a fully cooked, ready-to-eat ham or a raw, uncooked one, since each needs a different approach in the oven. Next, compare buying options at the store: whole ham, half ham, bone-in, or boneless.
Bone-in hams usually give you better flavor and a juicier result, while boneless hams slice more easily. Check the packaging labels carefully for weight, curing style, and whether the ham is smoked or water-added, since these details affect taste and texture.
Bone-in hams usually offer better flavor and juiciness, while boneless hams are easier to slice.
Choose a size that fits your serving needs, allowing extra for leftovers if you want them. Look for a ham with even color and no excessive liquid in the package. If you’re shopping for a holiday meal, plan for more generous portions per person.
Select a ham that matches your cooking goals, budget, and the oven space you have available.
How to Prepare Ham for the Oven
Once you’ve chosen the right ham, get it ready for the oven by removing all packaging, rinsing it briefly if the label recommends it, and patting it dry with paper towels. Place it on a clean cutting board, then inspect the surface for excess fat or tough skin.
If needed, use how to trim ham as a guide: shave off thick fat caps, but leave a thin layer for flavor and moisture. Check for a bone-in or boneless cut so you can handle it properly.
If you want extra flavor, decide how to marinate ham before baking; use a simple mixture that complements the meat and let it sit in a covered dish or bag in the refrigerator. Before moving on, score the outside lightly if the recipe calls for it, and set the ham in a roasting pan or baking dish that fits it snugly.
Keep everything organized so the ham goes into the oven cleanly and confidently.
Best Oven Temperature for Ham
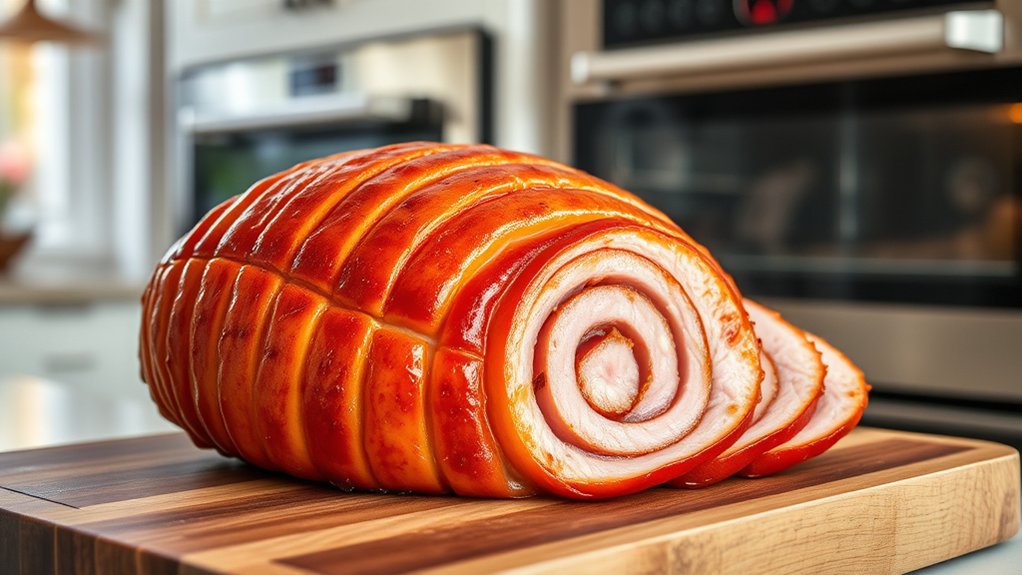
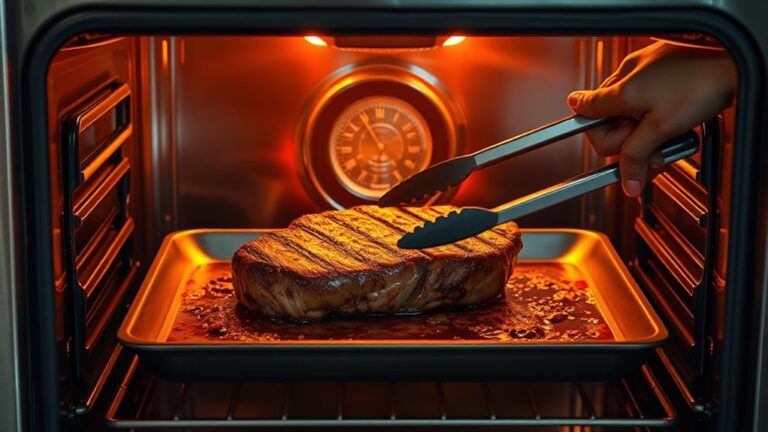
For the best oven temperature for ham, set your oven to 325°F, which heats the meat gently and helps it stay moist while it warms through. This steady oven temperature gives you even results without drying the edges.
If your ham is glazed, this setting also lets the surface caramelize slowly and taste richer. You can use these two word discussion ideas to stay focused: simple heat, even warmth, safe serving.
| Goal | Result |
|---|---|
| Gentle heating | Juicier slices |
| Stable oven temperature | Less worry |
| Careful prep | Happier table |
You’ll feel more confident when you keep the heat moderate and consistent. Check that your oven holds 325°F accurately, since swings can change the final texture.
If you’re unsure, use an oven thermometer for a quick read. With the right setting, you’re setting yourself up for a ham that looks inviting and tastes balanced.
How Long to Cook Ham in Oven
How long you cook ham in the oven depends on its size, type, and whether it’s fully cooked, but a good rule is to heat it until the center reaches 140°F for a pre-cooked ham. For a whole, bone-in ham, plan on about 15 to 18 minutes per pound at 325°F.
For a boneless ham, use roughly 10 to 15 minutes per pound. Always check the thickest part with a reliable meat thermometer, and don’t touch bone or fat when you read it. If your ham starts cold from the refrigerator, add extra time.
You can use the package label to guide ham budgeting and avoid overcooking, since larger hams need more oven time and energy. Keep oven safety in mind by using mitts, stable racks, and a roasting pan that fits securely.
Rest the ham briefly before slicing so the juices settle.
How to Glaze Ham for More Flavor
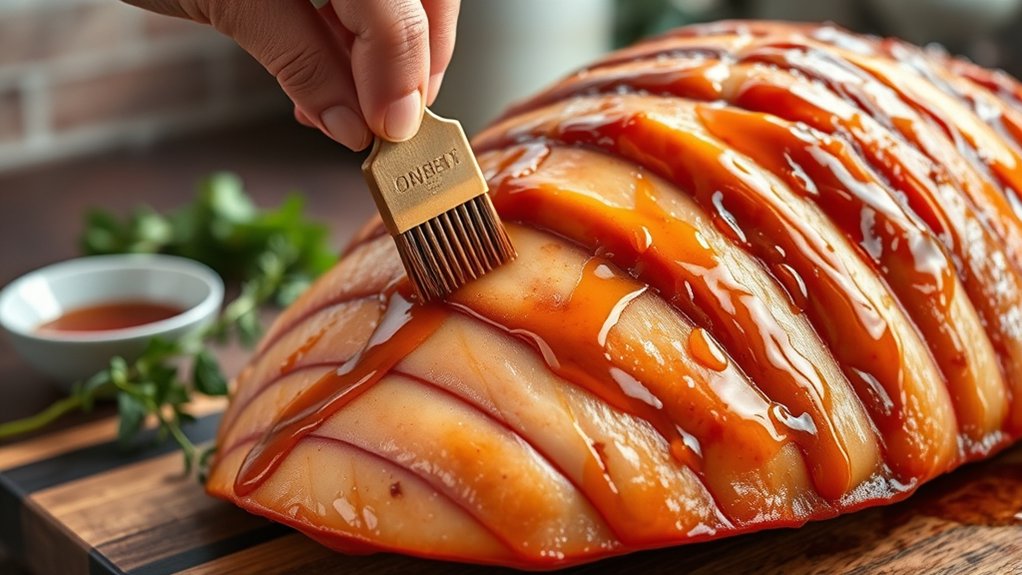
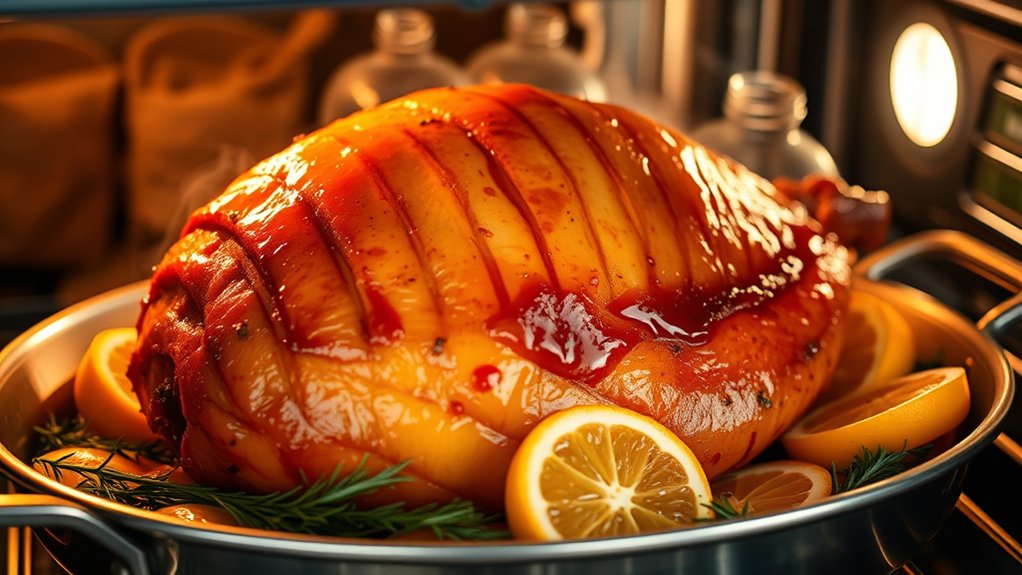
Choose a glaze that matches the ham’s flavor, such as honey mustard, brown sugar, maple, or pineapple, so you add sweetness and balance. Brush it on during the last part of baking, and keep the layer thin so it caramelizes without burning.
Rotate the ham as needed and spread the glaze evenly over the surface for consistent flavor in every slice.
Choosing A Flavorful Glaze
A good glaze turns oven-baked ham into a centerpiece with deeper flavor and a glossy finish. To choose a flavorful glaze, match the sweetness, acidity, and spice to your ham’s salt level. Brown sugar and honey create a rich glaze flavor, while mustard or apple cider adds brightness.
If you want bolder taste, use maple, orange zest, or cloves. Keep the mixture smooth so your glaze application stays easy and controlled.
- Taste the glaze before using it.
- Balance sweet and tangy notes.
- Pick ingredients that complement smoked or cured ham.
Aim for a glaze that enhances the meat instead of hiding it. A well-chosen blend gives each slice a clean, balanced finish and makes every bite more memorable.
Applying Glaze Evenly
Brush the glaze over the ham in thin, even layers so every slice gets coated without pooling in the cuts. Use a pastry brush and work from the top down, then around the sides, reaching into the scored sections without overloading them.
If the glaze seems too thick, warm it slightly or add a spoonful of liquid to improve spread and glaze adhesion. If it runs too quickly, simmer it a little longer to adjust glaze thickness.
Apply one light coat, bake briefly, then brush on another layer so each application sets before the next. This method builds flavor, color, and shine without making the ham sticky or uneven. Keep your strokes gentle and consistent for the best finish.
How to Prevent Ham From Drying Out
How do you keep ham juicy in the oven? Start by shielding it from heat loss. Cover the ham tightly with foil or a lid, and baste it with its own juices or a little broth during cooking.
If you’re learning how to marinate, use a salty, flavorful liquid ahead of time so the meat holds moisture better. Let the ham rest after baking, too; this helps the juices settle instead of spilling out when you cut it.
- Keep it covered: Trap steam with foil to slow drying.
- Use gentle heat: Bake low and steady so the exterior doesn’t toughen.
- Slice carefully: When you know how to carve, cut only what you need and serve quickly.
Don’t let the ham sit exposed on the counter or in the oven longer than needed. A little protection and attention will keep each slice tender, moist, and ready to serve.
How to Tell When Ham Is Done?
You’ll know ham is done when it’s hot all the way through and the center reaches the right internal temperature. Insert an instant-read thermometer into the thickest part, avoiding bone and fat.
For a fully cooked ham, aim for 140°F; for a raw or partially cooked ham, cook to 145°F, then rest it before checking again. If you don’t have a thermometer, look for firm meat, clear juices, and a hot center, but don’t rely on color alone.
Check early near the end of the bake, because oven temperatures vary and ham can overcook quickly. Once it’s done, move it to a carving board and let it rest so the juices settle.
Then use a sharp ham knife only after you confirm doneness. This simple test helps you avoid a dry, underheated, or overcooked ham and gives you consistent results every time.
How to Slice and Serve Ham
To slice your ham, cut against the grain with a sharp knife so each piece stays tender and easy to chew. Arrange the slices neatly on a platter, then add your sides or garnishes around them for a clean, inviting look.
Serve the ham warm, not hot, so you keep its moisture and flavor at their best.
Slicing Against the Grain
Which way should you cut? Look for the long lines in the ham; that’s the grain. When you’re slicing against it, angle your knife perpendicular to those fibers so each piece feels tender, not stringy. The grain texture tells you how the meat will separate, so check it before you start.
- Use a sharp carving knife for clean, even cuts.
- Hold the ham steady with a carving fork or your hand on the fat cap.
- Slice in smooth strokes, keeping thickness consistent for easier serving.
Cutting this way helps you preserve moisture and improves bite quality. If the ham has a bone, work around it carefully and keep your slices uniform. Serve the pieces immediately so they stay warm and juicy.
Platter Arrangement Tips
Arrange the sliced ham on a warm platter in neat, overlapping rows so it looks full and serves easily. Use platter arrangement to create balance: place thicker slices toward the center, then fan thinner pieces around the edges. Keep decorative plating simple with parsley, citrus, or roasted vegetables that won’t crowd the meat.
| Goal | What to Do | Result |
|---|---|---|
| Visual balance | Alternate slice direction | Cleaner presentation |
| Easy serving | Leave small gaps | Simple lifting |
| Contrast | Add garnish sparingly | Better decorative plating |
If you’re serving multiple guests, divide the ham into sections and leave a serving utensil near each section. Tuck any uneven ends underneath to keep the platter tidy. Finally, wipe the rim clean before serving so the arrangement looks polished and intentional.
Serving Temperature Guide
Once your ham is plated neatly, focus on serving it at the right temperature for the best texture and flavor. Let it rest 10 to 15 minutes, then slice across the grain with a sharp knife. Keep slices about 1/4 inch thick for even serving and better moisture retention.
If you need to hold it before guests arrive, cover it loosely with foil to support temperature stability without trapping too much steam.
- Warm ham serves best at 140°F; use a thermometer for accuracy.
- Reheat slices gently in a covered dish with a little glaze or broth.
- Plate only what you’ll serve now, and keep the rest wrapped to prevent drying.
Store and Reheat Ham Leftovers
| Method | Temp | Time |
|---|---|---|
| Oven | 325°F | 10–15 min |
| Microwave | Medium | 1–2 min |
| Skillet | Low | 3–5 min |
| Steamer | Gentle | 5–8 min |
Add a splash of broth or water before heating, then cover the ham to trap steam. Warm it until it reaches 165°F at the center.
If you only need a few slices, reheat just what you’ll eat. Avoid repeated warming, which dries the meat and dulls flavor.
Frequently Asked Questions
Can I Cook a Frozen Ham in the Oven?
Yes, you can cook a frozen ham in the oven, but you’ll need to allow extra time. Use oven thawing first, then roast until it reaches a safe internal temperature for serving.
Should I Cover the Ham With Foil While Baking?
Yes, you should cover it with foil at first. You’ll trap moisture, then uncover near the end for better browning.
Watch foil coverage closely, and time your glaze timing so it sets without burning.
What Size Roasting Pan Works Best for Ham?
A large roasting pan, ideally 2 to 3 inches deeper than the ham, works best. You’ll want size options that fit comfortably, with enough room for pan depths, drippings, and easy basting access.
Can I Add Vegetables to the Ham Pan?
Yes you can tuck vegetables around the ham like a cozy quilt. Choose sturdy vegetable pairing options like carrots, potatoes, and onions, and add flavor ideas with herbs or glaze so they roast evenly and taste delicious.
Is Bone-In Ham Better Than Boneless Ham?
Bone-in ham usually gives you more flavor and juicier meat, while boneless ham slices easier and serves cleaner.
When you compare bone in vs boneless, choose flavor vs texture based on your meal and convenience.
Conclusion
As you finish, think of your ham as a small hearth: steady heat feeds it, a glaze is the final flame, and rest lets the warmth settle. When you choose the right cut, bake it gently at 325°F, and watch for tenderness, you guide it from simple meat to a generous centerpiece.
Slice it against the grain, serve it with care, and save the leftovers well. Then your table keeps giving long after dinner ends. Mastering how to cook ham in the oven ensures every bite is full of flavor and warmth.