How Long Does Oven Self Clean Take
If you’re planning to run your oven’s self-clean cycle, know that the duration of oven self clean typically takes about three to four hours. However, some models finish in as little as two hours, while others can run for up to six.
The exact time depends on factors like soil level, oven size, and the cleaning setting you choose.
Heavy grease buildup, poor insulation, and the necessary cool-down time can all extend the process more than you might expect.
Keep in mind that these variables influence not just the length of the cycle but also the effectiveness of the cleaning. Being aware of this can help you better plan when to run the self-clean feature.
Key Takeaways
- Most oven self-clean cycles take about 2 to 4 hours, though some models run 2 to 6 hours.
- Heavy soil or carbon buildup can add 1 to 2 extra hours to the cleaning time.
- The oven heats to about 800 to 1,000°F, and the door stays locked during the cycle.
- After the cycle, allow full cooling before opening; some ovens need extra cooldown time.
- Once cool, wipe out the ash, clean the door and gasket, and reinstall washed, dry racks.
How Long Does Oven Self-Clean Take?
How long does oven self-clean take? You’ll usually wait several hours, because the cycle raises the cavity to very high temperatures, then lets it cool before the door unlocks. Your exact time depends on oven features such as insulation quality, rack design, lock mechanism, and whether you select a light or heavy clean setting.
If you choose a shorter cycle, you may remove less baked-on residue, while a longer cycle can handle tougher soil more effectively. Check the owner’s manual for the programmed range, since manufacturers calibrate each model differently.
For better energy efficiency, run the cycle only when the oven is already heavily soiled, and avoid opening the door or interrupting the process. Remove pans, foil, and loose debris first so the oven can maintain heat consistently.
After the cycle ends, let the cavity cool completely before wiping away ash with a damp cloth.
Standard Self-Clean Cycle Times
Standard self-clean cycles usually run from 2 to 4 hours, depending on your oven model and selected setting. During the high-heat phase, your oven reaches temperatures that burn off residue, then it cools before you open the door.
Factors like soil level, cycle length, and appliance design can change how long the process takes.
Cycle Length Ranges
Cycle length usually falls between two and six hours, with most ovens running a self-clean cycle for about three to four hours. You should check your model’s manual, because exact timing varies by brand, cavity size, and soil level. Longer settings can improve oven maintenance, but they also increase heat exposure and reduce energy efficiency if you use them too often.
- Short cycles: light residue, faster completion, less downtime.
- Standard cycles: moderate buildup, balanced cleaning performance.
- Extended cycles: heavy residue, more thorough removal, greater power use.
Plan the cycle when you don’t need the oven for several hours, and let it cool completely before opening the door. That keeps operation controlled and practical.
High-Heat Cleaning Phases
Inside a typical self-clean run, the oven spends most of its time at very high heat, often around 800 to 1,000°F, to carbonize baked-on residue so it can be wiped away later. You’ll usually see this high-heat cleaning phase hold steady for the core of the cycle, with the controls managing temperature automatically.
During this stage, keep the door locked and avoid opening it. That’s basic oven safety. You should also remove racks unless your model’s manual says otherwise, since intense heat can discolor metal.
For two word discussion ideas, consider “heat soak” and “lock cycle,” because they describe the main operating steps clearly. After the peak phase, the oven cools gradually, which still counts in total runtime and affects when you can clean up.
Factors Affecting Duration
How long your self-clean run takes depends on a few practical variables, including the oven’s design, the selected cleaning level, and how much buildup is inside. You’ll usually see standard cycles range from two to four hours, but heavier soil can extend that window.
- Oven model: Larger cavities and better insulation often require longer heat-soak times.
- Cycle setting: Light, medium, and heavy modes change temperature holds and total duration.
- Soil load: Thick grease or baked-on residue slows breakdown and increases cooling time.
For efficient oven maintenance, clear racks if your manual allows it, and plan around the cycle so you don’t interrupt kitchen ergonomics. Keep the door locked, ventilate the room, and let the appliance cool fully before wiping ash.
What Changes Self-Clean Time?
Several factors can extend or shorten self-clean time, including the oven’s model, the selected clean setting, and how much soil buildup you’re dealing with. You’ll also see differences based on the control system, door-lock design, and insulation efficiency.
Some ovens run a shorter cycle at lower temperatures, while others use a longer pyrolytic program to reach the target burn-off level. If you choose a lighter clean mode, you can reduce runtime, but you may need to repeat the cycle later as part of routine oven maintenance.
A well-sealed door helps the appliance hold heat steadily, which supports appliance safety and consistent performance. You should also check whether your oven offers steam-clean or express options, since those settings typically finish faster than full self-clean cycles.
Always follow the manufacturer’s instructions, because cycle time varies by brand, model age, and how the oven manages heat, sensors, and lock timing.
How Much Extra Time Does Heavy Buildup Add?
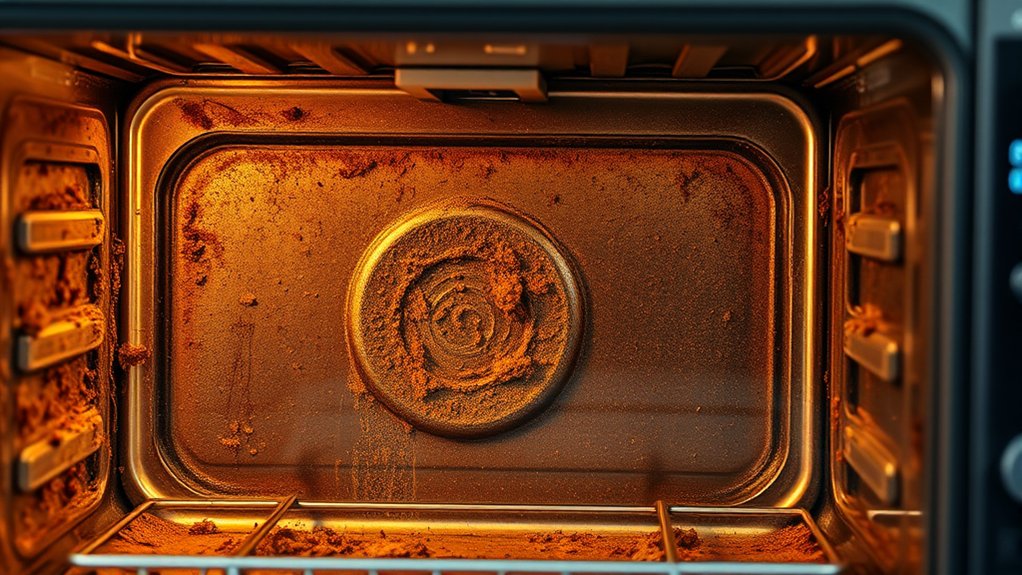
Heavy grease layers and burned-on food can extend self-clean time because the oven has to sustain high heat longer to break down residue. If buildup is severe, you may need an extra cleaning cycle to finish the job.
Plan for additional time when the cavity shows visible carbonized deposits or thick splatter.
Heavy Grease Layers
If your oven has thick grease layers, the self-clean cycle usually takes longer because the cavity must stay at peak temperature until the soil breaks down. You’ll often add 30 to 90 minutes, depending on coating depth and how evenly heat circulates.
In oven maintenance, that extra runtime is normal, not a fault. Nerdy gadgetry aside, the thermostat and door lock work harder to hold conditions steady, so don’t interrupt the process.
- Preheat delays can increase when insulation gets coated.
- Dense grease may extend cooldown after the cycle ends.
- Repeated buildup can make future cleanings longer.
For best results, run the cycle only when needed and let the oven cool fully before wiping residue.
Burned-On Food
Burned-on food can extend the self-clean cycle even more than grease because carbonized bits take longer to break down at high heat. If you’ve got thick, burnt on splatters or hardened drips, your oven may need the full rated cycle instead of a shorter setting.
Heavy buildup absorbs heat unevenly, so the cavity spends longer reaching the temperature needed to ash residue. In practical terms, you should expect the process to run closer to the upper end of the range when oven cleaning involves multiple stubborn deposits.
Scrape loose debris first, if your manufacturer allows it, since that reduces heat loss and helps the cycle work efficiently. Don’t use chemicals before self-cleaning, because they can interfere with the finish and the safety controls.
Extra Cleaning Cycles
When buildup is severe, an extra cleaning cycle can add 1 to 2 hours, and in some cases it can push the total time even longer if the oven struggles to reach a stable self-clean temperature. You’ll see this most often when grease, sugar, or charred residue coats the cavity. Use this quick check:
- Inspect the interior before starting; heavy deposits often justify another cycle.
- Monitor energy consumption, since repeat runs raise power use and heat stress.
- Watch noise levels from the cooling fan and latch mechanism; longer operation means more runtime.
If the oven still shows residue after cooling, wipe it out and rerun only when necessary. Extra cycles help, but they also extend wear, increase utility cost, and delay safe reuse.
What to Do Before You Start Self-Clean
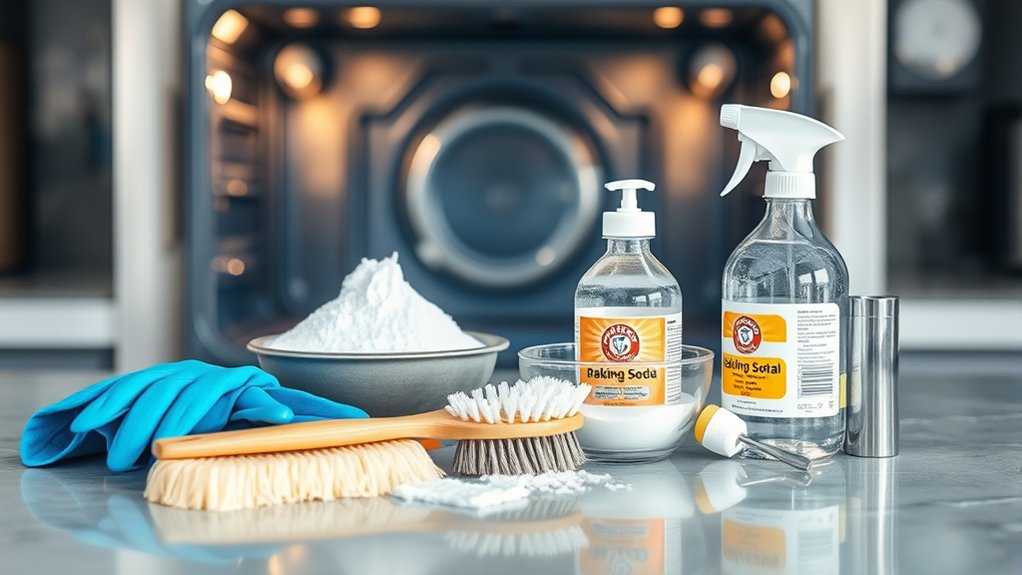
Before you start the self-clean cycle, remove the oven racks unless your manufacturer says they’re safe to leave in, clear out loose debris, and wipe up heavy food spills so they don’t smoke excessively. Check the door seal for damage and close the door firmly.
If you’ve got a vent hood, turn it on for added airflow. Lock pets and children out of the kitchen, and keep ventilation clear. Review the owner’s manual for model-specific steps, because prep can vary by brand.
These two word discussion ideas help you stay organized: safety checks, ventilation setup, and cycle timing. An unrelated topic, such as cookware storage, shouldn’t distract you from confirming that the oven is empty and dry.
Make sure any touch controls or knobs are set correctly before you begin, then start the cycle only when you’ve finished every preclean step.
What Happens During the Self-Clean Cycle
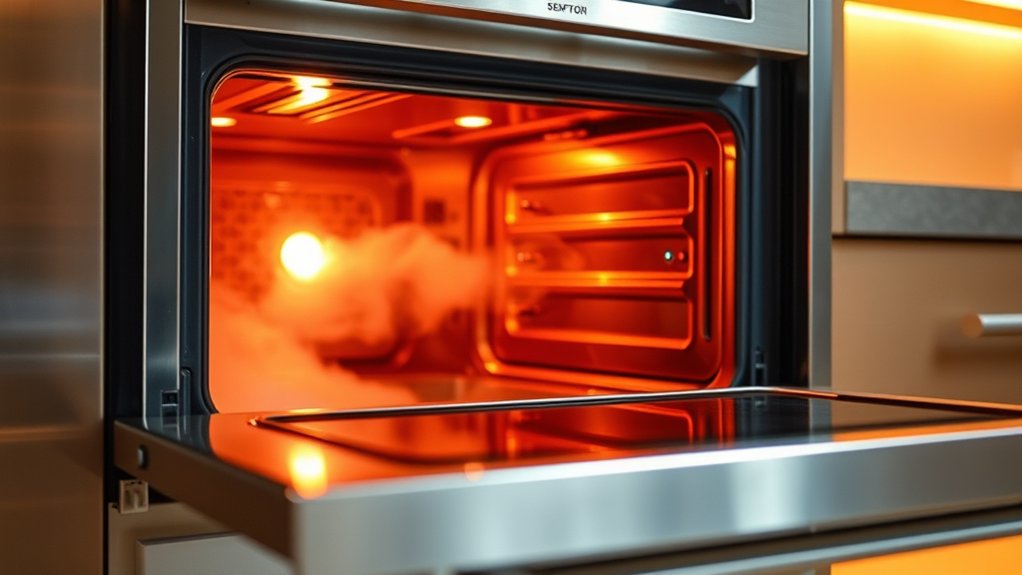
During the self-clean cycle, the oven heats to a very high temperature, usually around 800 to 1,000°F, to burn food residue into ash. You’ll see the control lock engage, and the cavity stays sealed while the cycle runs. The heating elements cycle on and off to maintain the programmed temperature, and you shouldn’t open the door until the lock releases.
During self-cleaning, the oven locks, heats intensely, and burns residue into ash until the cycle ends.
- The interior surfaces undergo intense heat exposure that breaks down grease and baked-on spills.
- The cycle runs for a set time, which your model controls automatically.
- After cooling, you wipe out the fine ash with a damp cloth.
For oven safety, keep the area clear, ventilate the kitchen, and avoid touching the exterior panels. This process supports appliance maintenance by reducing residue buildup and helping the oven operate more efficiently. Use the cycle only when needed, since repeated use adds thermal stress to components.
Why Self-Clean Produces Smoke or Odors
Self-clean smoke and odors usually come from food residue, grease, and spills burning off at very high heat. As your oven reaches its pyrolytic temperature, carbon-based deposits decompose and release visible smoke plus volatile compounds.
You may notice stronger burning odors if baked-on sugar, oil, or starch is still inside the cavity, because these materials char before they fully oxidize. If you have a heavily soiled oven, the process can also vaporize residue in the door seams, racks, and hidden corners, then push it into the air.
Keep your kitchen ventilated, and turn on an exhaust fan if you have one. You should also check that nearby smoke alarms won’t trigger from normal venting. Avoid adding cleaners, which can create more fumes.
A cleaner oven usually produces less smoke, so wipe out loose debris before you start the cycle and reduce odor output.
How to Know the Cycle Is Done
You can tell the self-clean cycle is finished when the oven’s display shows the end status, the timer reaches zero, and the cavity temperature has dropped enough for the door lock to release. At that point, you can verify completion without opening the door or interrupting appliance maintenance.
Check these indicators:
- The control panel stops counting and shows “End,” “Done,” or a similar message.
- The lock icon disappears, or the latch retracts fully, which confirms the oven has cooled to a safe range.
- The cooling fan may still run briefly; wait until it stops if your model requires it.
For kitchen safety, don’t force the door open or reset the cycle early. If the display remains active after the expected duration, consult the manual for model-specific signals. Some ovens extend cooling time after cleaning, so a finished cycle doesn’t always mean immediate access.
When the lock releases normally, you’ve confirmed the process is complete.
How to Clean Up After Self-Clean
Once the oven cools and the lock releases, remove the ash with a damp microfiber cloth or sponge. Wipe the cavity from top to bottom, then clean the door glass, gasket edge, and frame so residue doesn’t redeposit.
Once the oven cools, wipe away ash from top to bottom, including the glass, gasket edge, and frame.
For corners and vent openings, use a soft brush or cotton swab; don’t flood seams with water. If you see a light film, apply a small amount of mild dish soap to the cloth, then wipe again and dry with a clean towel.
Remove racks and wash them separately in warm, soapy water; dry them fully before reinstalling. Check the interior for flakes, then run a quick exterior wipe on the control panel and handle.
This cleanup supports oven efficiency by keeping sensors, seals, and airflow paths clear. Make it part of your maintenance habits after every self-clean cycle, and your oven will stay easier to operate, heat more consistently, and need less corrective cleaning later.
When to Use Self-Clean and When Not To
Use the self-clean cycle for moderate, baked-on residue that regular wiping can’t remove, especially when the oven cavity has a uniform layer of grease or carbonized spills. You should skip it for light splatter, fresh spills, or an oven with cracked enamel, damaged gaskets, or a failing lock. These situations call for manual cleaning, not high heat.
- Run self-clean when residue is dry and widespread.
- Avoid it if you smell gas, see smoke buildup, or have pets without ventilation.
- Follow safety reminders: remove racks if your manual requires it, vent the kitchen, and stay nearby.
Don’t trust cleaning myths that say more heat always means better results; excessive cycling can stress components and discolor finishes. If you clean after each use, you’ll rarely need self-clean at all. Use it selectively, check your manufacturer’s limits, and protect the appliance from unnecessary wear.
Frequently Asked Questions
Can I Open the Oven Door During Self-Clean?
No, you shouldn’t open it during self-clean; incompatible temperatures and door safety concerns make that unsafe.
You’ll risk burns or lock failure. Wait until the cycle ends and the oven cools completely before opening.
Does Self-Clean Use a Lot of Electricity?
Yes, self-clean can use a lot of electricity; a typical cycle draws about 2–5 kWh. You’ll reduce self-clean energy waste by running it sparingly, because high heat lowers oven efficiency during the cycle.
Is It Safe to Leave the House During Self-Clean?
No, you shouldn’t leave the house during self-clean; self clean safety depends on monitoring for overheating or smoke.
You’ll also keep oven energy usage contained by staying nearby if your model recommends supervision.
Will Self-Clean Damage Oven Racks?
Yes, self-clean can discolor or warp your oven racks, especially with coated finishes. You should remove oven racks before running the cycle, then clean them separately to protect appliance finishes and maintain smooth rack movement.
How Often Should I Use the Self-Clean Feature?
You should use self-clean sparingly, only when buildup demands it, because frequent cycles stress oven doors, raise energy usage, and wear components.
Most users need it every few months, not weekly or monthly.
Conclusion
In short, your oven self-clean cycle usually takes 3 to 4 hours, but it can run 2 to 6 hours depending on the model, the soil level, and the settings you choose.
You should prepare the oven, expect heat and odor, and wait for full cooling before wiping ash away. Use the cycle for heavy buildup, and skip it when your oven’s manual says not to, when parts aren’t safe, or when ventilation is poor.
Overall, knowing how long does oven self clean take helps you plan accordingly and ensures safe and effective cleaning.