How to Cook Chicken Tenderloins in Oven
If you’ve ever wanted to cook chicken tenderloins in the oven and have them turn out almost impossibly juicy, the oven can do it in minutes.
Preheat to 400°F, season the tenderloins well, and place them in a single layer on a lined or lightly greased pan.
Bake until they hit 165°F at the thickest point, then let them rest before you finish them with sauce or glaze—because the last step makes all the difference.
Key Takeaways
- Preheat the oven to 400°F and bake chicken tenderloins on the center rack.
- Arrange tenderloins in a single layer with space between pieces on a lined or lightly greased pan.
- Season evenly with salt, pepper, garlic powder, paprika, or herbs, then rest 10 to 15 minutes.
- Bake 12 to 15 minutes, checking early; thinner pieces may need 10 to 12 minutes and thicker ones up to 16.
- Remove when the thickest part reaches 165°F, then rest briefly before serving or glazing.
How Long to Bake Chicken Tenderloins
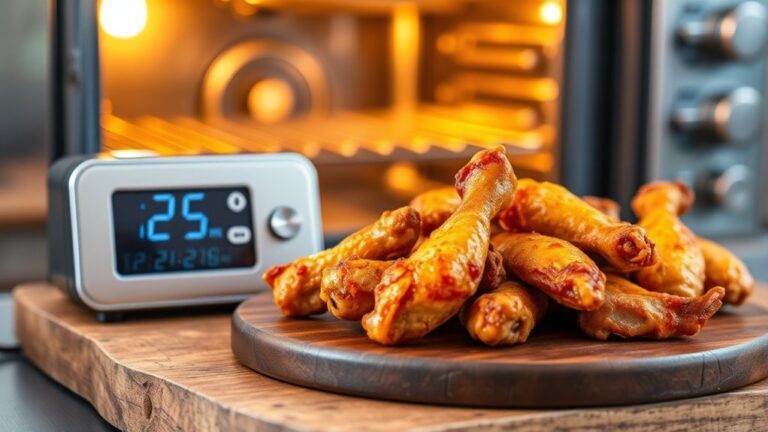
How long should you bake chicken tenderloins? At 400°F, you’ll usually need 12 to 15 minutes, depending on thickness and whether you’re baking from refrigerated or slightly chilled. Use timing guidance based on size: thinner pieces may finish in 10 to 12 minutes, while thicker tenderloins can take closer to 16 minutes.
You should start checking early, because overbaking quickly dries the meat. The most reliable target is an internal temperature of 165°F at the thickest point, measured with a fast-read thermometer. That number protects both safety and texture outcomes.
When you pull them at the right moment, the tenderloins stay juicy, tender, and evenly cooked. Let them rest briefly after baking so the juices redistribute instead of running out when you cut in.
If you want consistent results, arrange the pieces in a single layer and avoid crowding, since spacing helps them bake evenly and finish at the same time.
Season Chicken Tenderloins
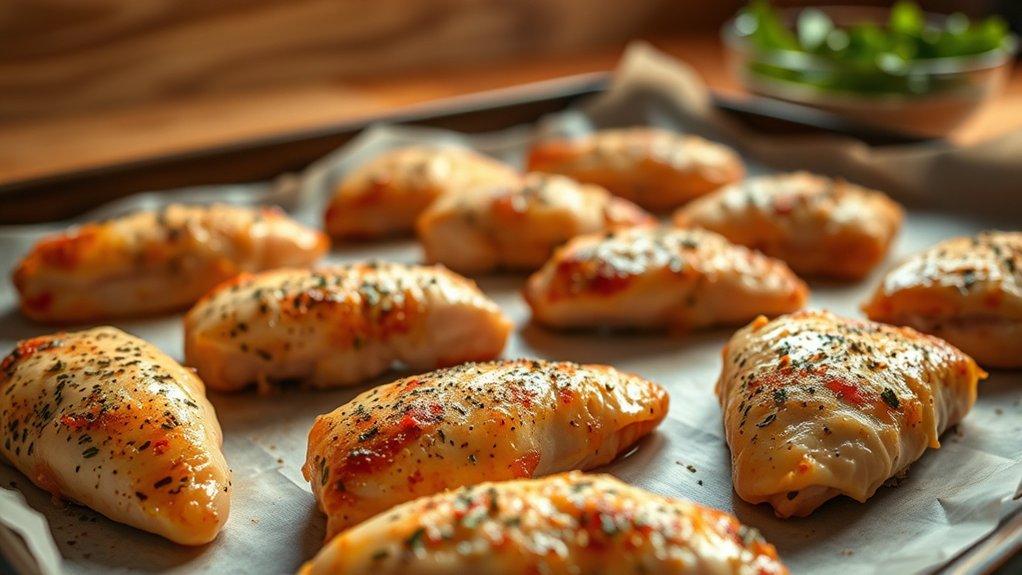
Choose seasonings that match your goal, such as salt, pepper, garlic powder, paprika, or a simple herb blend. Coat the chicken tenderloins evenly on all sides so each piece bakes with consistent flavor.
Let them rest for a few minutes after seasoning so the spices adhere and the surface can absorb the flavors before baking.
Choosing Seasonings
What seasonings work best for oven-baked chicken tenderloins? You’ll get the best results by choosing a seasoning variety that supports the chicken’s mild flavor without overwhelming it. Start with salt and black pepper, then add garlic powder, paprika, onion powder, and dried herbs such as thyme or oregano for depth.
For flavor balance, pair warm spices with a small amount of sweetness, like brown sugar or smoked paprika, if you want a richer crust. If you prefer brightness, use lemon zest or a pinch of cayenne for lift. Keep your blend focused, because tenderloins cook quickly and absorb flavor fast.
Choose seasonings that complement your meal, whether you want savory, smoky, herby, or lightly spicy notes.
Applying Evenly
To season chicken tenderloins evenly, spread them in a single layer on a plate, tray, or cutting board so every piece is fully visible. Pat them dry first, then drizzle or sprinkle your seasoning blend across both sides with controlled, even coverage.
Use your fingertips to press the spices on lightly; this helps them cling without clumping and supports moisture retention during baking. Turn each tenderloin once and coat the edges too, since uneven spots can cook with inconsistent flavor.
| Action | Result |
|---|---|
| Light, uniform coating | Better seasoning balance |
| Edge coverage | More even heat exposure |
| Gentle pressing | Improved adherence |
Keep the layer loose and separate so you can season accurately. This method gives you cleaner browning, consistent taste, and reliable results.
Resting Before Baking
After you’ve seasoned the tenderloins evenly, let them sit for 10 to 15 minutes before baking. This short rest helps the salt and spices cling to the surface, so you get more consistent flavor in every bite.
Don’t confuse this step with marinating; resting misconceptions often suggest you need long wait times, but chicken tenderloins only need brief prep timing before they go into the oven. During this pause, the seasoning hydrates slightly and the meat loses its chill just enough to promote even cooking.
Keep the pieces uncovered on the counter, and don’t let them sit longer than 20 minutes. That limit protects texture and food safety while still giving you better browning, cleaner seasoning, and a more controlled bake.
Prepare the Pan and Tenderloins
Line a rimmed baking sheet with parchment paper or lightly coat it with oil to prevent sticking and make cleanup easier. Arrange the seasoned tenderloins in a single layer, leaving space between each piece so they cook evenly.
Keep them flat and uncrowded, which helps the heat circulate and gives you better browning.
Pan Preparation
Start by preheating the oven and preparing a baking sheet with parchment paper, foil, or a lightly greased rack so the chicken tenderloins don’t stick. This pan prep keeps cleanup easy and supports even heating.
For oven safety, set the rack in the center and keep the sheet level before you add the chicken. Pat the tenderloins dry so surface moisture won’t create steam.
- Line the pan with a smooth, wrinkle-free layer.
- Lightly coat metal surfaces to prevent scorching.
- Position the sheet on a stable counter before handling raw chicken.
- Keep utensils, towels, and seasoning within reach.
Use a rimmed sheet if juices might drip. Check that the pan fits without crowding the oven wall, and avoid overloading it with accessories or loose foil.
Tenderloin Arrangement
Once the pan is ready, arrange the chicken tenderloins in a single layer with a little space between each piece so the hot air can circulate evenly. This tenderloin arrangement prevents steaming and helps each strip brown properly.
Use kitchen geometry: place the thicker ends toward the center if your pan heats more there, and keep the pieces from touching the rim where heat can be uneven. If the tenderloins vary in size, align the smallest pieces together so they finish at the same time.
Leave at least half an inch between strips, and don’t stack or overlap them. If needed, use two pans instead of crowding one. A clean, deliberate layout gives you even cooking, better texture, and more reliable results every time.
Bake Chicken Tenderloins at 400°F
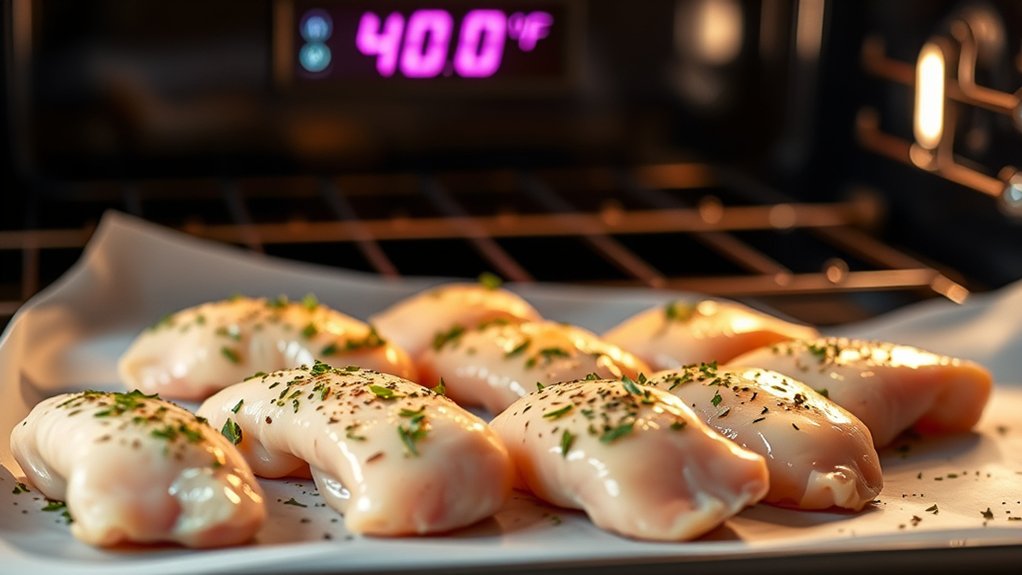
At 400°F, chicken tenderloins bake quickly and evenly, making this temperature ideal when you want juicy meat with a lightly browned exterior. After oven preheating, slide your prepared tenderloins onto the center rack so the heat surrounds them consistently.
Keep the pieces in a single layer, and let the oven do the work without overcrowding. This steady high heat helps set the tenderloin texture while building a thin, savory crust.
- Picture pale, seasoned strips on a hot sheet pan.
- Imagine steam rising as the surface firms.
- See the edges turn golden against the metal.
- Notice a clean, even bake across every piece.
Bake them until they’ve developed color and feel springy to the touch. Use the middle rack for balanced airflow, and keep the pan level so juices don’t pool. With this approach, you’ll get dependable results and tender chicken every time.
Check for Doneness
You’ll know chicken tenderloins are done when the thickest part reaches 165°F on an instant-read thermometer, with no pink remaining in the center and the juices running clear. Insert the probe sideways into the center of the largest tenderloin, not touching the pan, to get an accurate reading.
If you don’t hit 165°F, return the chicken to the oven for a few minutes, then recheck doneness in the same spot. Look for firm, springy meat that’s opaque throughout; translucent or rubbery areas need more time.
For consistent safety testing, verify several pieces, especially when the tenderloins vary in size. Let the thermometer settle for a second before you trust the number. Avoid cutting repeatedly, since that lets juices escape and can distort your assessment.
Once every piece meets temperature, you can remove the tray confidently and rest the chicken briefly before serving.
Finish With Sauces or Glazes
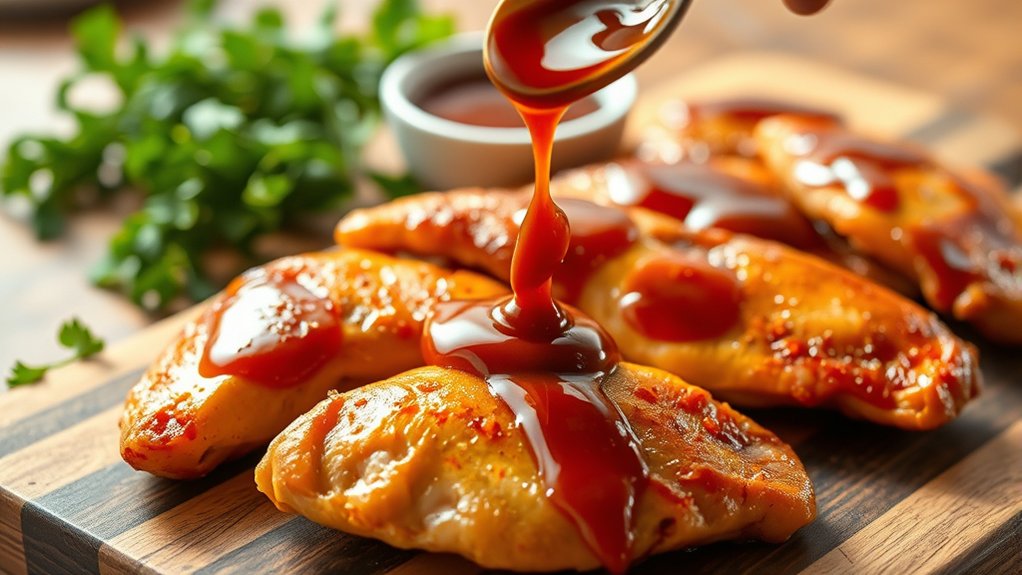
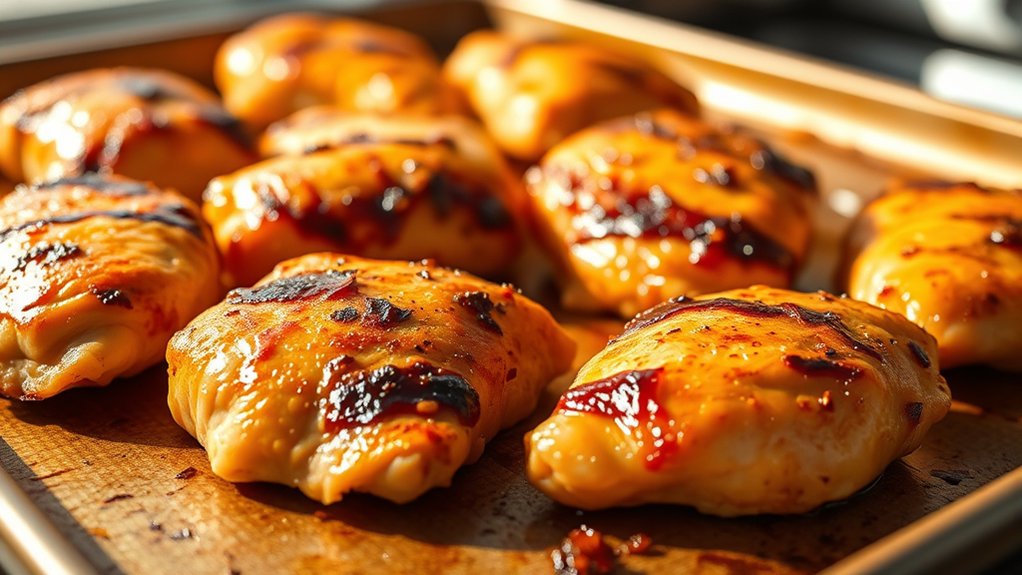
After your chicken tenderloins reach 165°F and rest briefly, you can coat them with a sauce or glaze for extra flavor. Choose a sauce that complements your cooking technique, then brush it on lightly so the surface stays crisp and the seasoning underneath still shows through.
Warm sauces cling better, while thicker glazes add shine and a concentrated finish. Use flavor pairings that match the profile you built during roasting, such as tangy citrus, sweet honey, or savory garlic.
- Brush on a thin layer so the coating sets evenly.
- Let the glaze sit for 1 to 2 minutes before serving.
- Apply a second coat only if you want stronger flavor.
- Choose sauces with balanced acidity, sweetness, or heat.
Keep the coating simple and controlled; you’re finishing the chicken, not masking it. This final step sharpens aroma, deepens taste, and gives each tenderloin a polished, restaurant-quality look.
Serve Chicken Tenderloins With Sides
Serve chicken tenderloins with sides that balance the meal and support the flavors you’ve built in the oven. Choose side pairing options that add contrast without overpowering the meat.
For a light plate, serve roasted asparagus, green beans, or a crisp salad with lemon vinaigrette; these brighten the savory chicken and preserve its tenderloin texture. If you want a heartier meal, add mashed potatoes, rice pilaf, or buttered couscous, which soak up juices and glazes well.
You can also pair the tenderloins with roasted carrots, broccoli, or Brussels sprouts for color and a deeper, caramelized note. Keep seasoning consistent across the plate so the sides echo the herbs, garlic, paprika, or citrus you used on the chicken.
Aim for one starch and one vegetable, then adjust portion sizes so the tenderloins stay the focus. This approach gives you a balanced, polished dinner every time.
Store and Reheat Leftovers
If you have leftovers, cool the chicken tenderloins quickly and store them in an airtight container in the refrigerator within two hours of cooking. To store leftovers safely, keep them on the middle shelf, away from raw meat and strong odors. Label the container with the date, and use the chicken within 3 to 4 days for the best quality and safety. When you reheat leftovers, aim for an internal temperature of 165°F.
- Transfer the tenderloins to a shallow dish for faster cooling.
- Seal them tightly so moisture stays in and contamination stays out.
- Reheat in the oven at 325°F, covered with foil, until hot throughout.
- Add a splash of broth if the chicken looks dry.
You can also reheat leftovers in a skillet over medium-low heat, turning once. Avoid repeated reheating, since it can dry the meat and increase food-safety risks.
Frequently Asked Questions
Can I Use Frozen Chicken Tenderloins?
Yes, you can use frozen chicken tenderloins, but you shouldn’t marinate them until after frozen thawing.
You’ll get even cooking and better flavor if you thaw completely, then season or marinate with proper marination timing.
Should I Marinate Chicken Tenderloins Before Baking?
Yes, you should marinate chicken tenderloins before baking for better flavor and juiciness. Marinating benefits include tenderness and moisture.
For ideal marinade timing, use 30 minutes to 4 hours; don’t overdo acidic marinades.
What Type of Baking Dish Works Best?
You’ll get the best results with a rimmed metal or glass baking dish. Glass baking heats evenly, but it retains heat longer, so watch oven temperature closely to avoid overcooking the tenderloins.
Can I Make Chicken Tenderloins Without Oil?
Yes, you can make them without oil. You can bake without oil on parchment or foil, and you can marinate without oil using yogurt, lemon juice, herbs, or broth for moisture and flavor.
How Do I Keep Tenderloins From Drying Out?
Brine or marinate your tenderloins, then pull them at 165°F. For example, after a 20-minute yogurt soak, you’ll keep tenderloin moisture and preserve oven texture.
Rest them five minutes so juices redistribute and stay succulent.
Conclusion
Cooking chicken tenderloins in the oven is simple when you keep the basics in mind: season well, bake at 400°F, and check for 165°F in the thickest piece. Since tenderloins are smaller than chicken breasts, they usually finish in just 12 to 16 minutes, so don’t overbake them.
Brush on sauce after resting for the best texture. With the right sides and proper storage, you’ll turn a quick protein into a reliable, flavorful meal every time.
Mastering how to cook chicken tenderloins in the oven ensures you get a juicy, delicious dish that’s perfect for any occasion.