How to Use Self Cleaning Oven
Using a self-cleaning oven starts with more than pressing a button. You need to clear out racks, cookware, and loose debris, then set up proper ventilation before you lock in the cycle.
The oven will reach extreme temperatures, so the door latch, timing, and safety checks matter.
If you want to avoid damage, smoke, or a stuck cycle, the next steps are worth knowing.
Key Takeaways
- Remove oven racks, pans, probes, foil, and loose debris before starting the self-clean cycle.
- Open windows and run the exhaust fan to help manage heat, smoke, and odors.
- Select the self-clean mode, choose the shortest effective setting, and confirm the door latch engages.
- Do not open the door or change settings during the cycle; let the oven lock and run uninterrupted.
- After cooling completely, wipe ash with a damp cloth and check for any latch or error issues.
How the Self-Cleaning Cycle Works
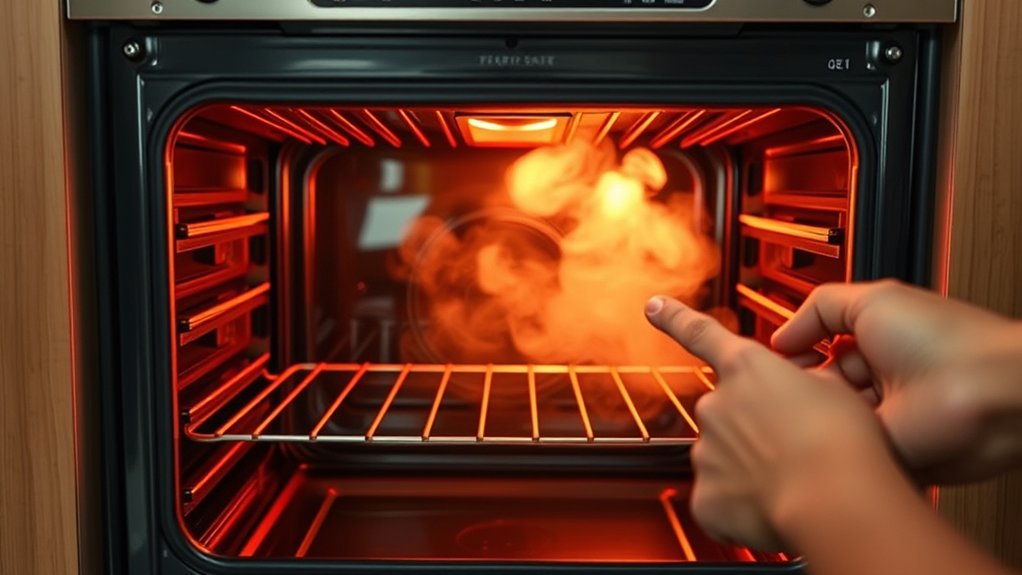
The self-cleaning cycle uses extreme heat to turn baked-on grease, food residue, and carbon into ash that you can wipe away once the oven cools. You start the cycle, and the oven locks its door, disables normal cooking functions, and raises the cavity temperature far above baking levels.
At that temperature, organic debris oxidizes instead of melting, so residue breaks down into a dry, powdery layer. You may notice smoke or odor as trapped contaminants burn off, which is why good ventilation matters. The process can last several hours, depending on soil load and model settings.
Your debate stance on self-cleaning often depends on convenience versus energy use, while ethical implications include emissions, appliance wear, and heat exposure in your home. After the cycle ends and the oven cools completely, you remove the ash with a damp cloth.
Prepare Your Self-Cleaning Oven
Before you start the self-cleaning cycle, remove the oven racks and any other loose items from the cavity. Wipe out loose debris, crumbs, and large spills so the cycle can work more efficiently.
Then check the oven settings and select the correct cleaning mode before you begin.
Remove Oven Racks
Next, pull out every oven rack so the self-clean cycle can work efficiently and avoid damaging the rack finish. This racks removal step also supports interior protection because the high heat can discolor steel, warp coatings, and make reinstallation harder.
Slide each rack straight out with both hands, then set it aside on a protected surface. If a rack resists, don’t force it; check for alignment at the side guides and ease it free. Inspect the rails for obstructions before you close the door.
Keep the racks outside the oven until the cycle ends and the cavity cools completely. That prevents heat transfer to the hardware and preserves smooth movement. When the oven returns to room temperature, reinsert each rack carefully, matching the original position.
Clear Loose Debris
With the racks out, clear any loose debris from the oven floor, sides, and door gasket so the self-clean cycle doesn’t bake on crumbs or cause smoke. Use a damp cloth or a soft brush to lift out food particles, grease flakes, and paper scraps; don’t leave large bits behind.
If you see heavy buildup, remove what you can now, since less residue means less odor and better energy efficiency during the cycle. Wipe the gasket gently so you don’t damage its seal. Keep your cleaning frequency consistent after regular cooking, especially if spills occur often, because lighter soil is easier to manage.
Finish by checking that the cavity is empty of utensils, foil, and liners before you move on to the next preparation step.
Check Oven Settings
Set the oven controls to the self-clean mode and confirm the cycle time or cleaning level matches the amount of soil inside. You should then verify the door lock engages, because the cycle won’t start until the latch is secure.
Check the manual for the exact button sequence, since models differ and cleaning myths often ignore those controls. Select the shortest effective cycle if the cavity only has light residue; longer runs raise the energy impact without improving results much.
Disable convection, bake, and broil settings, and remove racks only if your manufacturer requires it. If your oven offers a delayed start, don’t use it during unattended periods. Finally, confirm the display shows the correct temperature and cycle status before you begin.
Remove Racks and Accessories
Remove the oven racks and set them aside before starting the self-clean cycle. Take out any accessories, pans, or thermometers, and clear all loose items from the oven cavity.
This helps prevent heat damage and allows the cleaning cycle to work properly.
Remove Oven Racks
Before you start the self-clean cycle, pull out the oven racks and any other accessories so they don’t discolor, warp, or interfere with the cleaning process. To remove racks, open the oven fully, then slide each rack straight toward you until it reaches the stop.
Lift the front slightly, continue pulling, and set the rack on a protected surface. This step protects the metal finish and helps you use the self-cleaning benefits of the cycle on the oven cavity alone. Check the rack supports for debris, but don’t scrub the interior yet.
If a rack resists, move it gently to avoid bending the rails. Once you remove racks, confirm the oven is empty before you select the cleaning mode.
Take Out Accessories
Once the racks are out, take out any other oven accessories, such as broiler pans, thermometers, pizza stones, foil liners, and cookware. Verify the cavity is empty before you start the self-clean cycle. This prevents damage from high heat and supports proper ventilation timing.
If any accessory feels warm, wait until it cools fully, then remove it with dry hands or oven mitts. Check for hidden clips, probes, or inserts attached to the appliance, and detach them according to the manufacturer’s instructions.
Keep all removed parts away from the oven door and control panel. Follow basic safety precautions throughout the process, because leftover metal, ceramic, or glass can crack, warp, or stain under self-clean temperatures. Store the accessories in a safe, clean place.
Clear Loose Items
A clear oven cavity helps the self-clean cycle work safely and efficiently. Before you start, clear loose items from the oven floor and walls. Remove racks, broiler pans, thermometer probes, and any foil liners. Heat can discolor or warp these parts, and loose debris can smoke or burn during the cycle.
Use this checklist:
| Item | Action |
|---|---|
| Oven racks | Remove racks |
| Loose cookware | Clear loose items |
| Thermometers and probes | Remove racks and accessories |
After you empty the cavity, inspect the interior for crumbs, grease, or paper labels. Wipe out large particles with a damp cloth if your model allows it. Then close the door firmly and verify that nothing remains inside except the oven liner.
This preparation reduces odors, protects components, and lets the cleaning cycle operate as designed.
Choose the Right Self-Cleaning Setting
Which self-cleaning setting should you use? You should match the setting to the soil level and your oven’s design. Use a light or short cleaning cycle for routine residue, and reserve the standard or heavy option for baked-on grease.
Check your owner’s manual first, because some models limit which temperatures or durations you can select. If your oven has a lock indicator, confirm it engages before you start. Set the cycle only when the cavity is empty and the racks are either removed or approved for self-cleaning.
Follow all safety reminders in the manual, including any maximum run time and required cooldown period. Don’t start a cycle if the door won’t latch properly or if you notice damaged seals, since that can affect performance. Selecting the correct mode reduces energy use, protects components, and helps you finish the job efficiently.
Ventilate the Kitchen During Cleaning
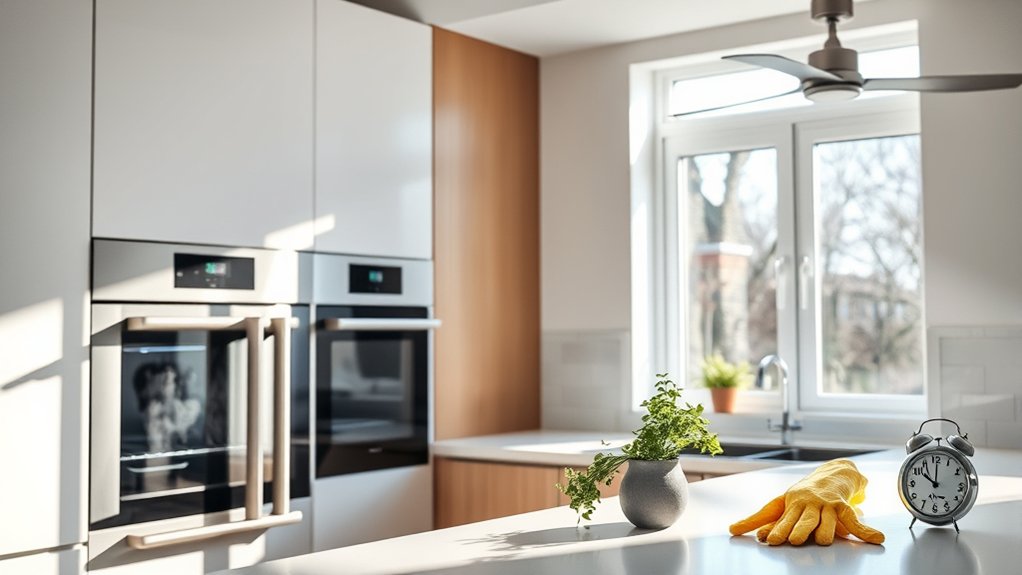
During the self-clean cycle, you should open nearby windows to increase airflow and help disperse heat and odors. Turn on the exhaust fan before starting the cycle and keep it running until the oven cools.
This reduces smoke buildup and helps maintain safer kitchen air quality.
Open Windows
Open the kitchen windows before you start the self-cleaning cycle so fresh air can move through the room and help vent smoke, heat, and odors. Use at least two open windows, if possible, to create cross-flow and ventilate kitchen air more effectively. Keep the openings wide enough to maintain airflow, but secure screens and latches first.
Clear items from window sills.
Check that curtains won’t touch hot surfaces.
Close windows after the cycle ends and the oven cools.
If outdoor conditions are unsafe, open windows only as much as you can manage without letting in rain or debris. This simple step reduces buildup of fumes, improves comfort, and supports safer cleaning without changing the oven’s operation.
Turn On Exhaust Fan
Turn on your kitchen exhaust fan before you start the self-cleaning cycle so it can pull smoke, heat, and odors out of the room. Keep the exhaust fan running at the highest safe speed for your model, and confirm that vent placement isn’t blocked by cabinets, grease, or dust.
You should also check that the filter is clean, since a clogged filter reduces airflow and can let fumes linger. If your range hood vents outdoors, verify that the damper opens fully. If it recirculates air, replace the charcoal filter before cleaning.
Keep the kitchen door closed enough to contain fumes, but maintain the airflow path. When the cycle ends, leave the fan on until the oven cools and the air clears.
Start the Self-Cleaning Cycle
Now that the oven is prepared, you can start the self-cleaning cycle by selecting the clean function and confirming the cycle settings on the control panel. Check the programmed duration, then press start once you’ve verified the lock engages. This step supports oven safety because the door stays secured while the cavity reaches cleaning temperature. It also improves energy efficiency by using the manufacturer’s preset cycle instead of manual heating adjustments.
- Confirm the display shows the correct clean mode.
- Make sure the door latch indicator appears.
- Keep controls untouched until the cycle begins.
If your model offers multiple cleaning levels, choose the one that matches the soil load and your time available. Use the shortest effective setting to limit unnecessary power use. Once the cycle begins, let the appliance run without interruption, and avoid opening the door or changing settings. If the panel shows an error code, cancel the cycle and consult the user manual before restarting.
What to Expect During the Cycle
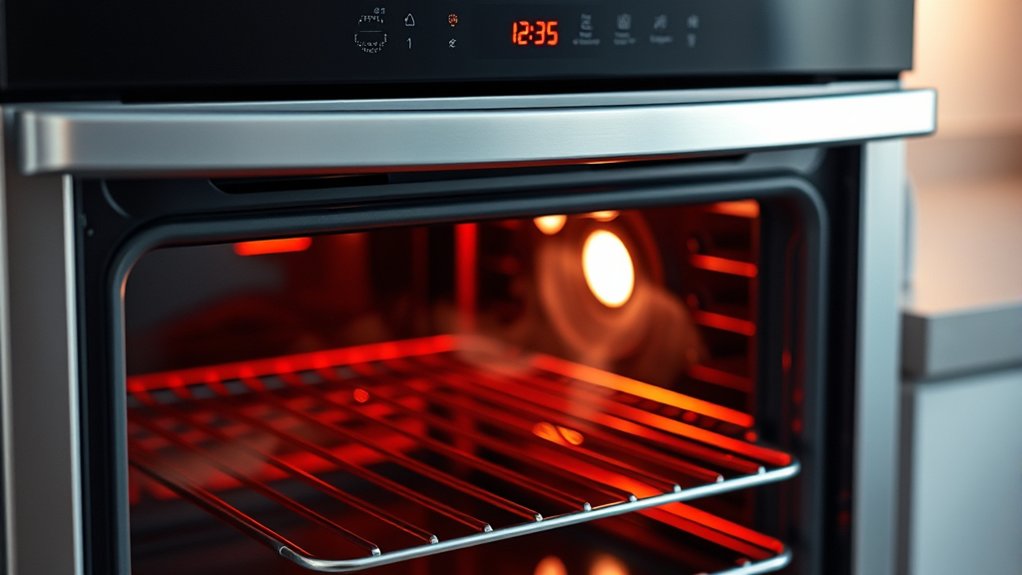
During the self-cleaning cycle, you’ll notice the oven lock stay engaged, the cavity heat to very high temperatures, and the control panel count down the programmed time. Expect a burnt-odor phase as soil turns to ash; that’s normal.
You may hear fans cycle on and off to manage component temperatures, and the door may stay tightly sealed until the electronics confirm safe conditions. Keep clear of the appliance, and don’t interrupt the cycle unless the manual directs you to stop it.
Avoid subtopic derailment by treating unrelated noises, light smoke, or flashing indicators as standard two word ideas: heat expansion, odor release, fan control. These signals usually reflect normal operation, not failure.
If the display shows an error code, note it for troubleshooting later. Do not open the door, add cleaners, or place cookware inside. Your job now is simple: monitor the panel, verify the cycle completes, and wait for the oven to finish its programmed cleaning sequence.
Let the Oven Cool Completely
When the cycle ends, leave the oven door closed and let the cavity cool to room temperature before you do anything else. This pause protects you from burns, preserves components, and supports energy efficiency by avoiding unnecessary heat loss. For home maintenance, treat the cooling interval as a required lockout period.
- Check the display or indicator light only; don’t open the door early.
- Keep children and pets away from the appliance until the exterior feels safe.
- Verify that nearby cabinets and counters are no longer radiating excess heat.
You’ll usually need one to three hours, depending on your oven’s insulation and the cleaning mode used. Do not force the door open, and don’t run ventilation fans at high speed unless the manufacturer recommends it. Once the cavity is fully cool, you can proceed with the next maintenance step confidently and safely.
Clean Up Ash and Residue
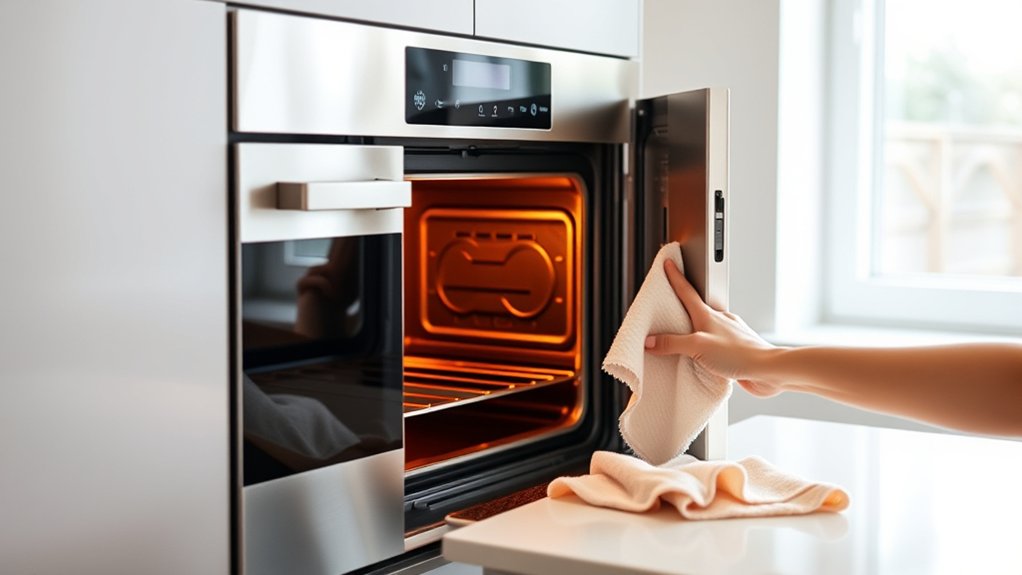
Use a damp microfiber cloth or soft sponge to wipe the ash from the oven floor, walls, racks, and door glass. You’ll remove the fine powder left after the cycle and restore a clear view of the cavity.
Use a damp microfiber cloth or soft sponge to wipe away ash and restore a clear oven cavity.
Wring the cloth well so you don’t leave excess moisture, then rinse and refold it as it loads with residue. For corners and vent edges, use a soft nylon brush or a vacuum with a brush attachment to lift settled ash without scratching enamel.
Wipe the interior again with clean water to capture remaining particles, then dry all surfaces with a lint-free cloth. Don’t use abrasive pads or harsh cleaners; they can damage the finish.
These simple steps correct self cleaning myths that say residue disappears completely and maintenance myths that claim extra products improve results. A proper wipe-down keeps the oven ready for normal cooking and helps prevent ash from transferring to cookware.
Fix Common Self-Cleaning Problems
If your self-clean cycle doesn’t start, stops early, or leaves a heavy smoke smell, check the basics first. Confirm the door fully latches, the control panel accepts the command, and the oven isn’t locked out by a hot interior. Remove racks, foil, and large debris before retrying; these can trigger faults and excess smoke.
For cleaning safety, ventilate the kitchen, keep pets away, and never use commercial cleaners during the cycle.
- Verify power: check the breaker, plug, and display for error codes.
- Inspect the latch: a misaligned door switch can cancel the cycle.
- Reduce smoke: wipe heavy grease before running self-clean.
If the cycle still fails, consult the manual for reset steps and temperature limits. Persistent overheating, repeated shutdowns, or a burnt smell can indicate a faulty sensor, lock motor, or control board. Schedule service promptly.
Good appliance maintenance prevents repeat issues and keeps the oven reliable.
Frequently Asked Questions
How Often Should I Use the Self-Cleaning Cycle?
You should use the self-cleaning cycle only when needed, typically every 3–6 months, depending on usage. Match the frequency of use to your maintenance schedule, and don’t run it after minor spills.
Can I Self-Clean an Oven With a Locked Door?
No, you can’t self-clean with a locked door; that’s a sealed gate, not a green light.
If it won’t disengage, you’ve got an unrelated topic or irrelevant concept. Check the latch, power, and manual first.
What if My Oven Smells Like Burning During Cleaning?
Stop the cycle, ventilate the kitchen, and check for spills or debris. You should prioritize cleaning safety and odor management; excessive smoke can signal residue burning, but a slight smell’s normal during self-cleaning.
Are Self-Cleaning Ovens Safe for Pets and Children Nearby?
No, you shouldn’t keep pets or children nearby; prioritize pet safety and child safety.
You can use the oven’s cleaning cycle only with ventilation, closed doors, and supervised access after it cools completely.
Can I Use Oven Cleaner on a Self-Cleaning Oven?
No, you shouldn’t use oven cleaner on a self-cleaning oven; it can damage the self-clean cycle.
You’d rely on manual cleaning or self-cleaning mode instead, because the old-world chemistry clashes with modern coatings and safety.
Conclusion
You’ve now got the basics to run a self-cleaning oven safely and efficiently. When you prep the cavity, pick the right cycle, and ventilate the kitchen, the cleaning process works like a controlled burn, stripping away residue with minimal effort from you.
Let the oven cool fully before you touch anything, then wipe out the ash. If a problem pops up, stop and check the manual so you don’t turn a simple cycle into a repair.
Following these steps will help you get the best results and maintain your appliance. With proper care, using a self-cleaning oven can be a convenient and effective way to keep your oven spotless.