How to Remove Oven Door
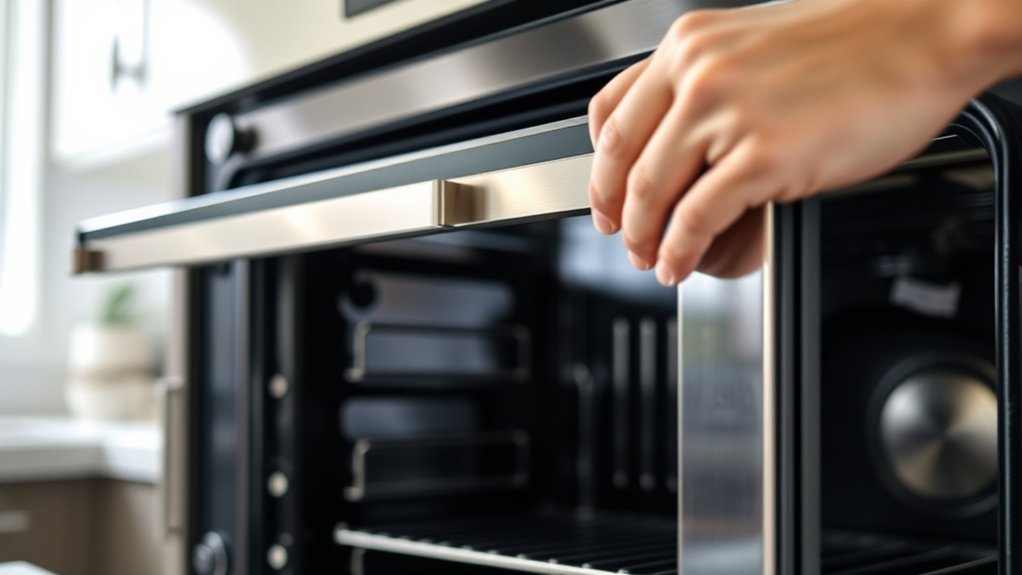
Turn off power to the oven, let it cool completely, and clear a padded space before you start removing the oven door. Opening the door fully is essential to access the hinge locks or clips.
Release the hinge locks or clips carefully. Then, grip both sides of the door and lift it straight up to free it from the slots.
Set the door down carefully on the padded surface. Check the hardware thoroughly before you reinstall the oven door. The steps are simple, but one missed detail can change the result.
Key Takeaways
- Turn off power, let the oven cool completely, and clear a padded area for the door.
- Check the model manual and hinge locks or retention clips before starting.
- Open the door fully, grip both sides firmly, and support its full weight.
- Release hinge locks or clips, then lift the door straight up to clear the slots.
- Set the door on a padded surface and inspect hinges, glass, gasket, and latch for damage.
What You Need Before Removing the Oven Door
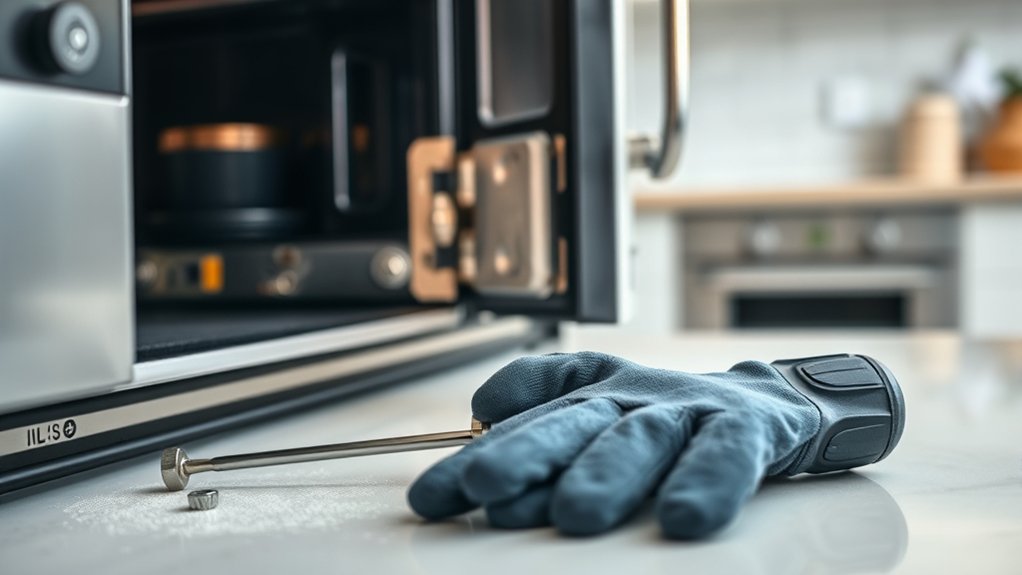
Before you start, gather the right tools and check the oven’s model-specific instructions so you can remove the door safely. You’ll usually need work gloves, a screwdriver or nut driver, a padded surface, and a helper for heavier doors.
Gather the right tools and check your oven’s instructions before safely removing the door.
Clear the area so you can set the door down without scratching the finish. Turn off power to the oven, then let every surface cool completely. Inspect the hinges and latch points for wear, buildup, or damage before you move anything.
Good hinge safety starts with knowing how the hardware locks and releases on your model. If the door uses retention clips or hinge locks, confirm their position before you begin. Keep the manual nearby so you can verify door alignment later during reinstallation.
Take a photo of the hinge layout if you want a quick reference. With the right preparation, you’ll reduce the risk of damage and make removal smoother and safer.
Remove the Oven Door Safely
Open the oven door fully and locate the hinge locks or retention clips at both lower corners. Keep one hand on each side of the door so you can control its weight during safe handling. If the door feels unstable, stop and realign your grip before moving it further.
Protect the glass and finish by avoiding contact with hard surfaces. Use this quick guide:
| Checkpoint | Action |
|---|---|
| Door position | Hold it fully open |
| Grip | Support both sides evenly |
| Surface | Clear nearby objects |
| Movement | Keep motions slow |
| Inspection | Note hinge maintenance needs |
Maintain steady pressure and follow the manufacturer’s layout for your model. Do not force the panel or twist the frame, since uneven stress can damage components.
If residue or wear is visible near the hinge area, pause and inspect it before continuing. Controlled movement reduces strain, improves safe handling, and supports hinge maintenance throughout the removal process.
Release the Hinges
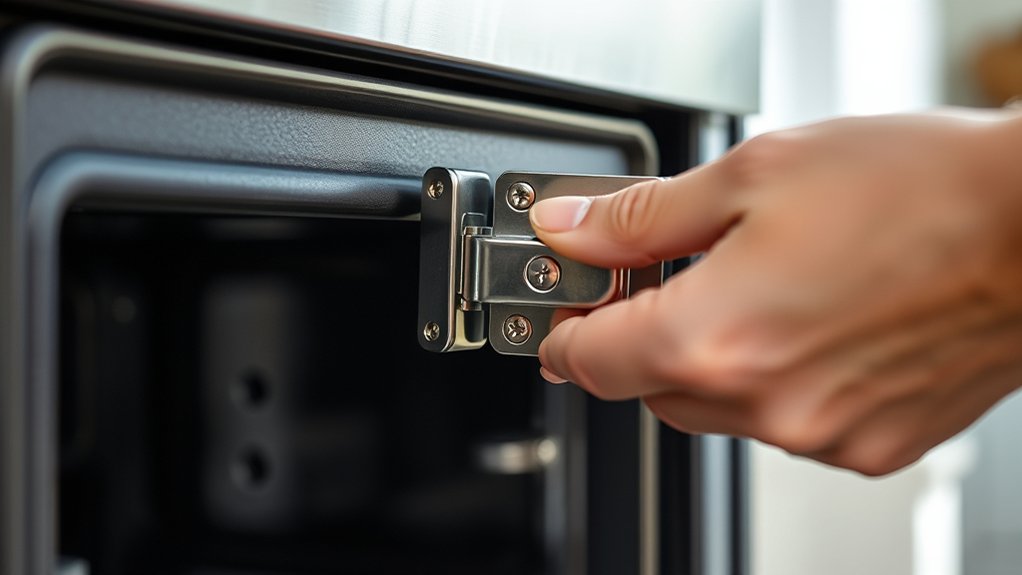
With the door fully supported, flip each hinge lock or retention clip into the released position. Keep steady door support so the hinge arms don’t snap back under spring tension.
If your model uses locking tabs, pry them gently with a flat tool until they rest open; if it uses swing-up clips, rotate them until they stop. Check both sides and make sure they’re set equally before you proceed.
This step is critical for hinge safety because a partially released hinge can bind or shift unexpectedly.
Keep your hands clear of the hinge path and maintain control of the door edge. You should feel the hinges relax once the locks are free.
If one side resists, stop and verify the clip position rather than forcing it. Confirm that nothing is catching at the frame, then hold the door level and ready for removal.
Don’t rush this stage; a clean release prevents damage to the hinges, hinge seats, and surrounding hardware.
Lift the Door Off the Hinges
Hold the oven door firmly in place so it stays aligned with the hinge slots. Lift it straight up with both hands, keeping the motion even and controlled.
Once the hinges clear, move the door away from the oven and set it down carefully.
Secure Door Position
Once the door is fully open at a stable angle, grip both sides firmly and lift straight up to disengage the hinge arms from the slots. Keep the panel level to preserve door alignment and maintain hinge safety during removal.
| Checkpoint | Action |
|---|---|
| Angle | Hold the door fully open |
| Grip | Secure both sides |
| Motion | Lift evenly |
| Resistance | Stop if binding occurs |
| Result | Clear the hinges |
Do’t twist, tilt, or jerk the door. Support its weight with steady pressure so the hinges release cleanly. If one side rises faster, lower it slightly and reset your grip. Keep your fingers clear of the hinge area and the cabinet edge. Once both arms clear the slots, guide the door away from the oven and set it on a protected surface.
Lift Straight Up
Lift the door straight up to disengage the hinge arms from the slots. Keep both hands under the door and raise it evenly; don’t tilt, twist, or pull forward.
As you lift, maintain a stable stance so the door clears the hinge receivers without binding. If the door feels stuck, lower it slightly, realign, then lift again with controlled pressure.
Once free, move the door away from the range and set it on a padded, level surface. This step has clear subtopic relevance because it completes removal after hinge release.
Even without H2 absence in the visible layout, you should treat the motion as a single, focused action. Check the hinge ends for damage before reinstalling later.
Set the Door Down Safely
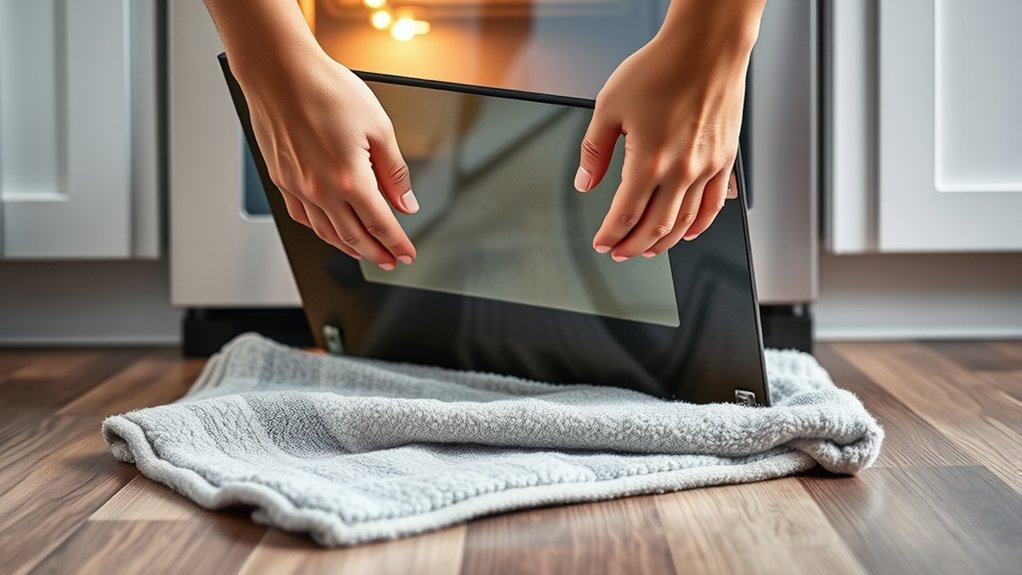
Gently lower the oven door onto a padded surface, such as a folded towel or blanket, to protect the glass and hinges. Keep both hands on the outer frame and guide it down without twisting. Use a level, stable work area so the door doesn’t rock or slide.
If you’re handling a heavy unit, ask for help to maintain control and reduce strain. This step supports two word idea1 and two word idea2 by preventing impact damage and preserving alignment.
| Surface | Benefit | Risk |
|---|---|---|
| Folded towel | Cushions glass | Minor shift |
| Blanket | Spreads load | Edge snag |
| Rubber mat | Adds grip | Limited padding |
| Cardboard | Temporary support | Compression |
Once it’s down, check for visible stress, chipped enamel, or bent trim. Don’t stack tools on top of it. Keep the door closed only if it rests flat and stable.
Remove an Oven Door With Hidden Hinges
If your oven uses hidden hinges, open the door fully and look for hinge-lock tabs or release levers near each hinge. Rotate or lift the tabs into the locked position, if your model provides them. Then close the door slowly until it stops at the removal angle, usually a few inches from fully closed. Keep both sides even so you don’t bind the hinge arms.
Grip the door firmly at both lower corners and lift upward while pulling slightly outward. The hinge arms should slide free from the slots. If the door resists, reopen it, confirm the locks are engaged, and try again. Do not force the parts.
Set the door on a padded surface with the exterior facing up. Inspect the hinge pockets and hardware before you remove hinges for cleaning or replacement. When you reinstall the door, check door alignment and verify the latch moves smoothly before use.
Remove an Oven Door on Gas and Electric Models
For a gas oven, you’ll usually open the door fully, flip the hinge locks if present, and lift the door straight up and out.
For an electric oven, you’ll follow the same hinge-release steps, but check the model manual because some units use different latch positions. In both cases, support the door evenly so you don’t strain the hinges or damage the frame.
Gas Oven Door Removal
To remove a gas oven door, you’ll usually start by opening it fully and locating the hinge locks or retaining clips at both lower corners. Switch off the appliance, cool it completely, and follow gas safety practices before you proceed.
Flip each lock up or slide it outward, depending on your model, to secure the hinges in the open position. Close the door slowly until it stops at the removal angle, usually about 10 to 15 degrees, then grip both sides firmly and lift straight up and out.
Keep the door level to prevent twisting the hinge arms. Set it on a padded surface, inspect the hinges for wear, and note any hinge maintenance needs before reinstalling the door or servicing the unit.
Electric Oven Door Removal
Electric oven doors usually come off in a similar way, but you should always check your model’s manual before you start. Open the door fully, then locate the hinge locks or retaining clips near the lower hinges.
Flip each lock up, if present, to release tension. Grip the door at both sides, close it to the first stop, and lift straight up while pulling slightly toward you. Keep the door level so the hinges clear the slots cleanly.
Place it on a padded surface to avoid glass damage. If your oven uses hidden hinges, follow the manual’s release sequence exactly. Reinstall by aligning the hinges, opening fully, and lowering the locks.
These two word ideas fit unrelated topics, but the method stays the same.
Clean or Repair the Door Parts
Now that the door is off, inspect the hinges, gasket, glass, and latch for grease, debris, cracks, or bent hardware. Wipe metal parts with a degreaser and a nonabrasive cloth, then dry them completely.
Inspect hinges, gasket, glass, and latch for grease, debris, cracks, or bent hardware; clean and dry thoroughly.
If grime sits behind trim, proceed carefully with removing panels so you can reach hidden buildup without bending the frame. While you’re inside, focus on inspecting hinges for wear, looseness, or distorted springs; replace any part that doesn’t move smoothly or hold alignment.
Clean the gasket with mild soap and water only, and check for hardening, tears, or compression loss. Wash the glass with an oven-safe cleaner, avoiding edge seals and printed markings.
Tighten loose screws, but don’t overtighten stripped threads. If the latch sticks, clear residue and verify that its catch engages cleanly. Replace cracked glass, warped brackets, or damaged seals before you move on.
Reinstall the Oven Door
Align the door hinges with the slots on the oven frame and slide the door fully into place. Keep the door level so the hinge arms enter evenly, then lower it until it seats. Open the door slowly to confirm smooth travel and proper engagement.
If your model uses hinge locks, flip them back to the secured position after installation. Tighten any fasteners you removed and verify that the gasket sits flat around the opening. Test the latch and close the door firmly, checking for gaps or rubbing.
If the door feels uneven, lift it off and reset the hinges before continuing. This step supports reframing safety by restoring a stable seal and predictable operation. Perform basic hinge maintenance now by wiping the hinge area, checking for wear, and applying only manufacturer-approved lubricant if needed.
Once the door moves correctly, restore power and run a brief heat check.
Avoid Common Removal Mistakes
Before you lift the door, check that the hinge locks are fully released or engaged as required by your oven model. Keep a firm grip and support the door’s full weight throughout removal to prevent hinge damage or sudden drop.
If the door feels stuck, stop and verify the hinge position instead of forcing it.
Check Hinge Locks
Check the hinge locks on both sides of the oven door to make sure they’re fully engaged or released, depending on your model, before you try to lift the door off. Verify each lock matches the service position in your manual, since mismatched hinge locks can jam the hinge arms or prevent clean release.
If the locks feel stiff, inspect them for debris or bending and correct the issue first. Use proper safety precautions: switch off power, keep the area clear, and avoid forcing any part into place.
When both sides are set correctly, the door should move according to the design without binding. Recheck the locks before each removal attempt so you don’t damage the hinges or the oven frame.
Support Door Weight
Now support the oven door’s weight with both hands as you prepare to lift it free, because even a slight drop can stress the hinges or chip the finish. Keep your grip centered so the door weight stays balanced while you pull it outward a few inches.
Don’t let one side sag; uneven force can twist the hinges and compromise hinge safety. If the door feels heavy, pause and reset your stance before continuing.
Lift smoothly, then move the door straight up only after both hinge arms clear their slots. Never pry or yank, since sudden motion can shift the door and damage mounting points.
Set the door on a padded, stable surface immediately to prevent scratches, glass impact, or accidental tip-over during removal.
Frequently Asked Questions
How Do I Know if My Oven Door Has Hidden Hinges?
You’ll know your oven door has hidden hinges if you can’t see hinge barrels when closed; they’re concealed inside the frame.
Check for flush panels and verify door alignment before lifting.
Can I Remove the Oven Door Alone Safely?
Yes, you can, if you isolate safety first: cut power, cool completely, and follow your model’s manual. Make haste slowly; hidden springs can bite.
Check warranty impact before you loosen hinges.
Will Removing the Door Void My Oven Warranty?
Maybe your warranty could be affected. Check your manual and warranty terms first, because unauthorized removal may create warranty implications.
Consider safety considerations too, and contact the manufacturer or service provider before you proceed.
How Do I Store Screws or Parts During Removal?
You should place screws in a labeled bag or tray; think of it like a tiny parts map. For storing hardware, separate hinges, brackets, and spacers. Labeling components prevents confusion during reassembly.
What if the Oven Door Won’T Lift Off?
You’re likely dealing with stubborn hinges. Keep the door slightly open, grip both sides, and lift evenly to correct weight distribution.
If it still won’t release, check for locking tabs, then re-seat the hinges.
Conclusion
Now you know how to remove your oven door safely and cleanly. Turn off power, let the oven cool, release the hinges, and lift the door straight up with steady control.
Set it on padding so the hardware stays protected, then inspect, clean, or repair the parts as needed. When you’re ready, reinstall it according to your model’s instructions.
With care and patience, the process of how to remove oven door is as smooth as glass.