How to Make Smores in the Oven
You can make oven s’mores with just a few simple ingredients and a hot baking sheet. First, gather graham crackers, chocolate, and marshmallows. Then, line up your pan and preheat the oven.
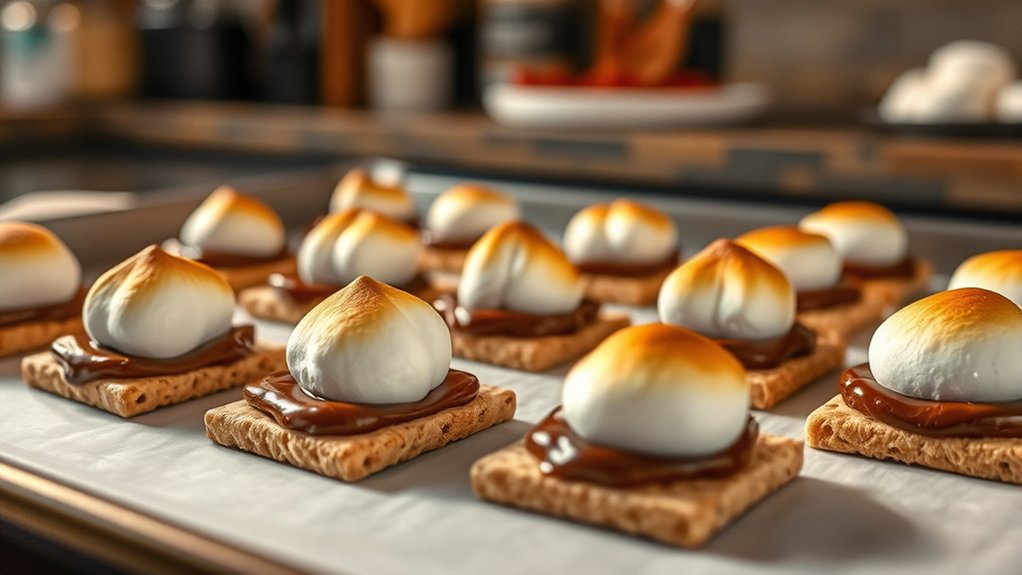
Once you stack each s’more, the heat does the work quickly, turning the marshmallow soft and glossy. The key is timing, and a small change can make the difference between perfect and messy.
Key Takeaways
- Gather graham crackers, chocolate bars, and marshmallows; add extras like peanut butter cups or caramel if desired.
- Preheat the oven to 450°F, then bake s’mores on the center rack for better control.
- Line a baking sheet with parchment paper and assemble graham cracker bottoms, chocolate, and marshmallows in one layer.
- Bake until marshmallows are puffed and lightly golden, usually 3–5 minutes, watching closely to prevent burning.
- Let them rest briefly, then serve warm or store leftovers wrapped in parchment or foil for later reheating.
Gather Your S’mores Ingredients and Tools
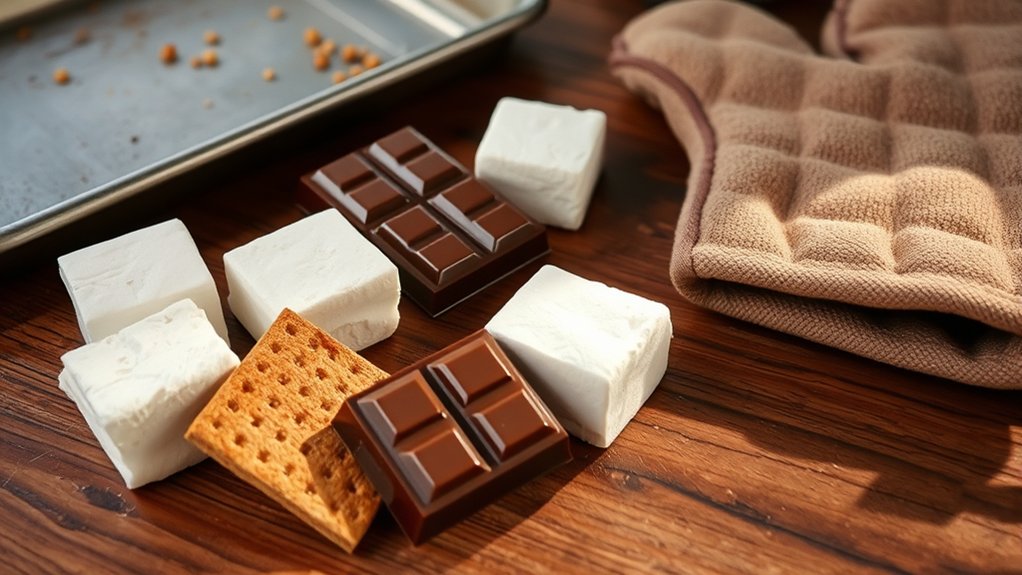
Before you start, gather everything you’ll need so making oven s’mores is quick and mess-free. Set out graham crackers, chocolate bars, and marshmallows, then add any extras you like, such as peanut butter cups, caramel squares, or flavored chocolate.
Gather all your s’mores ingredients first for a quick, mess-free setup and easy baking.
When you focus on gathering supplies, keep a baking sheet, parchment paper, and a heat-safe spatula nearby so you can move fast and stay organized. Choose sturdy graham crackers that won’t crumble easily, and pick marshmallows that look fresh and soft.
For choosing flavors, balance sweet, salty, and rich ingredients so each bite tastes layered and satisfying. If you want a classic s’more, stick with milk chocolate and plain marshmallows. If you prefer more depth, try dark chocolate or cookie-flavored crackers.
Measure out enough ingredients for each person before you begin, so everyone gets neat, even servings without scrambling later.
Preheat and Prep the Oven
Set your oven to 450°F and let it fully preheat so the marshmallows melt and toast evenly without burning the crackers. While it heats, place an oven rack in the center position for better control and reliable oven rack safety. This keeps the s’mores away from the top element, where they can brown too fast.
Watch for common preheating pitfalls: opening the door too soon, guessing at temperature, or slipping the rack after it’s hot. A stable, fully heated oven helps the chocolate soften at the same pace as the marshmallows, so you get a gooey finish without scorched edges.
If your oven runs hot, use the lower-middle rack and trust the preheat indicator light, not the timer alone. Give the oven a few extra minutes if needed; that small pause pays off with cleaner, more even results and less risk of burnt sugar.
Assemble the S’mores on a Baking Sheet
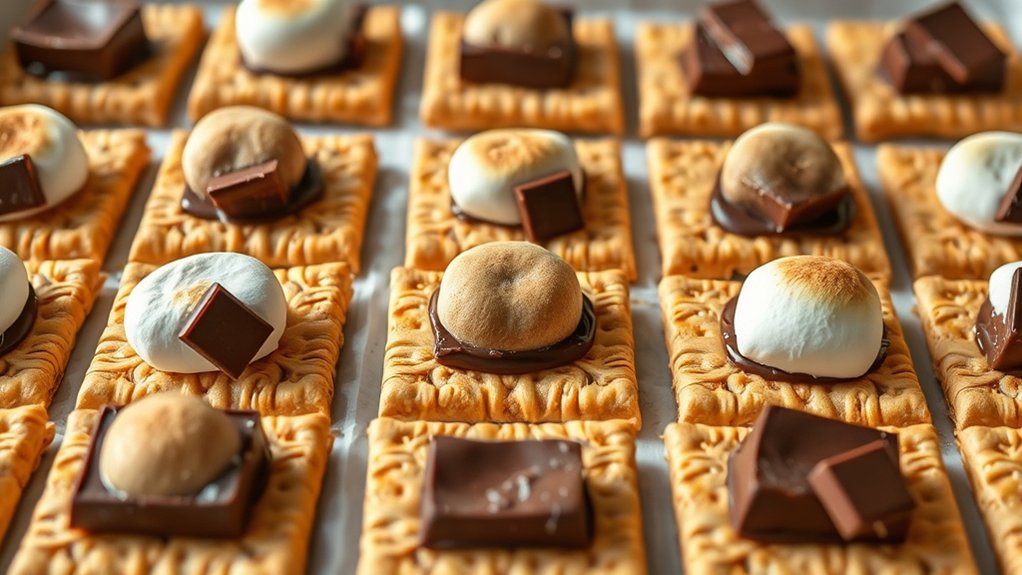
Line a baking sheet with parchment paper, then arrange the graham cracker bottoms in a single layer with a square of chocolate on each one. Keep the pieces close together, but don’t let them overlap, so each bite stays neat and easy to handle.
If you want extra richness, use two thin squares instead of one thicker piece. Set a marshmallow on top of each chocolate-topped cracker, pressing it gently so it sits centered. Then place the matching graham cracker tops nearby on the sheet, ready for later.
This simple setup helps you build even s’mores that heat evenly and hold together well. You’ll also keep your workspace tidy and avoid losing melted chocolate during assembly. Use crispy crackers for the best texture contrast, since they’ll stay firm under the warm filling.
Once everything’s arranged, your baking sheet is ready for the next step, and you won’t need to scramble for ingredients.
Bake Until the Marshmallows Are Toasty
Slide the baking sheet into a preheated oven at 350°F, and bake the s’mores just until the marshmallows turn puffed, soft, and lightly golden on top, usually about 3 to 5 minutes. Watch them closely, because the line between toasted and burnt is brief.
You want the chocolate to look glossy and the graham crackers to stay firm while the marshmallows develop inviting marshmallow aesthetics. If you like deeper color, let them go a few seconds longer, but pull them before the tops darken too much.
The heat should melt the chocolate underneath without turning the crackers soggy. When the marshmallows swell and catch a bit of caramel color, you’ll get a sweet, airy bite with subtle toffee textures.
Use the oven light if you can, and keep the sheet centered for even browning. Remove the s’mores carefully, since the filling will be hot and soft.
Serve, Customize, and Store Leftovers
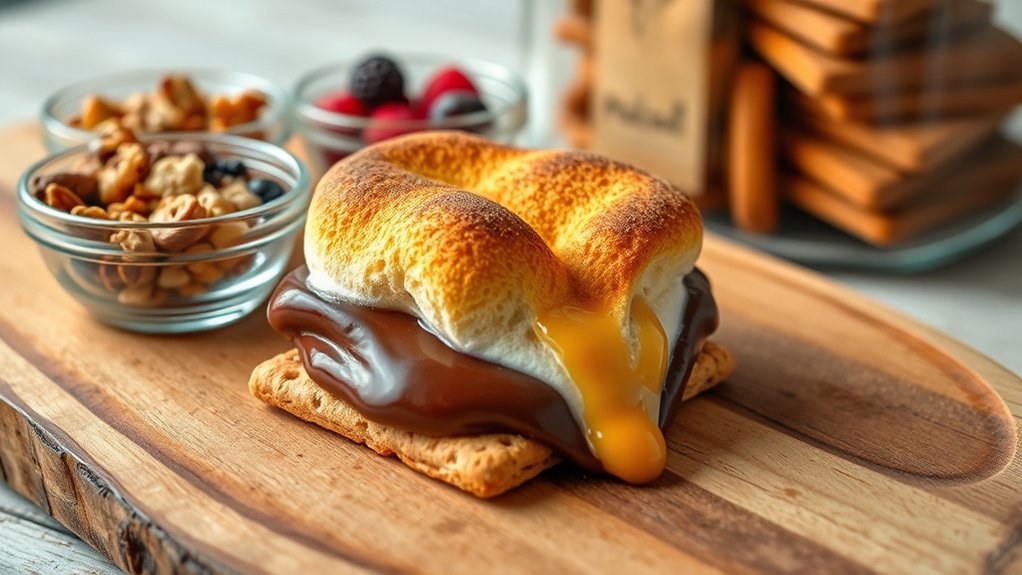
Once the marshmallows are puffed and toasted, use a spatula to lift the s’mores onto a serving plate and let them rest for a minute so the filling can settle slightly. Serve them warm for the best gooey texture, and set out napkins because the chocolate may still be soft.
Lift the s’mores onto a plate and let them rest briefly before serving warm and gooey.
If you want to customize toppings, add a drizzle of caramel, a sprinkle of crushed peppermint, or a few mini chips before serving. You can also swap in peanut butter, hazelnut spread, or sliced strawberries for a quick twist.
If you have extra s’mores, let them cool completely, then wrap each one tightly in parchment or foil. Store leftovers in an airtight container at room temperature for up to one day, or refrigerate them for a firmer bite.
To enjoy them again, rewarm briefly in the oven or microwave until the chocolate softens and the cracker crisps up.
Frequently Asked Questions
Can I Use a Toaster Oven Instead of a Regular Oven?
Yes, you can use a toaster oven instead of a regular oven. You’ll want to watch it closely, because toaster oven versus oven heat varies.
Try alternative chocolate choices if you want quicker melting and easier cleanup.
What Type of Chocolate Melts Best for Oven S’Mores?
Milk chocolate melts best for you because it gets creamy fast and tastes classic. Use chocolate layering with thin bars or chips, and for smaller batches, choose premium baking chocolate so it melts evenly without scorching.
How Do I Keep Marshmallows From Sticking to the Pan?
To keep marshmallows from sticking, you’ll line the pan with parchment, lightly grease it, and preheat the pan briefly. This old-school trick helps keep marshmallows from grabbing metal and lets you avoid sticking.
Can I Make Oven S’Mores Without Graham Crackers?
Yes, you can use stale crackers, cookies, or alternative crusts. You’ll get good heat distribution if you space them evenly.
Watch marshmallow texture closely, since softer toppings melt faster and can spill.
How Do I Get Extra-Gooey Marshmallows Without Burning Them?
You’ll get extra gooey marshmallows by broiling them on a low rack for 20-30 seconds, watching constantly. Rotate the tray once.
For preventing burns, pull them when tops puff and turn lightly golden.
Conclusion
Now that you’ve made oven s’mores, you can test a common theory: do they really taste like campfire s’mores? Yes—when the marshmallows puff, the chocolate melts, and the graham crackers stay crisp, you get that same gooey, nostalgic bite without a fire.
You’ve got a quick, reliable treat that’s easy to customize and even easier to repeat. So preheat, assemble, bake, and enjoy warm s’mores anytime you want.
With this method, making s’mores in the oven gives you that classic flavor and texture you love, all without the need for a campfire.