How to Preheat Oven
Nearly 40% of home baking failures trace back to poor oven setup, so you should treat preheating the oven as the first real step. Set the temperature, adjust the rack, choose the right mode, and keep the oven empty unless your recipe says otherwise.
Then close the door and wait for the signal. Even one missed detail can change the result, and the next few steps show you how to avoid that.
Key Takeaways
- Set the oven to the recipe’s exact temperature and choose the correct mode, such as bake or convection.
- Place the rack in position before preheating and keep the oven door closed while it warms.
- Wait for the preheat light, beep, or display to confirm the oven has reached temperature.
- Give it about one extra minute after the signal for stable heat before adding food.
- Load the food carefully with oven mitts, then bake immediately for even results.
Why Preheating Your Oven Matters
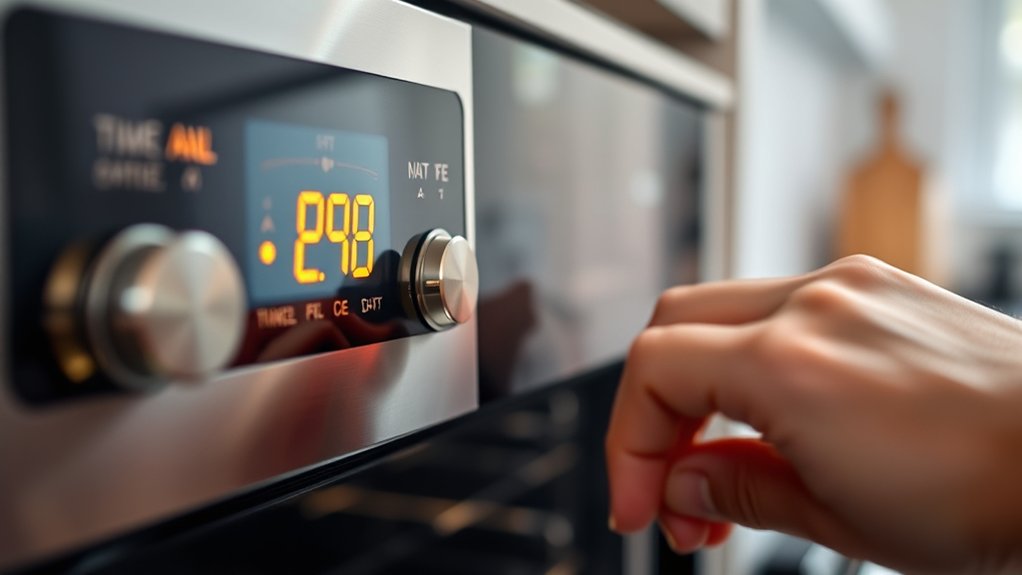
Preheating matters because it gives your oven time to reach a stable, accurate temperature before you put food inside. You get more even browning, proper rise, and better texture because the heat is already distributed when baking begins.
If you skip this step, you can undercook centers, overbrown edges, or delay cooking times. You also protect kitchen safety by reducing the chance of opening a cool oven repeatedly and exposing yourself to unnecessary heat loss and hazards.
You should expect some ovens to need longer warm-up periods, especially older models or units that use alternative fuels. A consistent temperature helps you follow recipes exactly and avoid guesswork.
It also supports efficient energy use, since a fully heated oven works as intended instead of struggling to catch up. When you preheat correctly, you improve results, reduce errors, and create a safer cooking environment.
How to Preheat an Oven Step by Step
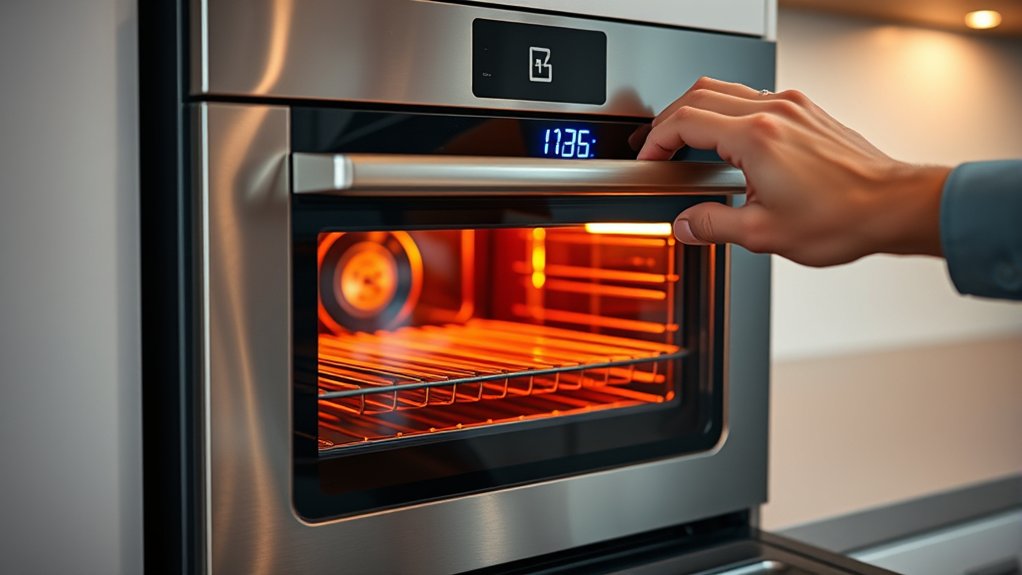
Once you know why preheating matters, the process itself is straightforward: set your oven to the recipe’s temperature, make sure the racks are in the right position, and close the door so the heat can build. Turn the dial or press the buttons, then confirm the display matches the setting.
If you’re using bake, convection, or a specialty mode, choose the one your recipe calls for. Keep the oven empty unless the recipe says otherwise, and don’t open the door while it heats. For bread baking, place a stone or Dutch oven inside only if instructed, so it can warm with the oven.
Watch for the preheat indicator light or beep, then wait until it signals readiness. Use kitchen safety habits: keep hands clear of hot surfaces, wear oven mitts, and move aside any items that could catch. Once it’s ready, add your food quickly and close the door.
How Long It Takes to Preheat an Oven
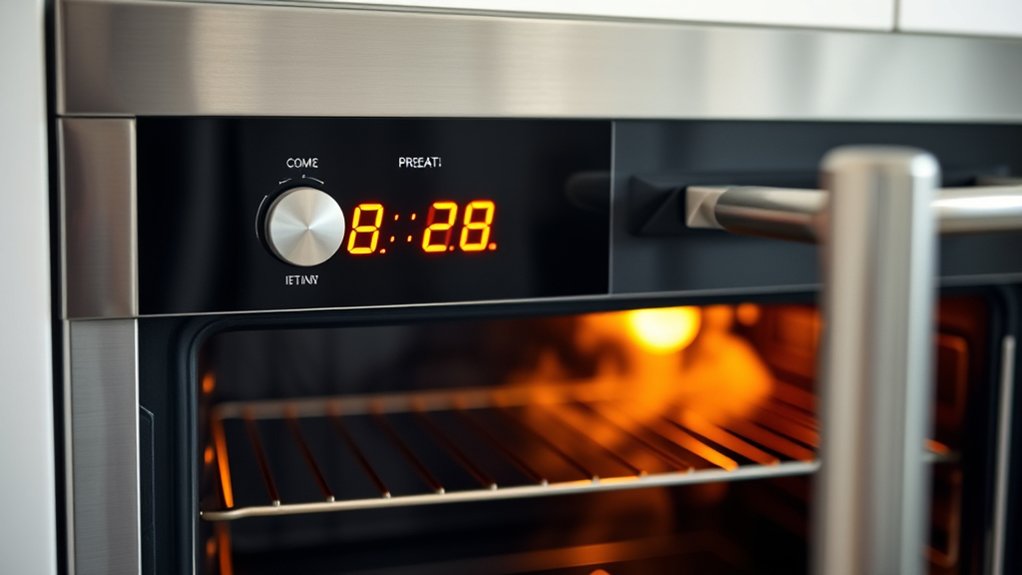
How long an oven takes to preheat depends on the model, temperature, and mode you choose. In many kitchens, you’ll wait 10 to 15 minutes for a standard setting, while a larger oven or a higher temperature can take longer.
Convection modes often heat faster than conventional ones, and older units may need extra time. Avoid guessing from unclear terminology in the manual; look for the exact temperature range listed for your setting.
Don’t compare your oven to unrelated appliances like microwaves or toaster ovens, because they heat differently.
- A small, bright kitchen timer ticking
- Heat waves rising from a closed door
- A rack waiting inside an empty cavity
- A dial turning toward a target number
If you want consistent results, give the oven enough time before you start cooking. Check your recipe and plan ahead, especially for baked goods that need stable heat.
Signs Your Oven Is Fully Preheated
You’ll know the oven is fully preheated when the indicator light turns off, the display beeps, or the control panel shows the target temperature. Wait one more minute, then check the cavity with a quick visual scan. Open the door only if needed; heat loss can reset the cycle.
| Sign | What you see | What to do |
|---|---|---|
| Light off | Heat reached | Start cooking |
| Beep sounds | Setpoint met | Confirm display |
| Temp matches | Stable reading | Load food |
| Rack warm | Even heat | Proceed carefully |
If the oven still cycles loudly, remember why ovens heat unevenly: cold spots, worn seals, or a dirty sensor can mislead you. Good oven maintenance helps the thermostat respond accurately.
Keep the door gasket clean, avoid blocking vents, and calibrate the oven if the reading seems off. When these signs line up, your oven’s ready, and you can cook with confidence, even if its heat distribution isn’t perfect.
Common Oven Settings and When to Use Them
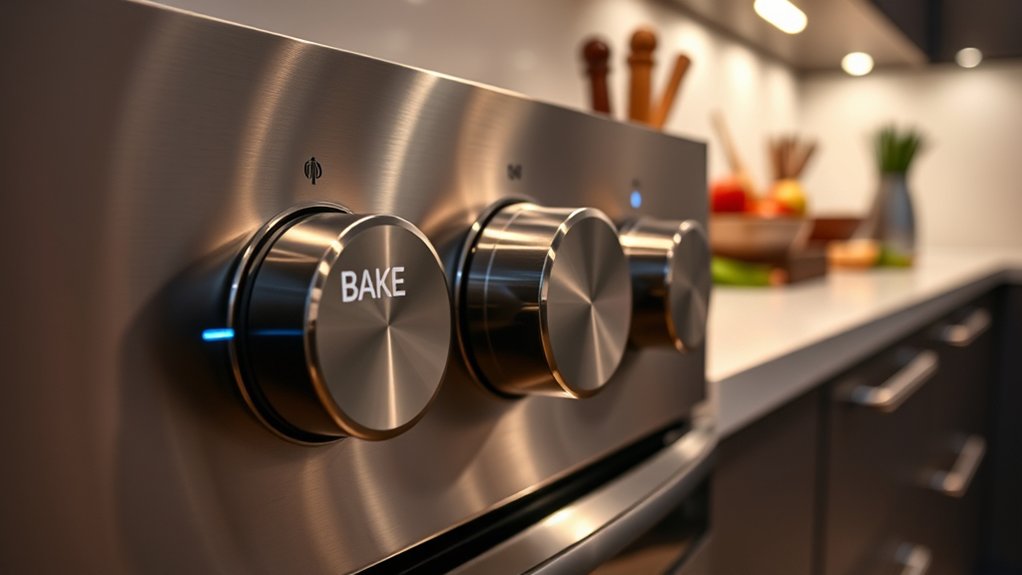
You’ll use bake mode for most everyday recipes, like cakes, casseroles, and breads. Broil when you want quick browning or a crisp top, and use convection when you need heat to circulate evenly.
Choose the right setting before you preheat so your food cooks the way you expect.
Bake Mode Basics
Before you preheat, check your oven’s bake setting, since that’s the mode you’ll use for most everyday cooking. Bake uses steady heat from the top and bottom to cook food evenly, so it’s your default for cakes, casseroles, and sheet-pan meals.
For oven safety, keep racks stable and keep mitts nearby. Confirm appliance placement leaves space around the oven for airflow.
- A golden loaf rising in the center
- A bubbling casserole warming through
- Cookies spreading evenly on a tray
- A pie setting with calm, even heat
Choose bake when you want predictable results, not intense surface heat. Set the temperature, wait for the preheat signal, then slide your dish onto the proper rack.
Don’t open the door too soon; you’ll lose heat and slow the process.
Broil For Browning
Broil uses intense top heat to brown, crisp, or char food fast, so save it for finishing touches rather than slow cooking. Use broil for browning when you want melted cheese, blistered tops, or a deep crust on casseroles and meats.
Set the oven rack placement close to the broiler for faster color, or move it lower if the surface darkens too quickly. Preheat only if your oven manual says to; many broilers heat almost instantly.
Keep the door slightly open only if your model requires it, and watch food closely because broiling can go from golden to burnt in seconds. Rotate the pan as needed, but don’t walk away. Pull the food when it’s evenly browned and still moist.
Convection For Evenness
Convection uses a fan to circulate hot air, which helps food cook more evenly and often more quickly than standard bake. Use it when you want consistent browning on trays, roast vegetables, or bake multiple pans at once. You’ll usually lower the temperature by 25°F and check early for doneness.
Convection also improves humidity control, so crusts dry and crisp while centers stay tender. For flavor pairing, it’s ideal when you want caramelized edges and balanced juices. Watch for:
- golden cookies on sheet pans
- roasted chicken with crisp skin
- evenly browned pizza corners
- vegetables with deep color
Skip convection for delicate cakes or custards unless your recipe says otherwise.
How to Preheat a Convection Oven
Set your convection oven to the correct temperature, usually a little lower than a standard oven recipe calls for. Make sure you select convection mode so the fan can circulate hot air evenly.
Then let the oven fully preheat before you put in the food.
Set Correct Temperature
For a convection oven, lower the target temperature by about 25°F from a standard recipe unless the manufacturer’s guide says otherwise. Set the dial or keypad to that adjusted number, then verify the display matches. This helps you practice preheating safety and supports oven maintenance by reducing overheating stress.
- A glowing display at the exact set point
- A clean rack centered for steady heat
- A quiet kitchen with the door closed
- A timer ready beside a worn recipe card
If you cook frozen items or delicate bakes, stay with the adjusted temperature until you know your oven’s behavior. Don’t guess or round up; small errors can affect browning, rise, and texture. Use the same correction every time, and note it in your recipe for consistency.
Use Convection Mode
Switch to convection mode before you start preheating so the fan and heating elements work together from the beginning. On most ovens, you’ll select a dedicated convection setting or a fan icon; some models offer true convection and others use a fan-assisted bake mode.
Check your manual if you’re unsure which option your appliance uses. Once activated, the oven circulates hot air evenly, which helps reduce hot spots and improves heat distribution.
Don’t fall for preheating myths that say convection always requires a much lower setting; follow your recipe first, then adjust only if the manufacturer recommends it. Likewise, ignore oven myths that claim the fan can’t be used for preheating.
It can, and selecting it early keeps the oven’s airflow consistent throughout the warm-up.
Allow Preheat Time
Give the convection oven enough time to reach the target temperature before you put food in. Check the display, then wait for the preheat duration the manual recommends.
Most convection models need less time than standard ovens, but you still need a full oven warm up for even results. Keep the door closed so heat doesn’t escape and the fan can circulate air efficiently.
Watch for the ready signal or beep.
Feel for steady heat near the door seam.
Place racks in position before preheating.
Load the food immediately after the signal.
If you rush this step, you can cause uneven browning, weak rise, and longer cooking. Use the waiting period to finish prep, so your oven stays hot and your recipe starts right.
How to Preheat a Gas Oven
To preheat a gas oven, turn the oven control to the desired temperature, then press and hold the igniter or use the oven’s automatic ignition if it has one. Watch for the flame to light, then close the door and let the cavity warm fully.
In a gas oven, heat rises quickly, but bake science still depends on stable temperature and even air flow. Set a rack in the center for balanced results. Use this quick check:
| Step | What You Do | Why It Helps |
|---|---|---|
| Set temperature | Choose the recipe’s number | Keeps timing accurate |
| Ignite | Confirm the burner lights | Starts reliable heating |
| Wait | Let the oven cycle once or twice | Builds steady heat |
When the indicator light turns off, or the oven signals readiness, you’re set to bake. Open the door only when you’re ready, so you don’t lose the heat you just built.
Preheating Mistakes to Avoid
Avoid opening the oven too early, because you release heat and slow the preheating process. Double-check that you set the right temperature, since even a small mistake can throw off your results.
Don’t skip oven calibration, or you may cook with inaccurate heat.
Opening Too Early
What happens if you open the oven door too soon? You release heat before the oven reaches a stable temperature, so your bake can start unevenly. Avoid opening too early; wait until the preheat light or beep signals readiness.
Keep the door closed while you gather pans and ingredients.
- A bright oven window glowing steadily
- A cake pan resting on the counter
- Steam escaping from a cracked door
- Cool air rushing over the rack
Use the right rack and matching cookware so the pan fits cleanly and heat moves evenly. When you check too soon, you interrupt airflow and slow recovery.
Let the oven finish preheating, then load it once, quickly, and shut the door firmly.
Setting Wrong Temperature
Set the oven to the exact temperature your recipe calls for, because even a small error can change how fast food cooks and how evenly it browns. Check the dial or display before you walk away, and don’t rely on a guess.
If you need 375°F, don’t settle for 350°F or 400°F, since both can alter texture and timing. When you’re cooking multiple dishes, keep each one matched to its specified heat instead of using one setting for convenience.
Ignore two word discussion ideas and any unrelated topic; they can distract you from the task. A correct temperature gives you consistent results, so read the recipe carefully, set the oven once, and confirm it reaches the target before you load the food.
Skipping Oven Calibration
Even a trustworthy oven can run hot or cold if you skip calibration, so test it with an oven thermometer before you rely on the dial. Place the thermometer in the center rack, heat the oven, and compare the reading to your set temperature.
If it’s off, adjust the control or note the difference for every bake. Don’t trust calibration myths that say a quick preheat fixes accuracy. It won’t. Watch for thermometer debates, too; a simple analog or digital model both work when you check them correctly.
A rack lined with bright metal
A steady thermometer glowing through the glass
A dial set to 375°F
Heat rippling across the oven window
What to Do If Your Oven Won’t Heat Properly
If your oven isn’t heating properly, check the power source and control settings first, since a tripped breaker, loose plug, or incorrect temperature selection can stop it from warming up. If those basics look fine, inspect the door seal for gaps and make sure nothing blocks full closure.
Then verify the bake element or igniter is glowing or cycling as expected. If you see damage, stop using the oven and call a qualified technician.
| Check | What You May Notice | Action |
|---|---|---|
| Breaker | No power | Reset if safe |
| Plug | Loose connection | Reseat firmly |
| Settings | Wrong mode | Select bake |
| Seal | Heat leaking | Close door fully |
| Element | No glow | Schedule service |
For an unrelated topic, ignore any random tip about preheating with cookware inside; that won’t fix a heating fault. Keep testing simple, and document what fails so you can explain it clearly when you request repair.
Tips for Better Baking and Roasting
Once your oven is heating correctly, you can improve baking and roasting by matching the rack position, pan size, and temperature to the recipe. You’ll get better results when you respect cooking science: center racks promote even airflow, while lower racks give roasts stronger bottom heat.
Match rack, pan, and heat to the recipe for better airflow, browning, and roasting.
Use the pan the recipe calls for, because a dark pan browns faster and a glass dish holds heat longer. Preheat fully so your food enters a stable environment, then avoid opening the door unless you need to check progress.
- Golden cookies spread in neat circles on a bright sheet pan
- A roast sizzles on a rack, juices pooling below
- Bread rises with a crisp, evenly browned crust
- Vegetables caramelize at the edges and stay tender inside
For added depth, season early and let salt support flavor extraction. Finally, rotate pans only if your oven has hot spots, and trust the timer before you trust your eyes.
Frequently Asked Questions
Can I Open the Oven Door While It Preheats?
Yes, you can, but don’t. Opening the door during preheat lets heat escape and slows warming.
Use oven thermometer usage to verify temperature instead. If you must check, open briefly and close it quickly.
Do All Recipes Require a Fully Preheated Oven?
No, not every recipe needs a fully preheated oven; some forgiving bakes begin in a cool chamber, like dawn mist lifting. You’ll spot preheat misconceptions, balance energy efficiency, and follow two word discussion ideas in your recipe notes.
Should I Preheat With the Baking Sheet Inside?
Usually, you shouldn’t preheat with the baking sheet inside unless the recipe says so. Check preheating safety, and place the rack correctly first.
You’ll avoid warping, improve heat distribution, and protect your pan.
Does Altitude Affect Oven Preheating Time?
Yes, altitude can slightly affect preheating duration because lower air pressure changes heat transfer. You’ll usually need a few extra minutes at higher elevations, but your oven’s indicator or thermometer is still the best guide.
Can I Use an Oven Thermometer During Preheating?
Yes you can use an oven thermometer during preheating. About 1 in 3 ovens run off by 25°F or more, so you’ll improve preheating accuracy by placing the oven thermometer inside and checking its reading.
Conclusion
When it comes to oven preheating, a stitch in time saves nine. You’ll get better results when you set the right temperature, choose the correct mode, and wait for the preheat signal before opening the door.
Don’t rush this step or crowd the oven early. If your oven heats unevenly, check the settings and give it extra time.
With a little patience, you’ll bake and roast more evenly every time. Proper oven preheating is key to achieving the best cooking results.