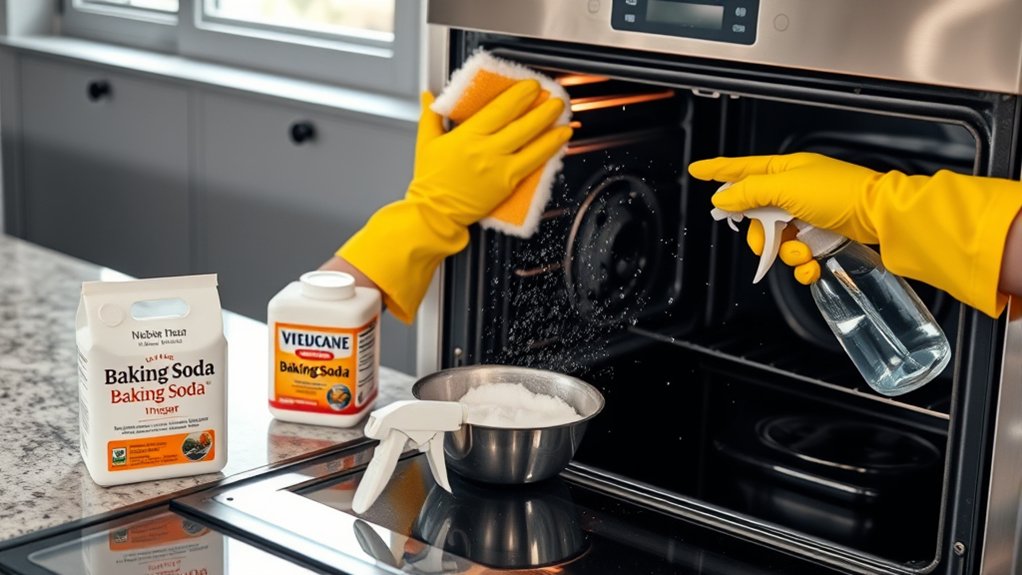
How to Clean Oven
You probably don’t know that a light baking soda paste can lift oven grime without harsh fumes or heavy scrubbing. Cleaning your oven can be simple and safe with the right approach.
With a few basics—gloves, a scraper, vinegar, and a sponge—you can clean racks, handle splatters, and loosen burnt-on grease safely. The trick is knowing where to start and what to leave to sit.
One wrong move can make the mess harder to remove, so careful steps are key for a sparkling oven.
Key Takeaways
- Gather rubber gloves, baking soda, white vinegar, dish soap, warm water, microfiber cloths, and a nonabrasive sponge before starting.
- Turn off and cool the oven, unplug if possible, and avoid steel wool or harsh pads to protect the finish.
- Remove racks and trays, soak them in warm soapy water, then scrub gently and dry completely.
- Clean the interior and door with baking soda paste or gentle cleaner, wiping top to bottom and scraping stubborn spots carefully.
- Prevent buildup by wiping spills while warm, cleaning door glass and seals regularly, and using self-clean sparingly.
Oven Cleaning Supplies You’ll Need
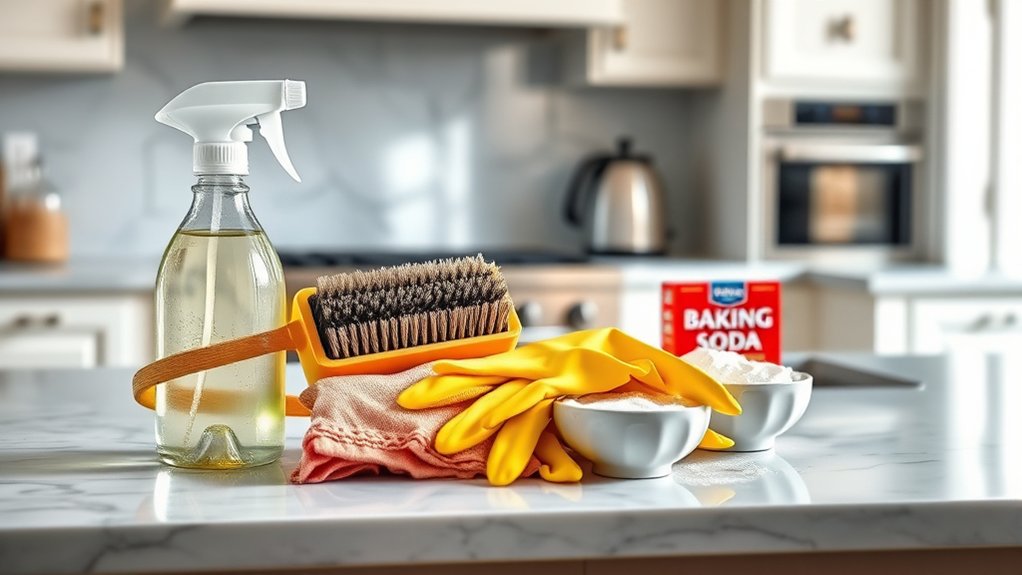
Before you start, gather a few basic oven-cleaning supplies so the job goes faster and stays safer. You’ll need rubber gloves, a nonabrasive sponge, microfiber cloths, a plastic or silicone scraper, baking soda, white vinegar, dish soap, warm water, and a spray bottle.
If your oven allows it, keep a gentle oven cleaner nearby for stubborn spots, but read the label first. Use a small bowl for mixing paste and a bucket for rinsing cloths. These simple items support smart cleaning hacks because they let you loosen grime without scratching surfaces.
Keep paper towels on hand for quick wipeups. If you clean regularly, add these supplies to your maintenance tips list so you’re never scrambling before a deep clean. Avoid steel wool or harsh pads, since they can damage the finish.
With the right tools ready, you can clean efficiently, work safely, and get better results with less effort every time.
How to Clean Oven Racks and Trays
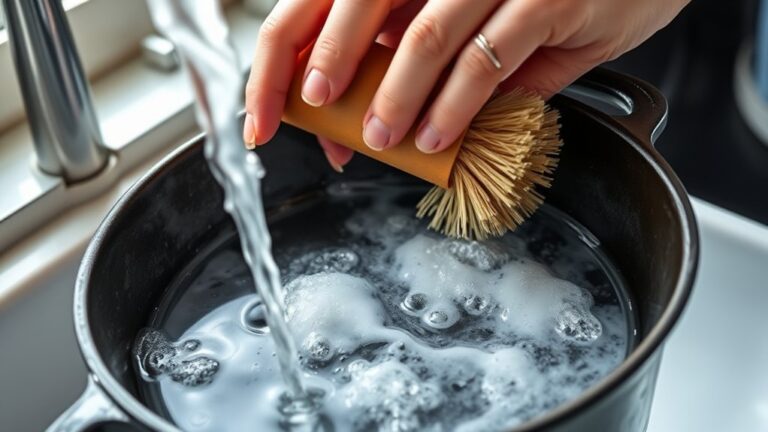
Start by soaking the oven racks in a tub of warm, soapy water to loosen baked-on grease. While they soak, spread a baking soda paste on the trays and scrub them with a nonabrasive sponge.
Rinse everything well, then dry the racks and trays before putting them back.
Soak Racks In Tub
Soaking the racks and trays in a bathtub loosens baked-on grease and makes scrubbing much easier. You can soak racks with hot water and a little dish soap, or use dish soap alternatives like vinegar and baking soda if you’re avoiding harsh cleaners.
The tub soaking benefits include better coverage, less elbow grease, and fewer stuck-on spots later.
| Step | What You Do | Why It Helps |
|---|---|---|
| Fill | Add hot water | Softens residue |
| Add cleaner | Mix soap | Breaks grease |
| Wait | Let racks sit | Loosens buildup |
| Lift | Remove carefully | Prepares for cleaning |
Keep the racks fully submerged and check them after an hour. If grime still clings, give them more time.
Scrub Trays With Paste
Once the trays have soaked, spread a thick baking soda paste over the stubborn spots and scrub with a nonabrasive sponge or brush. Work in small sections so the paste scrub stays effective and you don’t miss corners, seams, or baked-on grease.
If residue won’t lift, let the paste sit for 10 to 15 minutes, then scrub again with steady pressure. Wipe away loosened grime with a damp cloth and rinse the tray well.
For dark stains, repeat the process instead of using harsh cleaners that can damage the finish. Dry each tray completely with a clean towel to prevent spots and streaks.
This final wipe helps restore tray shine and leaves the surface ready to return to the oven.
How to Clean Oven Interior Splatters
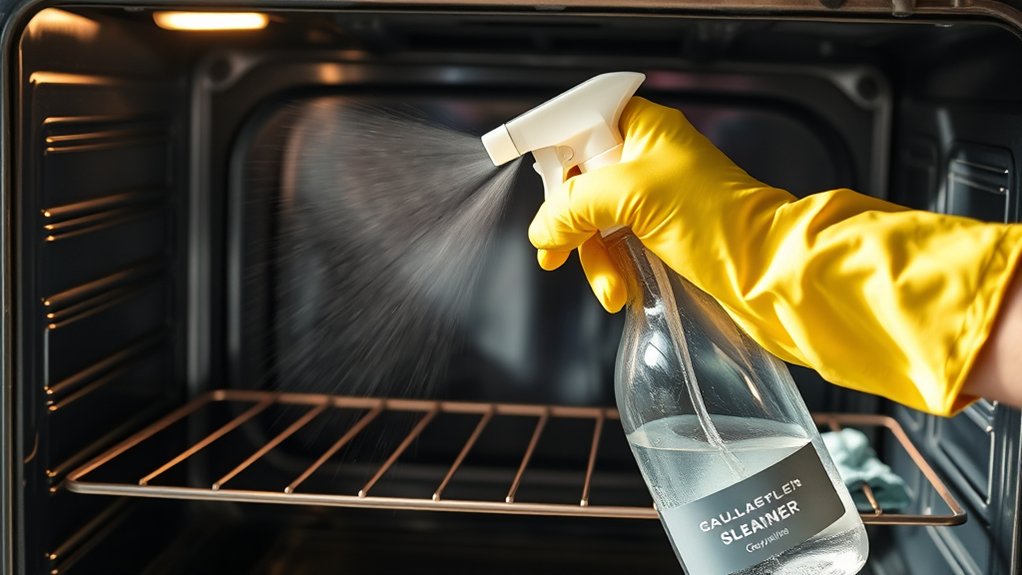
To remove oven interior splatters, spray the dirty areas with a nonabrasive oven cleaner or a paste of baking soda and water, then let it sit long enough to loosen the residue. Wipe the surface with a damp microfiber cloth, working from top to bottom so you don’t spread mess onto cleaned areas.
For stubborn spots, use a plastic scraper at a shallow angle and lift the residue without gouging the finish. Rinse the cloth often and switch to a fresh one when it picks up grime. These streak free techniques help you avoid haze and leave the interior clear.
If you want dependable interior grime solutions, repeat the treatment on small sections instead of soaking the whole oven. Finish by wiping away any leftover cleaner with clean water, then dry the walls and door with a soft towel. Open the door briefly so moisture escapes and the interior stays ready for use.
How to Remove Burnt-On Grease Safely
For burnt-on grease, start by softening the buildup with a warm, damp cloth and a small amount of nonabrasive oven cleaner or baking soda paste. Let it sit just long enough to break down the residue. Wipe gently with a plastic scraper or microfiber cloth, working in small sections so you don’t spread the grease.
For stubborn spots, repeat the treatment instead of scrubbing hard.
| Step | Action |
|---|---|
| 1 | Soften the residue |
| 2 | Lift with a scraper |
| 3 | Wipe clean and dry |
Keep the oven off and cool, and wear gloves for better control. Avoid steel wool or harsh pads, which can scratch surfaces and make future grease removal harder.
If residue remains, apply a fresh paste, wait a few minutes, and wipe again. Finish by drying the area fully so burnt on grease doesn’t return quickly.
How to Clean Oven Door Glass
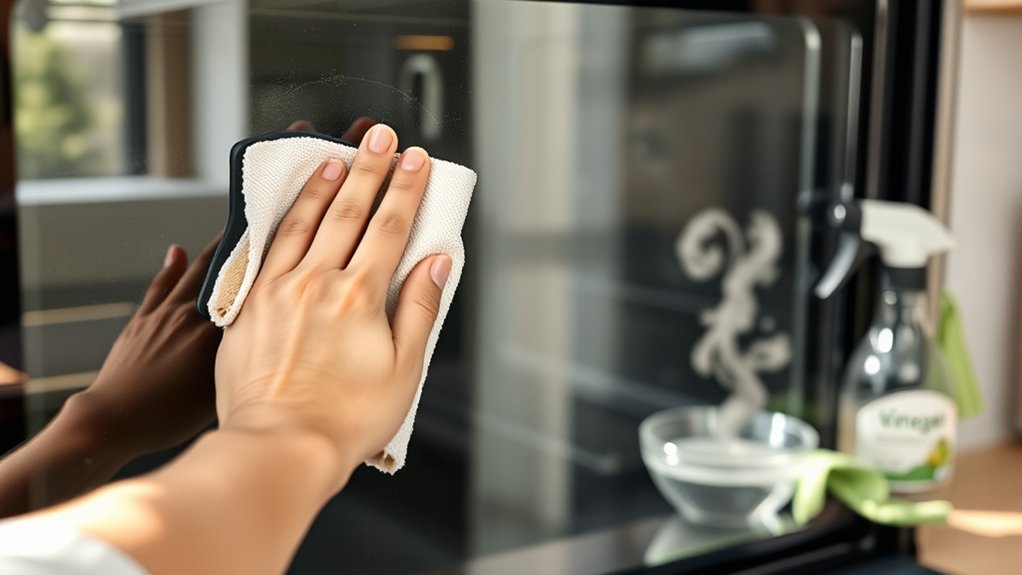
Before you start, gather safe supplies like a soft cloth, warm water, baking soda, and a non-scratch sponge. Then apply your cleaner to the oven door glass and let it sit so it can loosen tough grease.
Wipe away the buildup with steady pressure, and repeat as needed until the glass looks clear.
Gather Safe Supplies
Start by gathering a few safe, gentle supplies so you can clean the oven door glass without scratching it. Choose a microfiber cloth, a nonabrasive sponge, warm water, mild dish soap, and a small bowl for mixing. If you want a simple homemade cleaner, keep white vinegar nearby.
Check labels and avoid steel wool, razor blades, or harsh powders that can damage the finish. These basics fit grocery budgeting because you can buy multipurpose items instead of specialty cleaners.
Before you begin, review safety precautions: let the oven cool fully, unplug it if possible, and wear gloves if your skin is sensitive. Keep a dry towel ready for spills, and set each item within reach so you work efficiently and stay organized.
Remove Tough Grease
If the oven door glass still shows baked-on grease, make a simple paste of baking soda and a little water, then spread it over the dirty spots and let it sit for 15 to 20 minutes. Wipe it away with a damp microfiber cloth, using gentle pressure for removal grease without scratching the surface. For stubborn marks, repeat the paste and avoid metal tools.
Use a plastic scraper only if residue stays stuck. Rinse the glass with warm water. Dry it with a clean towel. Finish with a vinegar mist for safer cleaning.
Keep the cloth damp, not dripping, so liquid won’t seep into the door. This method works well on smudges, baked-on splatter, and cloudy film.
How to Keep Your Oven Clean Longer
Want to keep your oven from getting grimy again so quickly? Start with stain prevention: line racks with a drip mat or baking sheet, and place casseroles on a tray to catch spills. Wipe fresh splatters while the oven’s still warm, not hot, so residue doesn’t harden.
Use the self-clean cycle sparingly, but do follow the manufacturer’s maintenance tips for your model. Clean the door glass, seals, and knobs regularly, since grease there spreads fast. Cover foods that bubble, and lower the oven temperature if sauces are splattering.
After each use, remove crumbs from the bottom and check the vents for buildup. If you roast often, give the interior a quick vinegar wipe weekly. These small habits cut future scrubbing, protect performance, and keep odors down. Consistency matters more than deep-cleaning alone.
Frequently Asked Questions
What Natural Cleaners Are Safe for Ovens?
You can use natural cleaners like baking soda, white vinegar, and lemon juice; they’re safe for most ovens when you avoid heating them together.
Check your manual first, and protect oven safety by wiping residue thoroughly.
How Often Should I Deep Clean My Oven?
You should deep clean your oven every 3 to 6 months. With regular use, that deep clean frequency keeps buildup manageable.
Why let grime harden? Match your maintenance timing to spills, smoke, and cooking habits.
Can Self-Cleaning Ovens Damage Cookware?
Yes, self-cleaning ovens can damage cookware; you’ll face self cleaning risks if you leave pots, pans, or racks inside. Check cookware compatibility first, because high heat can warp metal, crack coatings, and ruin handles.
Is It Safe to Clean a Warm Oven?
It’s safer to wait; a warm oven can feel like a volcano. If you must wipe it, use a damp cloth and avoid harsh cleaners. You’ll protect yourself, prevent burns, and keep fumes down.
How Do I Clean Oven Vents and Knobs?
Use a damp microfiber cloth with mild dish soap to wipe oven vents, then dry them. Remove knobs if possible, soak briefly, scrub gently, and reattach.
For knobs care, avoid spraying cleaner directly into controls.
Conclusion
With these simple steps, you can keep your oven looking and working its best. When you clean racks, wipe spills right away, and tackle grease before it bakes on, you stay ahead of the mess. A quick vinegar mist on the glass leaves everything sparkling.
Keep up with regular upkeep, and you won’t have to fight a mountain of grime later. A little effort now saves you time and elbow grease down the road. Consistent care is key to maintaining a clean oven.
By following these tips, you ensure your oven stays efficient and hygienic. Remember, regular cleaning is the best way to extend the life of your appliance and keep it performing well. Proper oven cleaning is essential for both safety and cooking quality.