How to Build a Pizza Oven
Nearly 70% of DIY pizza ovens fail at heat retention because the base and insulation are undersized. When building a pizza oven, you can avoid this common issue by choosing the right oven style. Then, match your foundation, materials, and dome design to your available space and fuel source.
Using proper mortar, firebrick, and following curing steps ensures you’ll build a unit that reaches baking temperature safely. The details that make your oven hold heat well come next, helping you achieve the perfect cooking environment for delicious pizzas.
Key Takeaways
- Choose an oven style: wood-fired, hybrid, or gas-assisted that fits your space, budget, and cooking goals.
- Build a strong, level foundation with compacted gravel, rebar, and concrete for stable support and drainage.
- Use firebricks, refractory mortar, insulation, and proper tools to construct a heat-retaining dome safely.
- Shape the dome with tight joints, staggered brick courses, and a correctly sized opening for efficient high-heat baking.
- Cure the oven slowly with small fires, then raise heat gradually and inspect for cracks before full cooking.
Pick Your Pizza Oven Style
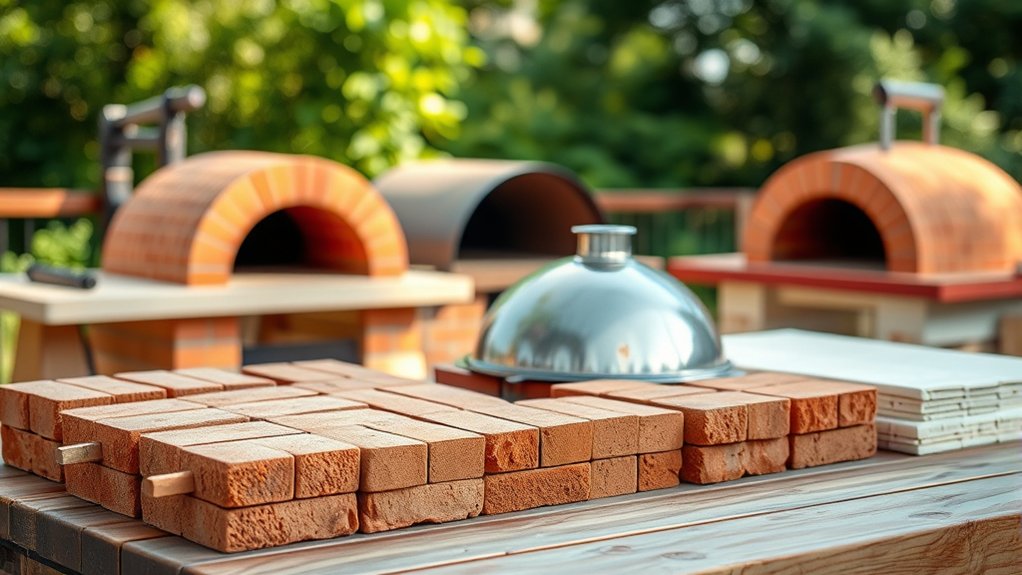
Before you start building, choose the oven style that fits your space, budget, and cooking goals. Your pizza style should drive every design decision. If you want high-heat, fast baking, a Neapolitan-style dome with a tight opening works best.
Choose the oven style that matches your space and pizza goals, and let that guide every design decision.
If you prefer longer roasts and bread, select a larger chamber and a higher crown. Decide whether you’ll build a wood-fired oven, a hybrid unit, or a gas-assisted model, since each affects heat control and firing time.
Then match the shape to your site: a stand-alone structure needs more clearance, while a compact backyard unit can sit on an existing base. Review brick options early, because firebrick, insulated brick, and standard clay each handle heat differently.
Firebrick stores and releases heat efficiently; lighter brick can reduce mass but cool faster. Keep your design simple, durable, and sized for the pizzas you’ll actually make.
Gather Materials and Tools
Before you build, gather the essential materials: refractory bricks, firebrick mortar, insulation, concrete, and reinforcing steel. You’ll also need the right hand tools, such as a trowel, level, masonry saw, tape measure, and rubber mallet, to cut, set, and align each component accurately.
Don’t skip safety gear. Wear gloves, eye protection, a respirator, and sturdy boots so you can work safely and efficiently.
Essential Building Materials
Start by gathering the core materials and tools you’ll need to build the oven structure safely and accurately. You’ll need firebricks for the cooking floor and dome, refractory mortar for high-heat joints, insulated board or vermiculite concrete for thermal retention, and dense concrete blocks or a reinforced slab for the base.
Select stainless steel or galvanized anchors where exposure is possible, and use a chimney flue rated for masonry ovens. During material sourcing, compare suppliers for heat rating, dimensional consistency, and delivery reliability; this techniques comparison helps you avoid warped bricks and weak insulation.
Inspect every batch before use, and store dry materials off the ground to prevent moisture damage. Choose quantities based on your oven’s diameter, wall thickness, and insulation target so you don’t stall construction.
Required Hand Tools
What hand tools should you gather first? Start with a masonry trowel, brick hammer, club hammer, pointing tool, and spirit level. These tools let you set refractory brick, shape mortar joints, and verify alignment for stone masonry and the oven dome.
A tape measure and framing square help you transfer dimensions accurately. A cold chisel trims bricks where cuts need refinement. Use the tools below to stay organized:
| Tool | Purpose |
|---|---|
| Masonry trowel | Spread mortar |
| Spirit level | Check level |
| Brick hammer | Split brick |
| Tape measure | Verify dimensions |
| Framing square | Mark right angles |
Keep each tool clean and within reach so you can maintain consistent airflow design and avoid layout errors during assembly.
Safety Gear Checklist
A proper safety gear checklist should come next, because you’ll be handling heavy masonry, sharp edges, and dust while you gather materials and tools. Before you lift blocks or mix mortar, apply a safety gear rationale: each item reduces a specific hazard.
Review your risk assessment checklist, then suit up.
- Wear ANSI-rated safety glasses to block chips and airborne grit.
- Use cut-resistant gloves for brick handling and metal tool work.
- Fit a P100 respirator, hearing protection, and steel-toe boots for dust, noise, and impact.
Keep clothing close-fitting, remove loose jewelry, and secure long hair. Inspect PPE for damage before every session, and replace worn parts immediately. If conditions change, update the checklist before continuing.
Build the Base and Foundation
Begin by leveling the site and compacting the soil so the foundation sits on stable, well-drained ground. You’ll then set your footings or slab reinforcement to match the oven’s load and local code requirements.
After that, frame the base square and level so it can support the oven structure without shifting or settling.
Foundation Preparation
Before you set the oven floor, you’ll need a stable foundation that can support the full weight of the structure and resist settling over time. Excavate to undisturbed soil, level the area, and compact the subgrade thoroughly.
For planning, include discussion ideas with your site layout, drainage path, and access clearances, and review safety considerations before you pour. Then follow these steps:
- Install a compacted gravel layer for drainage and load distribution.
- Place rebar or reinforcing mesh to control cracking and improve strength.
- Pour concrete in a continuous lift, then screed and finish it flat.
Keep the slab dimensions square and oversized enough for your oven footprint. Let it cure fully before you start any further construction.
Base Framing
With the slab cured, you can frame the base that will carry the oven and create the working height you want. Use pressure-treated lumber, steel tube, or concrete block as base materials, and verify every cut against your plan.
Lay out the perimeter square, then anchor the frame to the slab with appropriate fasteners. Add cross braces and intermediate supports so the load transfers evenly. Check each corner for level and plumb as you tighten connections.
If you’re using block, fill cores with rebar and grout where specified. Keep openings for storage or wood access if your design calls for them. Proper framing improves foundation stability and prevents settling, racking, and uneven heat distribution later.
Build the Dome and Cooking Area
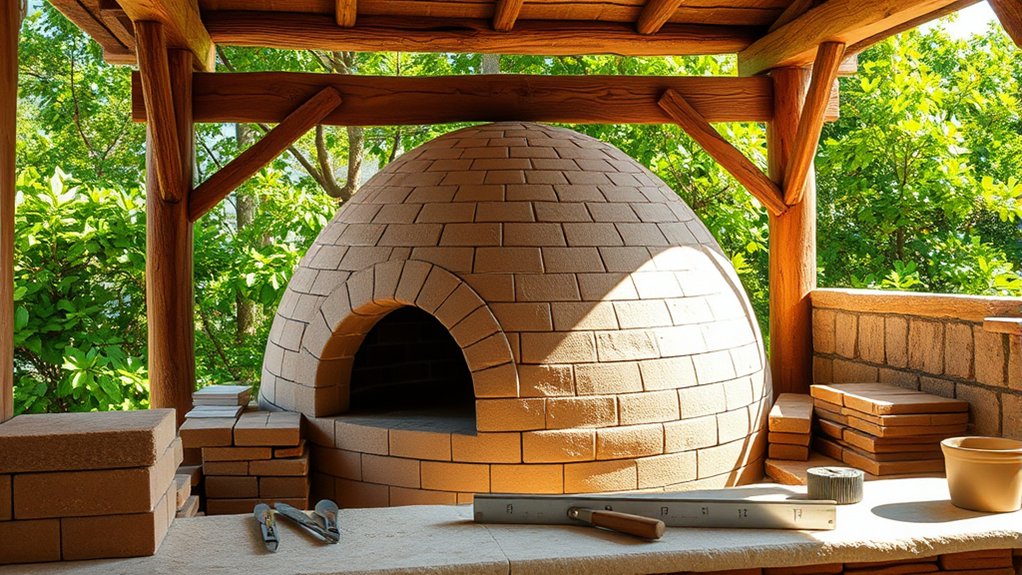
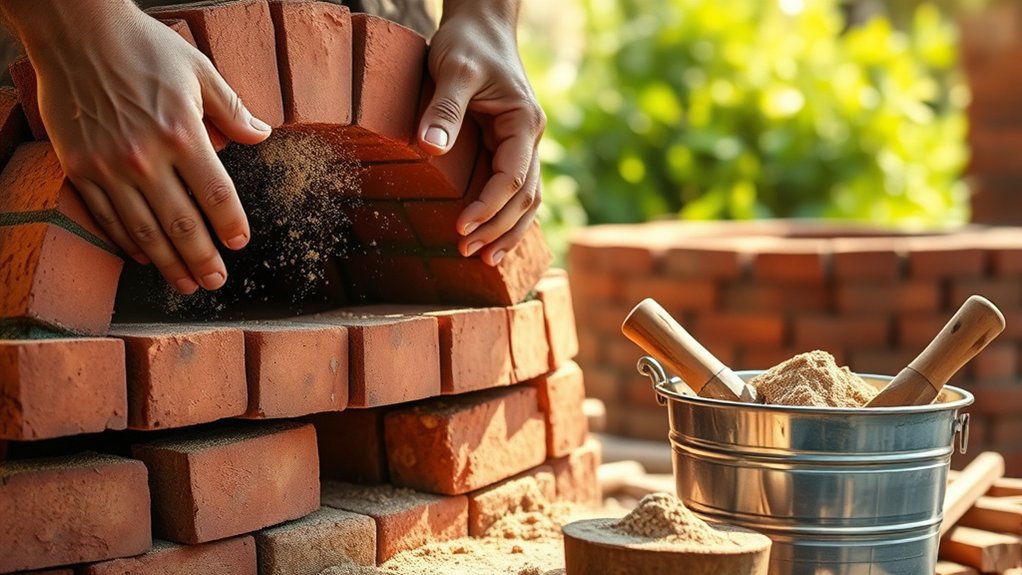
Now that the base is cured and level, you can shape the dome and cooking area by laying firebricks in a sand mold or over a form that matches the oven’s internal radius. Keep each course tight, and stagger joints so the dome locks together as you build.
During dome shaping, check the inner profile often; uneven bricks reduce heat circulation and weaken the arch. Use a thin refractory mortar bed, and scrape excess before it sets.
- Mark the hearth center and oven opening before you place the first brick.
- Maintain a consistent interior height to preserve draft and usable floor space.
- Protect fresh masonry from rain and ground moisture control while it cures.
Set the cooking floor flat, then rise the walls in controlled rings until the dome closes. Trim bricks where needed so the curve stays true and the opening stays proportional.
Insulate and Finish the Oven
Once the dome has cured, wrap it in insulation to lock in heat and improve cooking efficiency. Use insulation techniques that combine a dense ceramic fiber layer with a protective outer coat, and keep seams tight to minimize thermal bridges. You can secure the blanket with wire mesh or mortar, then add finishing claddings that shed weather and protect the insulation.
| Layer | Purpose | Material |
|---|---|---|
| Inner wrap | Retains heat | Ceramic fiber blanket |
| Outer shell | Adds strength | Refractory render |
| Finish | Blocks moisture | Stone or stucco |
Keep the insulation continuous around the dome and the entry arch, but leave the oven mouth clear. Apply claddings in thin, even passes so you don’t trap voids. Check for exposed spots, then patch them before the final coat.
A well-insulated shell reduces heat loss, supports stable baking temperatures, and gives your oven a durable exterior.
Cure and Fire Up Safely
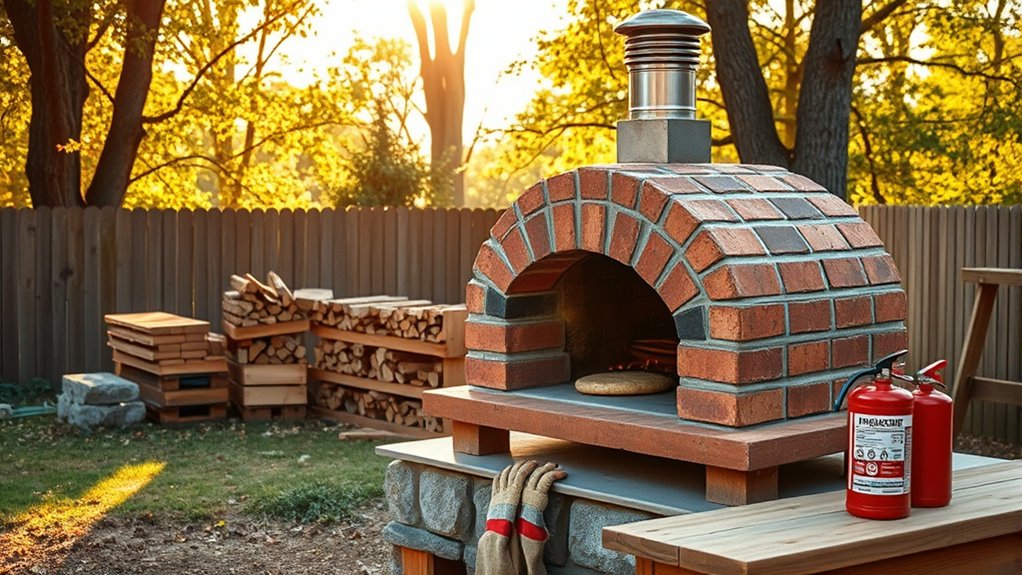
Before you fire the oven for real, you need to cure it with a series of small, controlled burns to drive out residual moisture and prevent cracking. Start with a tiny kindling fire and keep the dome below 200°F for several hours. Increase temperature slowly over multiple sessions so the shell dries evenly and stress stays low.
Use dry hardwood, a thermometer, and constant supervision for safe ignition.
- Begin with 1 to 2 pounds of fuel and let embers die naturally.
- Raise heat by 50°F to 75°F per day until you reach cooking range.
- Inspect for steam, hairline cracks, or mortar spalling after each burn.
Practice heat management by moving coals, adjusting airflow, and closing the door only when needed. Never leave the oven unattended, and keep water, gloves, and a metal ash container nearby.
When the interior holds steady heat without visible moisture, you’re ready to bake.
Frequently Asked Questions
How Much Does a Pizza Oven Cost to Build?
You’ll usually spend $300 to $3,000 to build a pizza oven, depending on size, materials, and fuel type.
You can lower the cost to build by choosing simpler insulation, masonry, and finishes.
Do I Need a Permit for a Backyard Pizza Oven?
Yes, you often do, like checking a map before a trip. You’ll need to verify permit requirements and zoning rules with your local building department, because setbacks, materials, and fuel type can trigger approvals.
What Size Pizza Oven Is Best for Family Use?
A 32 to 36-inch oven usually suits your family size best; it balances capacity and heat retention. It lets you cook two pizzas at once and still heats efficiently for weeknight use, leftovers, and gatherings.
How Long Should a Finished Pizza Oven Last?
You can expect your finished pizza oven to last 20–50 years, like a stonework sentinel, if you use durable materials and follow a maintenance schedule. With regular inspections, you’ll extend its life and performance.
Can I Build a Pizza Oven on a Wooden Deck?
You shouldn’t build a pizza oven directly on a wooden deck; wooden deck considerations demand structural reinforcement, noncombustible support, and clearance. Use heat resistant materials, or relocate the oven to a concrete pad instead.
Conclusion
You’ve now got the core steps to build a pizza oven: choose the right style, gather the proper materials, lay a level, load-bearing base, shape the dome and cooking floor, then seal it with solid insulation.
Finish with a careful curing cycle and controlled firing to prevent cracking. When you follow these precise, practical steps, you’ll create a durable, efficient oven that delivers consistent heat, crisp crusts, and countless confident, crowd-pleasing cooks.
By mastering these techniques, you’ll successfully build a pizza oven that stands the test of time and enhances every pizza-making experience.