How to Cook Squash in the Oven
To cook squash in the oven, start by choosing a firm variety of squash. Cut it into even pieces so it roasts evenly.
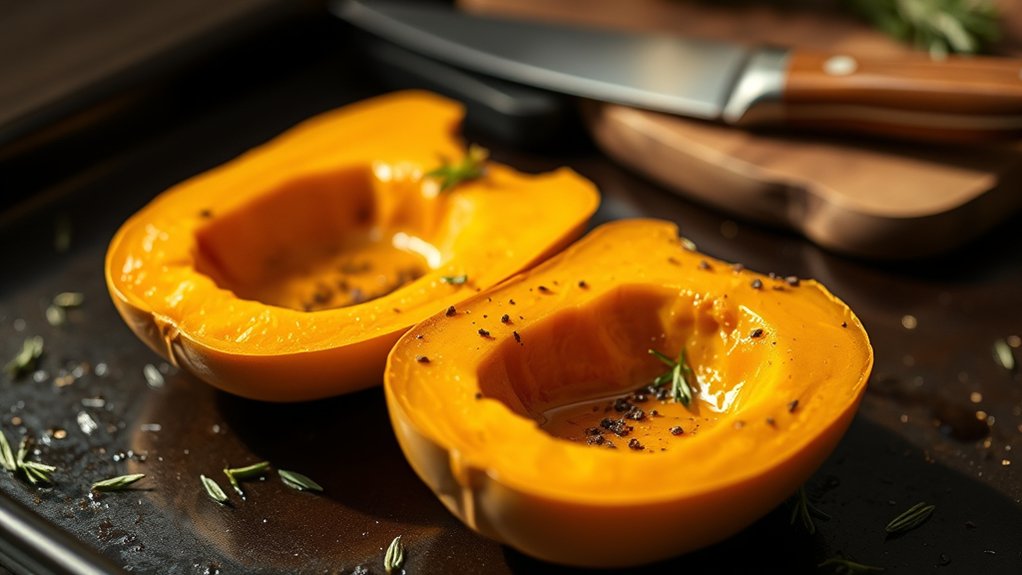
Next, coat the squash lightly with olive oil, salt, and pepper. Arrange the pieces in a single layer on a sheet pan.
Roast the squash until the edges turn golden and the flesh softens. The exact timing will depend on the type of squash you use.
Key Takeaways
- Choose firm, heavy squash with dull, unblemished skin, such as butternut, acorn, delicata, or kabocha.
- Wash, dry, trim, and cut the squash into even pieces; remove seeds and stringy pulp first.
- Toss with olive oil, salt, and pepper; add garlic, thyme, cinnamon, maple, or paprika if desired.
- Roast in a single layer at 400°F to 425°F until fork-tender and lightly browned, usually 20 to 60 minutes.
- Cool leftovers, then refrigerate in an airtight container for up to 4 days and reheat gently.
Choose the Right Squash for Roasting
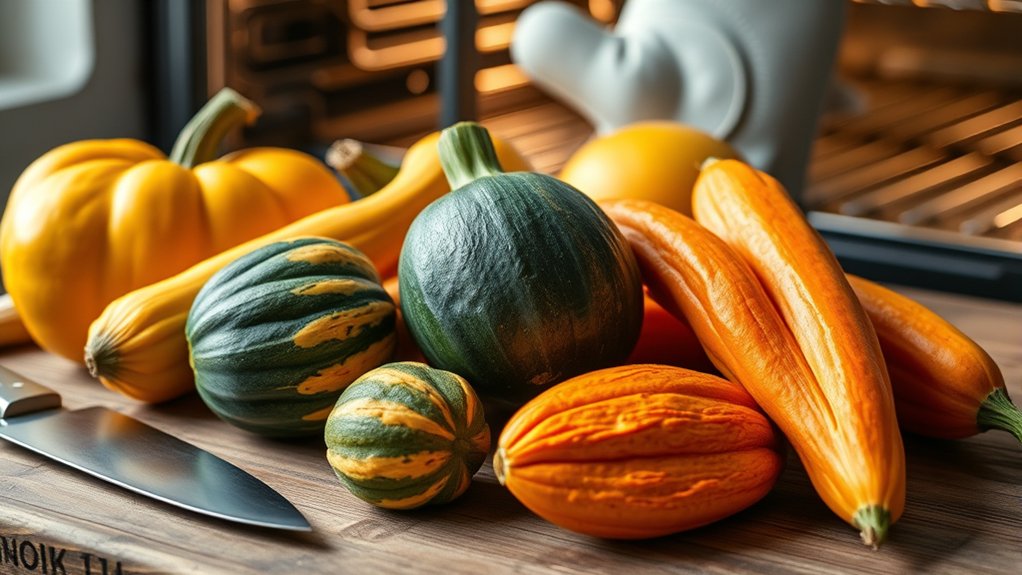
When you’re choosing squash for roasting, go for varieties with firm flesh and a naturally sweet flavor, like acorn, butternut, delicata, kabocha, or sugar pumpkin. You’ll get the best results from squash that feels heavy for its size and has a dull, unblemished rind.
Check ripe indicators such as a deep, even color, a hard skin, and a stem that looks dry and intact. Avoid squash with soft spots, cuts, or shiny patches, since those signs often mean the flesh won’t roast well.
Pick smaller to medium squash when you want a sweeter, denser texture. If you’re buying whole squash, choose ones that suit your timeline.
Use storage tips to keep them in a cool, dry place with good airflow, and don’t refrigerate whole squash unless you need to slow ripening. Proper selection helps you roast squash that turns tender, flavorful, and evenly caramelized in the oven.
Prep Squash for the Oven
Start by washing the squash well under cool running water to remove any dirt, then dry it completely so it’s easier to handle. Next, prep squash by trimming both ends and halving it lengthwise with a sharp knife.
Scoop out the seeds and stringy center with a spoon, keeping the flesh intact. If the skin is tough, peel it before cutting. For a reliable oven technique, aim for even pieces so they cook at the same rate.
| Step | Action |
|---|---|
| Wash | Rinse and dry thoroughly |
| Trim | Cut off stem and base |
| Halve | Slice lengthwise for control |
| Clean | Remove seeds and fibers |
For quick reference, focus on knife safety and even size. These two points make prep faster and help the squash roast cleanly. If you’re working with smaller squash, you can cut them into wedges instead of cubes.
Keep your cuts steady, and you’ll set yourself up for consistent oven results every time.
Season Squash for Better Flavor
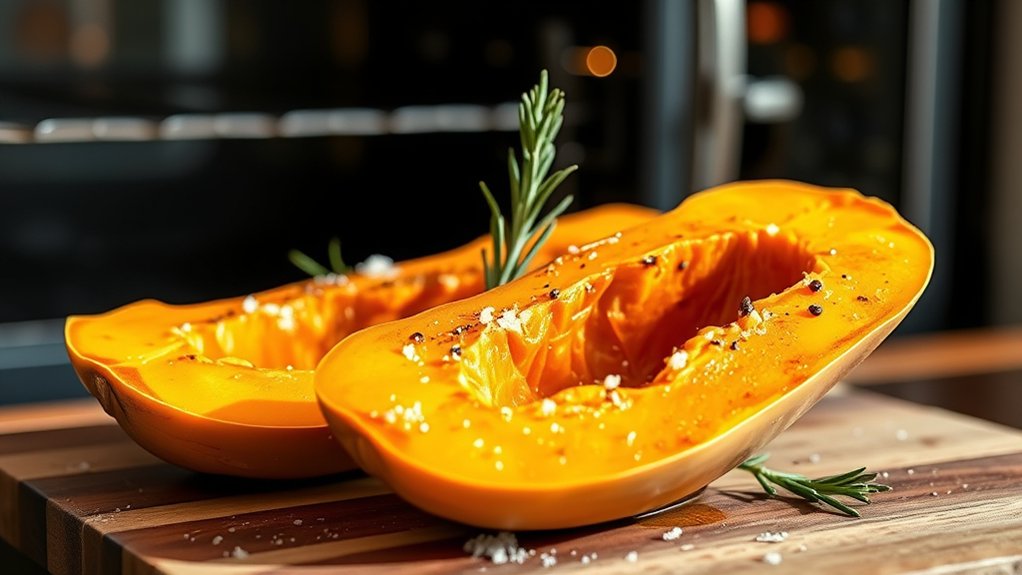
How should you season squash for the oven? Start with a light coating of olive oil so the seasonings stick evenly. Then season squash with salt and black pepper to bring out its natural sweetness.
If you want more depth, add garlic powder, paprika, or dried thyme. These flavor enhancers work well without overpowering the squash’s mild taste.
You can also use a pinch of cinnamon or nutmeg for a warmer flavor, especially with winter squash. Toss the pieces well so every side gets seasoned.
If you like a brighter finish, add a little lemon zest after cooking instead of before. Keep the layer simple and balanced; too much seasoning can hide the squash’s flavor.
Taste your spice mix first if needed, then adjust it to suit your meal. When you season squash carefully, you’ll get a more flavorful result with very little effort, and the final dish will taste richer, cleaner, and more satisfying.
Roast Squash in the Oven
Choose a squash that roasts well, like butternut, acorn, or delicata, and cut it into even pieces. You’ll want to scoop out the seeds, peel it if needed, and coat it lightly with oil before it goes on the pan.
Roast it in a hot oven until it’s tender and lightly browned at the edges.
Choose The Right Squash
For the best roasted squash, pick a variety that fits your flavor and texture goals: butternut turns sweet and creamy, acorn stays a little firmer, and delicata roasts quickly with a tender skin you can eat. When you choose flavors, think about whether you want mild, nutty, or rich notes.
To discuss textures, compare dense flesh, softer centers, and squash that holds its shape better in the oven.
- Butternut: smooth, sweet, reliable
- Acorn: earthy, firm, classic
- Delicata: quick, tender, edible skin
- Kabocha: dense, velvety, deeply flavored
You can also mix varieties for contrast on one tray. Pick squash with intact skins and heavy weight for size. That gives you a solid starting point for even roasting and better results.
Prep For Roasting
Before roasting, wash the squash, dry it well, and cut it into even pieces so it cooks at the same rate. Remove seeds and stringy pulp if needed, then trim the ends for neat, stable pieces.
Keep prep timing efficient by lining up your tools first: a sharp knife, spoon, bowl, and sheet pan. Toss the squash with a light coating of oil, using oil options like olive, avocado, or melted coconut oil, then season with salt and any spices you want.
Spread the pieces in a single layer and leave space between them so they don’t crowd. If you’re roasting cubes, make them similar in size; if you’re roasting halves, place them cut-side down or up as your recipe calls for.
Roast Until Tender
Slide the prepared squash into a hot oven and roast it until it turns fork-tender and lightly browned at the edges. Check it after 20 minutes, then continue roasting until the pieces yield easily to a fork without collapsing.
If your cuts are thick, turn them once for even browning. Use a little more oil if the surface looks dry, or try oil alternatives like melted butter or avocado oil for a different finish.
- Roast at 400°F for steady caramelization.
- Keep pieces in a single layer.
- Taste and adjust with salt after baking.
- Pair with sage, cinnamon, or maple for simple taste pairings.
When the squash smells sweet and the edges crisp, pull it out and serve right away.
Check for Tender, Caramelized Squash
Check the squash with a fork; it should slide in easily when it’s tender. You should also look for light caramelization on the surface, which adds flavor and color.
Test the edges too. They should be browned, not soft or pale.
Check Fork Tenderness
When the squash has baked long enough, slide a fork into the thickest pieces to see if they’re tender all the way through. You want the fork to meet little resistance and the flesh to hold a tender texture without feeling firm in the center.
Check several pieces, especially those cut larger than the rest, so you can confirm even browning hasn’t fooled you into thinking they’re done. If the fork still catches, return the pan to the oven for a few minutes and test again.
- Pierce the center of each piece.
- Feel for soft, even give.
- Rotate the tray if needed.
- Remove it once the squash yields easily.
Look For Caramelization
Look for golden-brown edges and lightly crisp spots on the squash, since that caramelization signals sweetness and proper roasting. You want the surface to deepen in color while the flesh stays tender, so keep an eye on caramelization timing near the end of baking.
If the pieces still look pale, give them a few more minutes and use simple browning techniques like leaving space between pieces and roasting them cut-side down when possible. Stir or flip only if needed, because too much handling can slow browning.
When the squash smells nutty and looks evenly colored, it’s ready. At that point, pull it from the oven so the sugars stay balanced and the texture remains soft, rich, and lightly crisp.
Test Edges For Browning
How do you know the squash is ready? Check the edges browning first. You want a deep golden color, not pale spots, because oven caramelization starts at the rim and surface folds.
Slide a fork into the thickest piece; it should go in easily but still meet a little resistance. If the squash feels mushy, you’ve gone too far.
Keep an eye on thin slices, since they brown faster than chunks.
- Look for crisp, darkened edges.
- Confirm the center is tender.
- Watch for even oven caramelization.
- Remove it when the color looks rich, not burnt.
Bake Squash by Type
Different squash varieties need slightly different oven times, so match the method to the type you’re roasting. For acorn squash, cut it in half, scoop out the seeds, and bake cut-side down at 400°F for 35 to 45 minutes until the flesh turns tender.
Different squash varieties need different oven times, so roast each type for the best tender, caramelized results.
Butternut squash usually needs 25 to 35 minutes when cubed, or 45 to 60 minutes in halves, depending on size. Delicata cooks faster; slice it into rings or half-moons and roast for 20 to 25 minutes. Spaghetti squash takes 35 to 50 minutes whole, then you can split it and fluff the strands.
Keep pieces in a single layer so they brown evenly. When you’re roasting squash, check for fork-tender centers instead of relying only on color. Smaller pieces finish sooner, so start testing early.
If you’re planning flavor pairings, choose squash size and cut to suit your main dish and serving time.
Try Sweet or Savory Variations
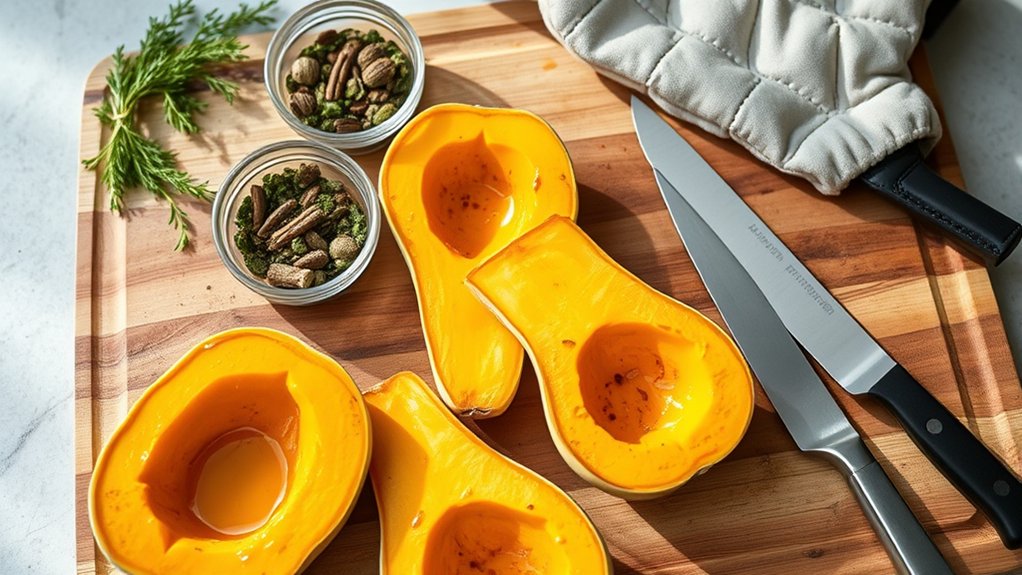
Once your squash is tender and browned, you can push it in either direction: sweet or savory. For sweet notes, brush on maple syrup, honey, or brown sugar, then finish with cinnamon or nutmeg.
For savory contrasts, use olive oil, garlic, thyme, rosemary, or a pinch of smoked paprika. You can also combine both styles for balance, like honey with chili flakes or sage with a little maple. Keep the seasoning light so you still taste the squash.
Try these options:
- Maple and cinnamon for a warm, dessert-like finish.
- Olive oil, garlic, and thyme for a clean, herbal edge.
- Brown sugar and cayenne for sweet heat.
- Parmesan and black pepper for salty savoriness.
Serve your squash as a side, or toss it into grains, salads, or tacos. You’ll get more variety from one pan without changing the roasting method.
Avoid Common Roasting Mistakes
Want better roasted squash? You need steady heat and enough space on the pan. If you roast at the wrong temperature, the squash can brown too fast outside and stay hard inside.
Steady heat and plenty of pan space help squash roast evenly, not brown too fast outside and stay hard inside.
Aim for a hot oven, usually 400°F to 425°F, and preheat fully before you slide the tray in. Cut the squash into even pieces so it cooks at the same rate.
Toss it lightly with oil, then spread it in a single layer; crowded pieces steam each other and create a soggy texture. Don’t skip seasoning, but keep it simple so the squash caramelizes well.
Flip the pieces once halfway through roasting for even color and tenderness. Check early if your pieces are small, since overcooking can make them mushy.
When the edges turn golden and a fork slides in easily, pull the squash out. Let it rest briefly on the pan, then serve it while it’s tender and flavorful.
Store and Reheat Leftover Squash
To store leftover squash, let it cool completely, then pack it into an airtight container and refrigerate it for up to 4 days. Good leftover storage keeps the texture firm and the flavor clean, so don’t leave it at room temperature for long.
For best reheating methods, use gentle heat so you don’t dry it out.
- Reheat in the oven at 350°F until warm.
- Microwave in short bursts, stirring once.
- Add a splash of water or oil before heating.
- Check that the center feels hot before serving.
If you want crisp edges, spread the squash on a sheet pan and rewarm it in a thin layer. If you’re adding leftovers to soup, pasta, or grain bowls, you can heat them directly in the dish.
Freeze cooked squash only if you plan to use it later in puree form, since its texture softens after thawing.
Frequently Asked Questions
Can I Roast Squash With the Skin On?
Yes, you can roast squash with the skin on if it’s tender, like delicata or acorn.
You’ll get better roast texture and easier storage prep; just scrub it, seed it, and roast until fork-tender.
Should I Peel Squash Before Baking It?
You don’t need to peel squash before baking unless you enjoy culinary paperwork. In peeling vs peeling, skin on roasting usually wins for flavor and ease.
Peel only if your squash’s skin feels tough or inedible.
What Oven Rack Is Best for Roasting Squash?
Use the middle rack; it gives you even heat and steady browning. The best roasting rack is an oven safe setup there, unless you need extra caramelization, then move squash slightly higher.
Can I Roast Squash Ahead for Meal Prep?
Yes, you can roast squash ahead for meal prep. You’ll save time, and the flavor holds well.
Adjust roast timing slightly if reheating, then cool it fast and use airtight storage prep for up to 4 days.
How Do I Stop Squash From Becoming Mushy?
You stop squash from becoming mushy by cutting it evenly, salting lightly, and roasting it hot on a preheated sheet.
Coincidentally, that same method helps how to crisp squash and how to prevent soggy texture.
Conclusion
Now you know how to cook squash in the oven with ease. Choose a firm squash, cut it evenly, season it simply, and roast it until it’s tender and caramelized. Check it for doneness, adjust the time by type, and try sweet or savory add-ins for more flavor.
Avoid common mistakes, store leftovers well, and reheat gently. With a little care, your squash will turn out like golden, cozy comfort on a plate. Mastering these steps ensures you can confidently cook squash in the oven every time.