How to Roast Garlic in the Oven
To roast garlic in the oven, start with a firm bulb. Trim the top to expose the cloves while keeping the base intact.
Next, drizzle a little olive oil over the exposed cloves. Wrap the bulb loosely in foil to keep the moisture in.
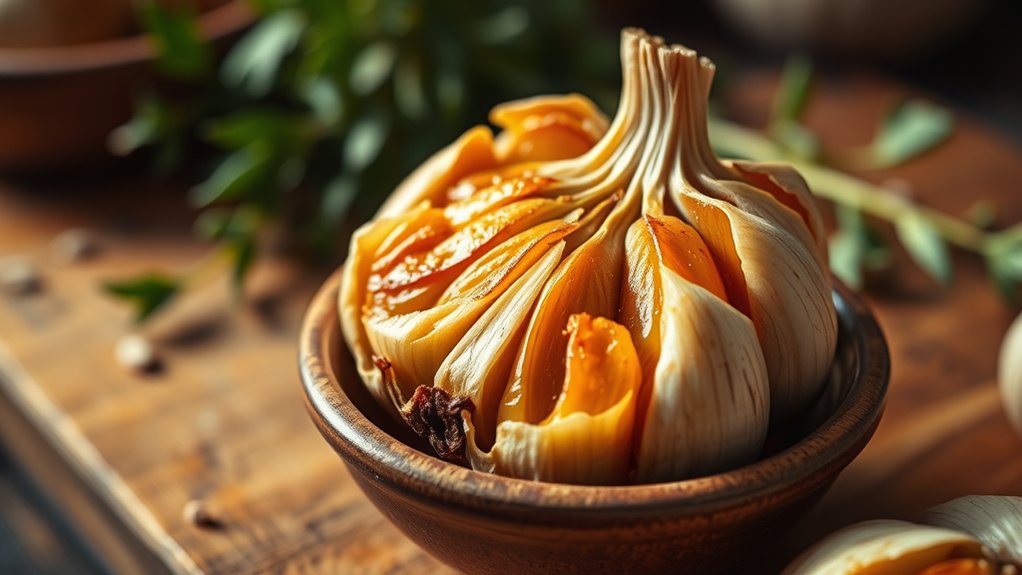
Roast the garlic until the cloves become soft and golden. The trick is knowing when it’s done, as this transforms sharp garlic into something sweet and spreadable.
Key Takeaways
- Choose a firm, heavy garlic bulb with tight, dry skin and no mold, soft spots, or green shoots.
- Trim about 1/4 inch off the top to expose the clove tips, leaving the base intact.
- Drizzle with olive oil and wrap tightly in foil, or place cut-side up in a covered dish.
- Roast at 375°F to 425°F for 35 to 55 minutes until the cloves are soft, golden, and mashable.
- Cool slightly, then squeeze out the roasted cloves and store leftovers in an airtight container in the fridge.
Choose the Best Garlic Bulbs
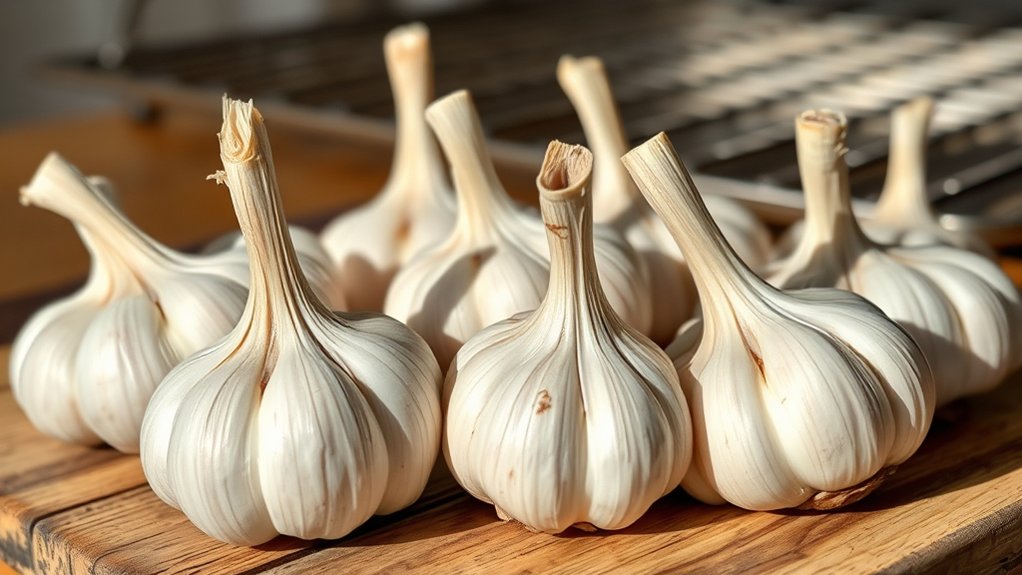
To get the best roasted garlic, start with firm, plump bulbs that feel heavy for their size and have tight, unbroken papery skins. When choosing bulbs, look for cloves that sit snugly under the wrapper, not bulbs that feel loose, shriveled, or soft.
You want garlic that looks clean and dry, with no dark spots, green shoots, or damage from handling. If you’re identifying mold, check the base and between the outer layers for fuzzy growth, discoloration, or damp patches. Avoid bulbs with cracked skins, because cracks can let in moisture and speed spoilage.
Smaller bulbs can roast well too, but they should still feel solid and fresh. Pick bulbs with a strong garlic aroma, not a sour or musty smell. Fresh, healthy garlic gives you better flavor, better texture, and fewer wasted cloves in your final roast.
Prep Garlic for Roasting
Start with fresh garlic bulbs for the best flavor and texture. Trim off the top of each bulb so the cloves are exposed. This helps the garlic roast evenly and makes it easier to squeeze out later.
Choose Fresh Garlic
Pick garlic bulbs that feel firm, heavy for their size, and tightly wrapped in dry, papery skin. When you choose freshness, you get sweeter, more aromatic roasted cloves and better texture.
Check garlic sourcing too: local or well-stored bulbs usually taste cleaner than shriveled ones. Avoid bulbs with soft spots, green shoots, or split wrappers, since they can roast unevenly and lose flavor.
Use this quick guide:
| Sign | What it means | What to do |
|---|---|---|
| Firm bulb | Fresh | Buy it |
| Loose skin | Older | Skip it |
| Plump cloves | Good quality | Roast it |
You want bulbs that still feel dense in your hand. Fresh garlic gives you better results and makes the whole roasting process easier.
Trim The Tops
Next, trim the top of each garlic bulb so the cloves are exposed just enough for roasting. Use a sharp knife and cut off about 1/4 inch from the top, slicing straight across so you don’t waste usable garlic.
Keep the base intact so the bulb holds together while it roasts. If any loose papery skin hangs over the cut surface, brush it away with your fingers. This trim top step helps heat reach the cloves evenly and makes the garlic easier to soften in the oven.
Set the prepared garlic bulbs cut-side up on a sheet of foil or in a small baking dish. Take your time with each bulb, since a clean cut gives you better results and cleaner handling once you add oil and roast.
Expose Clove Tips
If the cloves are still mostly covered after trimming, gently peel back or remove a few of the loose outer layers so the tips are just visible. You don’t need to strip the head bare; just expose enough of each clove so heat can reach it evenly.
Keep the head intact, and avoid pulling away the tight inner skin, which helps hold moisture during roasting. Check the cut top for any stray papery bits and brush them off. This small step helps the garlic soften faster and brown more evenly.
For better tips pairing, make sure the exposed clove tops face upward in the foil or pan. Once they’re visible, you’re ready for oil and seasoning before roasting.
Roast Garlic in Foil
Wrap the garlic in foil to trap steam and help the cloves turn soft and sweet. Place it in the oven and roast it until the bulbs feel tender, usually in about 40 to 50 minutes.
You can unwrap it carefully once it’s done and let it cool before you squeeze out the roasted cloves.
Wrapping Garlic In Foil
Tear off a piece of aluminum foil large enough to fully enclose the garlic head, then place the cut side up in the center. Fold the foil loosely around the garlic, leaving a little space for heat to circulate. Seal the edges firmly so no butter or oil leaks out and the package stays tidy.
Good foil handling helps you avoid tears and keeps the garlic odor contained while it roasts. If you’re adding olive oil, drizzle it over the exposed cloves before you close the foil. You can also sprinkle a pinch of salt or herbs for extra flavor.
Once wrapped, lift the packet carefully and set it on a baking sheet so it’s easy to move in and out of the oven.
Foil Roasting Time
How long should you roast garlic in foil? You usually need 40 to 50 minutes at 400°F. Your foil roasting time depends on bulb size and your oven temperature, so check for softness before you stop.
If you want a lighter roast, pull it out at 35 minutes; for sweeter, deeper flavor, go closer to 55 minutes.
| Oven temp | Foil time | Result |
|---|---|---|
| 375°F | 45-55 min | Mild |
| 400°F | 40-50 min | Balanced |
| 425°F | 35-45 min | Deeper |
| Large bulbs | +10 min | Softer |
| Small bulbs | -5 min | Faster |
When the cloves feel tender and golden, your garlic’s ready. Let it cool, then squeeze.
Check for Doneness
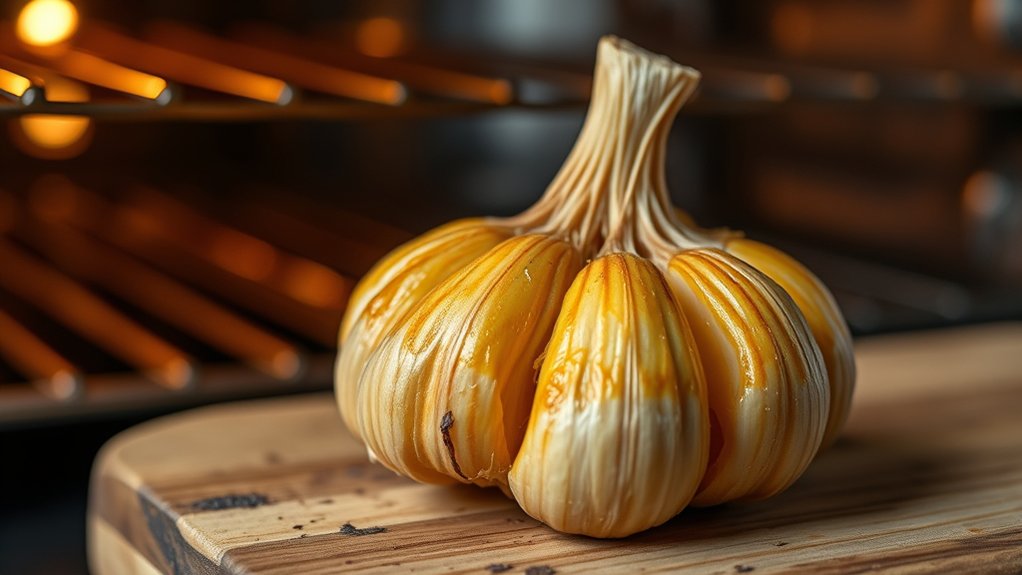
Wondering if your garlic is ready? Gently squeeze the foil packet with tongs, then open it carefully and check the cloves. You want them soft, deeply golden, and easy to mash with a fork.
Gently squeeze the foil packet, then check for soft, deeply golden cloves that mash easily with a fork.
If they still feel firm or look pale, roast them a little longer and check again in 5-minute bursts. Don’t rely on smell alone, because an unrelated topic or off topic discussion can distract you from the real signs of doneness.
The garlic should look caramelized, not burnt, and the cloves should hold their shape while giving way easily. If the edges have darkened but the centers still feel creamy, you’re right on track.
Once done, let the garlic cool slightly before handling. This short rest makes it easier to squeeze out the cloves and use them in spreads, sauces, or mashed potatoes.
Roast Garlic Without Foil
If you don’t have foil, you can still roast garlic in a small baking dish or oven-safe ramekin. Set the garlic cut-side up, drizzle it with olive oil, and season lightly with salt if you like. Add a splash of water to the dish to help create steam, then cover it tightly with a lid or another baking dish.
This method keeps the cloves moist while they roast garlic in the oven. If you need foil alternatives, a covered Dutch oven or covered loaf pan also works well.
Bake at 400°F until the cloves turn soft and golden, usually 35 to 45 minutes. Check the head near the end so it doesn’t overcook. You want tender cloves that squeeze out easily and taste sweet, mellow, and spreadable.
Once it’s done, remove the dish from the oven and let it sit briefly before handling.
Cool the Garlic
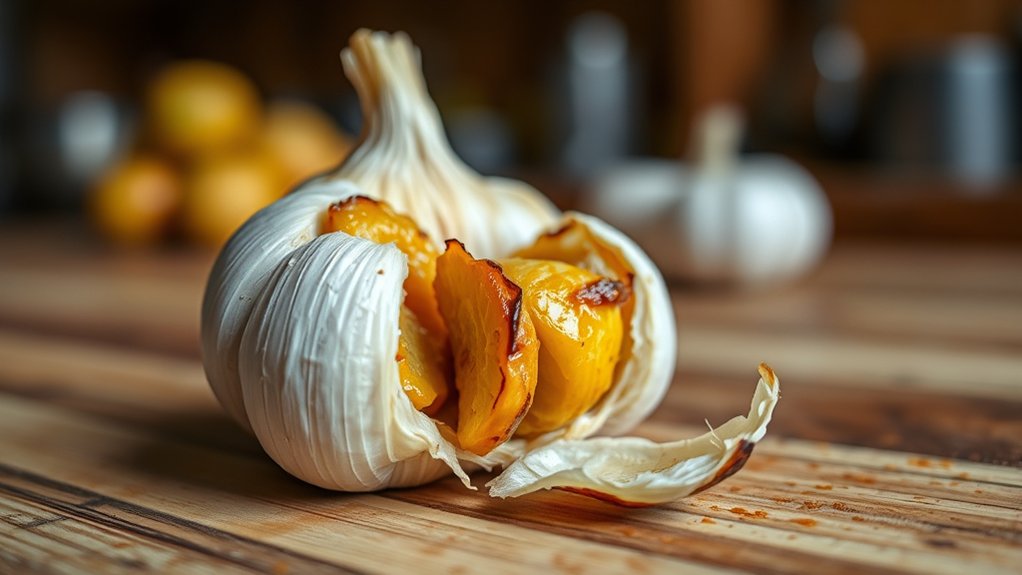
Let the roasted garlic cool for 5 to 10 minutes before you handle it. This short rest helps the cloves firm up a bit, so you can manage them safely. Use simple cooling methods that fit your kitchen setup: leave the head on the tray, or move it to a plate if the pan stays hot.
Timing considerations matter here because garlic keeps cooking from residual heat, and a brief pause protects its soft, spreadable texture.
| Cooling method | Best use |
|---|---|
| On the baking tray | Quick, easy resting |
| On a plate | Faster heat release |
| Near an open window | Better airflow |
| On a wire rack | Even cooling |
| Covered loosely with a towel | Keeps dust off |
Check the garlic after a few minutes. When the outer skin feels warm, not scorching, you’re ready for the next step.
Squeeze Out the Cloves
Now that the garlic has cooled slightly, squeeze each softened clove out of its skin from the cut end or with your fingers. Use gentle pressure so the cloves slide out whole; if one sticks, press the paper skin from both sides and nudge it loose.
You can also split the head open further to reach stubborn cloves. A clean, dry knife or spoon can help, but your squeezing technique should do most of the work.
As you remove each clove, place it in a small bowl and check for any browned bits of papery skin. Mash the garlic right away for spreads, sauces, or dressings, or leave the cloves intact if you want larger pieces later.
If you’re not using it immediately, follow simple storage tips by keeping the roasted cloves covered and ready for the next step. Handle them gently, since they’re very soft and can break apart easily.
Store Roasted Garlic Safely
Store the roasted garlic in an airtight container once it’s cool. Keep it in the refrigerator and label the container with the date so you can track the shelf life.
For storing leftovers, use a clean spoon each time you scoop out cloves to avoid introducing moisture or bacteria. If you’ve added oil, make sure the garlic stays chilled and never leave it at room temperature for long.
Use it within 4 to 5 days for best quality, or freeze it if you need longer storage. To freeze, spread the cloves in a thin layer or portion them into small containers so you can remove only what you need.
Thaw frozen garlic in the fridge, not on the counter. Check for off smells, mold, or slimy texture before using it. Good storage keeps the garlic safe and preserves its rich, mellow flavor.
Use Roasted Garlic in Recipes
Roasted garlic is easy to use in all kinds of dishes once it’s cooled and stored properly. You can squeeze the soft cloves from the skin and mash them into butter, mashed potatoes, or pasta sauce.
Stir them into soups, salad dressings, and hummus for deeper roasted garlic flavors without the sharp bite of raw garlic. If you want a quick spread, blend the cloves with olive oil and a pinch of salt, then smear it on bread, toast, or roasted vegetables.
You can also fold it into meat marinades or mix it with cream cheese for sandwiches and dips. Keep your garlic storage simple by refrigerating extra cloves in a sealed container and using them within a few days.
For longer storage, freeze portions in small airtight containers or ice cube trays so you can grab what you need later.
Frequently Asked Questions
Can I Roast Garlic in an Air Fryer?
Yes, you can roast garlic in an air fryer. You’ll wrap or cover it, cook at 350°F, and check until soft and golden.
You can roast garlic faster than in the oven.
How Long Does Roasted Garlic Last in the Freezer?
You can freeze roasted garlic for about 3 months for best quality. Follow freezer storage guidelines: cool it first, seal it airtight, and label it.
Your roasted garlic duration stays best when you thaw only what you need.
Can I Roast Peeled Garlic Cloves Instead of Whole Bulbs?
Yes, you can roast peeled cloves, why not? You’ll get quicker, more even roasted strategies, but watch flavor concerns: they can dry out faster. Toss them with oil, cover loosely, and roast until soft and golden.
What Olive Oil Is Best for Roasting Garlic?
You’ll do best with extra-virgin olive oil; its flavor complements roasted garlic and supports your roasting technique.
If you want a milder result, use a light olive oil or garlic oil for less intensity.
Can I Roast Garlic at a Lower Oven Temperature?
Yes, you can roast garlic at a lower temperature; use low temperature options like 325°F and make timing adjustments, roasting until cloves turn golden and soft. Check often, since slower heat needs more patience and attention.
Conclusion
Now you’ve got the know-how to roast garlic in the oven, and those cloves will turn into little gold nuggets of flavor. Once they’re soft and sweet, you can squeeze them out like butter and stir them into anything that needs a warm, savory boost.
Keep a batch on hand in the fridge or freezer, and you’ll always have a shortcut to richer sauces, spreads, soups, and sides. Your kitchen’s about to smell amazing.
With this simple technique, roasting garlic in the oven becomes an easy way to elevate your cooking every time.