How to Cook Oven Chicken Legs
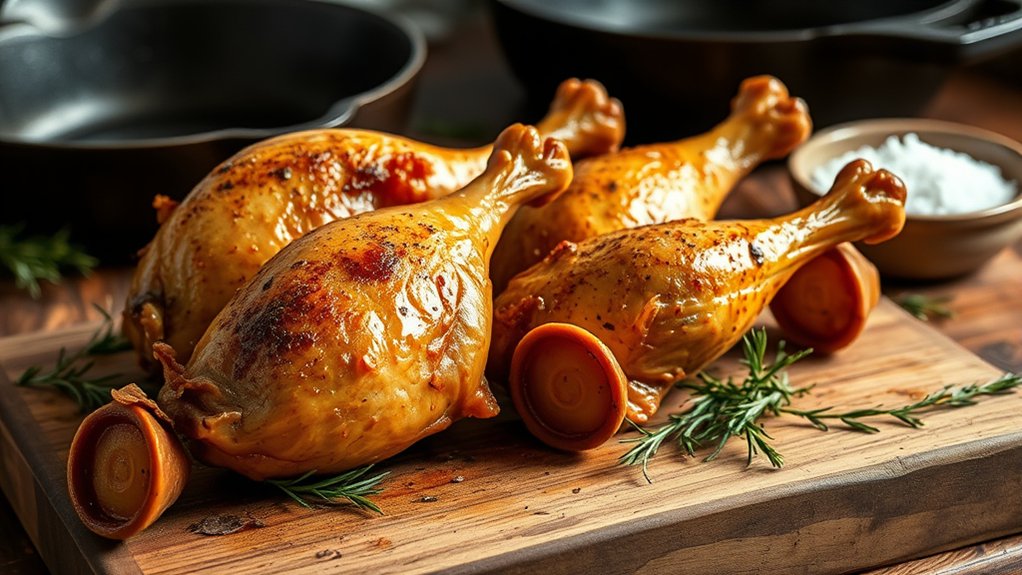
When your oven needs a small but reliable task, cooking oven chicken legs fit the bill. You pat them dry, season them with salt, pepper, garlic powder, and paprika, then bake them on a rimmed pan at 400°F until they’re tender and reach 165°F.
A short broil gives the skin extra bite, and a brief rest keeps them juicy—but there’s one simple step that makes the difference between good and great.
Key Takeaways
- Pat 4 to 6 bone-in, skin-on chicken legs dry, then season all sides with salt, pepper, garlic powder, paprika, and a little oil or butter.
- Preheat the oven to 400°F and place the legs on a rimmed baking sheet or roasting pan, ideally in the middle rack.
- Bake until the meat is tender, juices run clear, and the internal temperature reaches 165°F without touching the bone.
- For crispier skin, broil 2 to 4 minutes at the end, watching closely and turning the pan if needed.
- Rest the chicken briefly before serving, and refrigerate leftovers within two hours in an airtight container.
Ingredients and Tools for Oven Chicken Legs
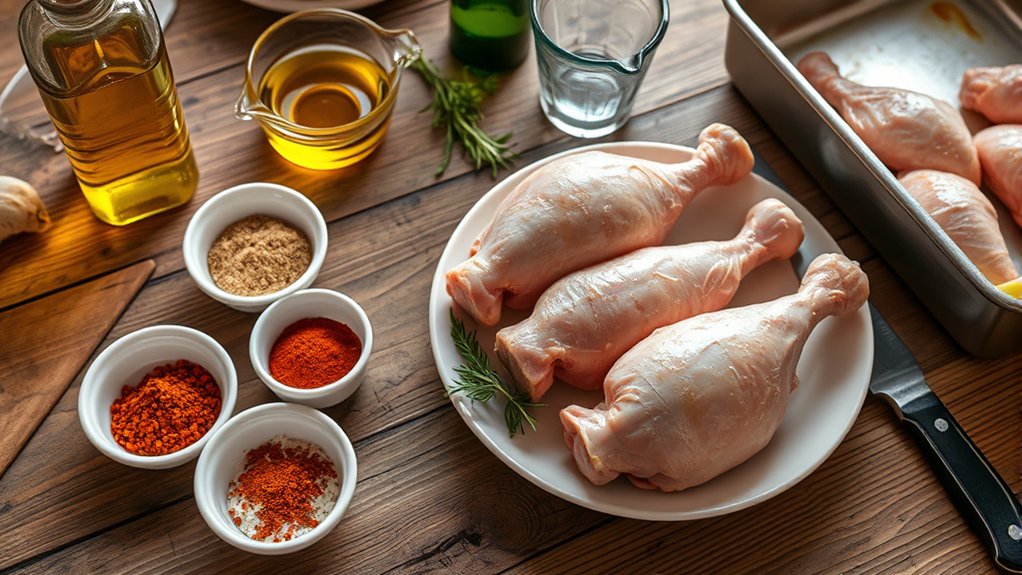
What do you need to make perfectly baked chicken legs? Start with 4 to 6 chicken legs, ideally bone-in and skin-on, so they stay juicy in the oven. Gather salt, black pepper, garlic powder, paprika, and a little oil or melted butter.
If your budget constraints are tight, choose a simple seasoning mix you already own; chicken legs are affordable and forgiving. You’ll also need a rimmed baking sheet or roasting pan, aluminum foil or parchment, and a meat thermometer for accuracy.
Use tongs to handle the raw chicken and a small bowl to mix seasonings. For kitchen safety, keep raw poultry separate from other ingredients, wash your hands after touching it, and sanitize any surface it contacts.
A paper towel roll helps with quick cleanup, and an oven mitt protects you when you transfer the hot pan. With these basic ingredients and tools, you’re ready for consistent, reliable results.
Pat Dry for Crispy Skin
Before you season the chicken legs, pat them dry with paper towels until the skin feels completely free of surface moisture. You’ll want to remove every bit of dampness, especially around the joints and underside, because wet skin steams instead of crisps.
This simple step helps the skin brown evenly and boosts crispiness in the oven.
Dry Surface Thoroughly
Why pat the chicken legs dry? You want a dry surface so the skin can brown instead of steam. After rinsing or unwrapping, place the legs on a clean cutting board or tray and press them gently with paper towels.
Turn each piece and blot every side, including the creases around the joints and the underside. Use fresh towels if they become damp, because moisture control matters for crisp results. Don’t rub hard; you’re removing surface water, not damaging the skin.
If the legs feel slick, keep patting until they no longer shine. A thoroughly dried exterior helps seasoning cling evenly and supports better oven browning. Before you season, inspect each piece for any remaining moisture, then dry it again if needed, especially after handling.
Remove Excess Moisture
Removing excess moisture is the key to crisp, well-browned oven chicken legs. After rinsing or brining, lift each leg from the tray and let any liquid drip off. Use clean paper towels to press every side, especially the skin, until it feels dry to the touch.
Don’t rub so hard that you tear the surface; firm blotting works best. If moisture pools in the joints or under loose skin, angle the leg and blot those spots separately. You want to remove moisture from all creases, because trapped water steams the chicken instead of letting it roast.
When the skin looks matte and dry, you’re ready to season. This simple step helps the skin brown evenly and keeps the texture crisp after baking.
Boost Skin Crispiness
For extra-crispy oven chicken legs, pat the skin as dry as you can before seasoning. Moisture blocks browning, so press paper towels firmly over every surface, including creases near the joints.
A dry skin gives your crisping technique a head start and helps fat render cleanly in the oven.
- Use fresh paper towels, then replace them if they get damp.
- Let the legs sit uncovered in the fridge for 30 minutes.
- Lightly rub on oil vs air? Choose a thin oil coat for better heat transfer.
- Season after drying so spices stick without adding water.
Place the legs on a wire rack so hot air reaches all sides. This airflow keeps the bottom skin from steaming and builds a crackly finish.
Season the Chicken Legs
Use simple spices like salt, black pepper, garlic powder, and paprika so the chicken’s flavor stays balanced and clear. Sprinkle the seasoning over every side of the legs, then rub it in with your hands to help it cling.
Make sure each piece has an even coat before you put them in the oven.
Choose Simple Spices
Start with simple spices so the chicken legs get a clean, balanced flavor that works well in the oven. Use salt, black pepper, garlic powder, and paprika as a reliable base, then adjust to your seasoning preferences.
Keep the mix focused so each spice supports the chicken instead of competing with it. Consider spice pairings that taste familiar and work together, such as garlic with paprika or pepper with a little thyme.
Salt sharpens the overall flavor.
Pepper adds gentle heat.
Garlic powder brings savory depth.
Paprika adds color and mild sweetness.
Measure each spice carefully, then taste the blend on your fingers if needed. You’ll season the chicken more confidently when you keep the profile simple and balanced.
Coat Evenly Before Baking
How do you get even flavor on every chicken leg? Pat the legs dry, then toss them with oil so the spices stick. Sprinkle your seasoning over the meat in a thin, steady layer and rub it into every side. Aim for coating consistency, not clumps, so each bite tastes balanced.
Use your hands to turn the legs and check for even coverage under the skin and along the edges.
| Step | Action |
|---|---|
| 1 | Dry the chicken |
| 2 | Add oil and seasoning |
| Check | Result |
| Surface | Fully coated |
| Flavor | Uniform throughout |
If you see bare spots, add a pinch more spice and massage again. Then place the legs on the pan without wiping off the coating, and bake.
Choose the Best Oven Temperature
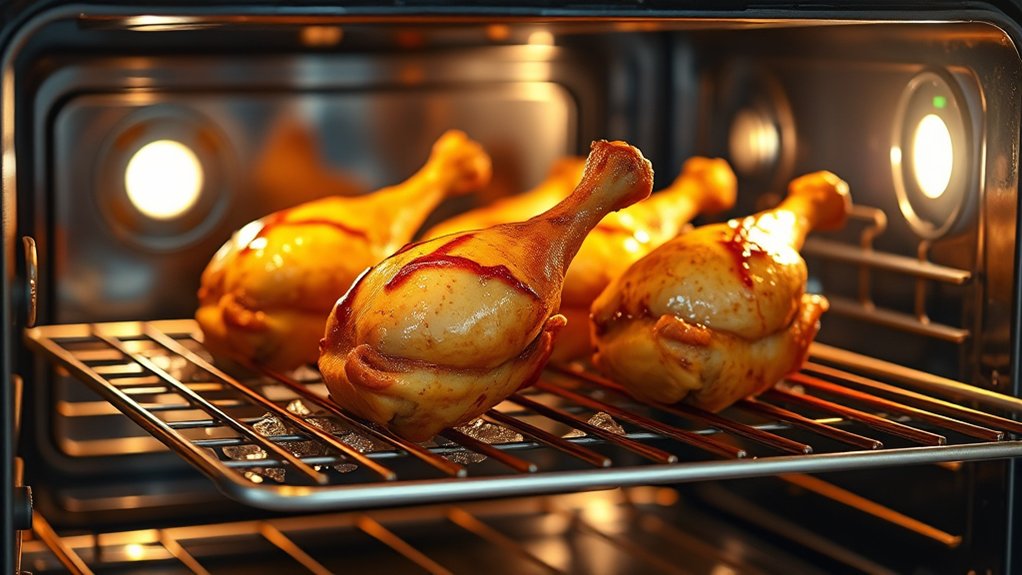
For juicy, evenly cooked chicken legs, set your oven to 400°F, which gives the skin a good chance to crisp while the meat cooks through without drying out. You can also compare oven temperature options before you start: 375°F works if you want a gentler bake, while 425°F boosts browning. Choose based on your oven’s accuracy and the size of the legs.
When you’re deciding between convection vs. conventional, remember that convection usually runs hotter and moves air, so it can brown faster; lower the temperature by 25°F if your oven uses that setting.
- Use 400°F for balanced results.
- Drop to 375°F for a slower, steadier bake.
- Raise to 425°F for more color.
- Adjust for convection so the surface doesn’t overbrown.
If your oven has hot spots, rotate the pan once during baking. Keep the rack in the middle position for even heat circulation.
Bake Chicken Legs Until Tender
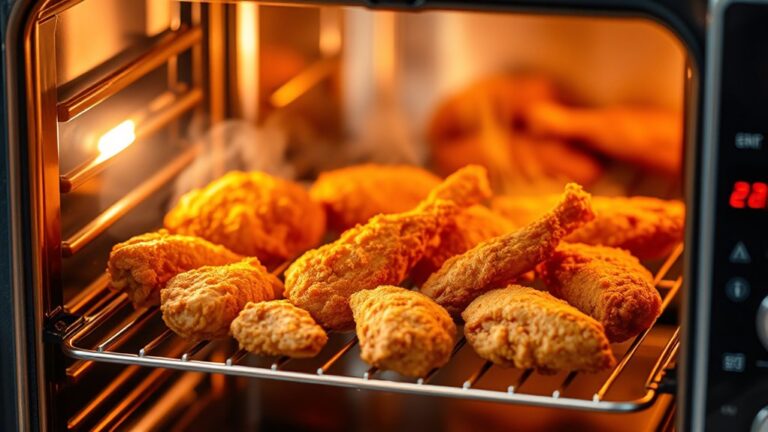
Once your oven’s set, place the seasoned chicken legs on a lined baking sheet or in a shallow roasting pan, leaving a little space between each piece so the heat can circulate. Slide the pan into the center rack and bake them steadily, without opening the door often, so the temperature stays consistent.
If you want the skin to dry slightly and the meat to stay juicy, keep the legs uncovered during cooking. You can brush them with a small amount of oil before baking, but low fat alternatives like a light spray work well too.
For budget friendly tips, buy larger packs and freeze portions, or use simple seasonings such as salt, pepper, garlic powder, and paprika. Let the legs bake until they’re fully tender and the flesh pulls back from the bone a bit. Keep the pan level, and rotate it once if your oven heats unevenly.
Check for Doneness
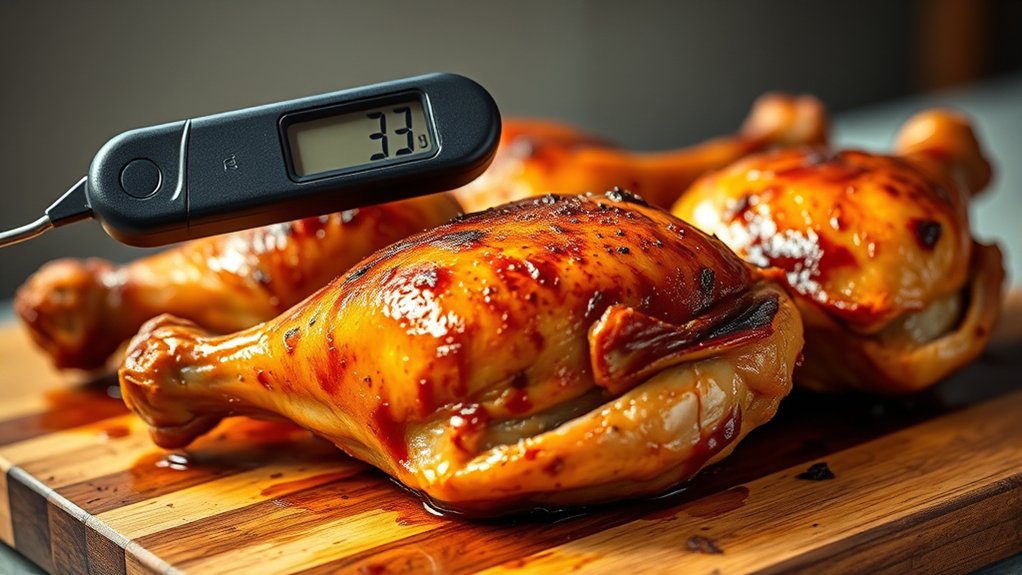
Check the chicken legs near the end of the baking time by cutting into the thickest part of one piece and looking for clear juices and opaque, no longer pink meat. If the center still looks translucent, return the legs to the oven and keep baking in short intervals.
Check the thickest part for clear juices and opaque meat; if it looks translucent, bake a little longer.
You should also check doneness with an instant-read thermometer inserted into the thickest section without touching bone; 165°F means the meat is safe. Watch for thermometer redflags like a reading that swings quickly, a probe placed too close to the pan, or juices that run red or cloudy.
Cut only one leg first to avoid excess moisture loss.
Inspect both color and texture, not color alone.
Recheck after 3 to 5 minutes if needed.
Record the final temperature for consistency.
Broil for Extra Crispiness
Want a deeper golden finish? Switch your oven to broil after the chicken legs reach doneness. Move the rack so the tops sit about 6 inches from the heat source, then keep the door slightly open if your oven requires it.
Watch closely, because broiling works fast and can turn from crispy skin to burnt in moments. Let the legs broil for 2 to 4 minutes, turning the pan once if one side colors faster. You’re aiming for even browning, not dark patches.
If the skin starts to blister and turn deep amber, pull the chicken out immediately. Use tongs to check the surface, but avoid piercing the meat again.
Once the skin looks crisp and evenly browned, transfer the legs to a plate and let them rest briefly before serving. This quick finish adds texture, boosts flavor, and gives your oven chicken legs a polished, restaurant-style look.
Serve With Easy Side Dishes
With the chicken legs crisp and rested, round out the meal with simple sides that don’t steal the spotlight. Choose textures and flavors that balance the savory skin and juicy meat. You can serve a crisp green salad, buttery corn, or roasted carrots to add color and freshness without extra fuss.
For kid friendly sides, try mashed potatoes, buttered noodles, or steamed broccoli with a light sprinkle of salt.
- Toss salad greens with lemon vinaigrette.
- Roast vegetables until tender and lightly caramelized.
- Keep starches plain so the chicken stays the focus.
- Offer pairing wines like Chardonnay or Pinot Noir for adults.
Set everything out while the chicken rests so dinner reaches the table warm. If you want a brighter plate, add a quick cucumber salad or dinner rolls. Keep portions moderate, and let each side complement the chicken instead of competing with it.
Store and Reheat Leftovers
How should you store leftover chicken legs so they stay safe and tasty? Let them cool for no more than two hours, then pack them in a shallow, airtight container. If you want to store leftovers longer, wrap each leg tightly in foil or plastic wrap before refrigerating.
Keep them on a middle shelf at 40°F or below, and eat them within four days for best quality.
Store chicken legs on a middle shelf at 40°F or below, and enjoy them within four days for best quality.
To reheat leftovers, preheat your oven to 350°F. Place the chicken legs in a baking dish, add a splash of broth or water, and cover the dish with foil so the meat doesn’t dry out.
Heat for 15 to 20 minutes, or until the center reaches 165°F. You can also use an air fryer for crispier skin, but check the temperature carefully.
Avoid reheating chicken repeatedly; warm only the portion you’ll eat. If you froze the legs, thaw them in the refrigerator before reheating.
Frequently Asked Questions
Can I Use Frozen Chicken Legs Directly in the Oven?
Yes, you can bake frozen chicken legs directly, but you’ll need extra time. Frozen vs thawed affects cooking speed; skin on vs skin off changes browning.
Check 165°F internal temperature before serving.
Should I Remove the Skin Before Baking Chicken Legs?
No, you shouldn’t remove it unless you want less fat and crispness. Skin-on vs skinless options affect moisture; bone in vs boneless options cook differently.
Keep the skin for juicier, more flavorful baked chicken legs.
How Long Should Chicken Legs Marinate Before Cooking?
You should marinate chicken legs at least 30 minutes, though 4 to 12 hours gives deeper marinating time because, naturally, flavor pairings pretend they’re philosophers. Refrigerate them, turn occasionally, and avoid exceeding 24 hours for texture.
Can I Cook Chicken Legs on a Wire Rack?
Yes, you can cook chicken legs on a wire rack. You’ll promote even airflow, crisp skin, and less sogginess.
When considering cooking with wire racks, thaw frozen vs fresh chicken legs fully for best results.
What Spices Work Best for Oven Chicken Legs?
You’ll get the best flavor with paprika, garlic powder, onion powder, black pepper, thyme, and cayenne. Test the theory that salt boosts aroma balance, and you’ll see these spice pairings make your legs taste richer.
Conclusion
Now you can see the method is simple: dry the legs, season them well, and let the oven do the work. Bake at the right temperature until the meat is tender and the juices run clear, then broil briefly if you want extra-crisp skin.
Rest the chicken before serving so the flavor stays locked in. If you have leftovers, reheat them safely to 165°F and enjoy them again.
Following these steps will help you make delicious oven chicken legs every time.