How to Clean a Dutch Oven
You might notice, by coincidence, that the same Dutch oven that made dinner can also make cleanup simple. Cleaning a Dutch oven properly starts with identifying whether yours is enameled or bare cast iron.
Once you know the type, use the right wash method to remove residue without damaging the surface. A few small mistakes can cause rust or dull the finish, so the next steps matter.
Taking care with each step will help maintain your Dutch oven’s performance and appearance for years to come.
Key Takeaways
- Let the Dutch oven cool slightly, then remove stuck-on food with a silicone, wooden, or plastic scraper.
- Wash with warm water, a little mild dish soap, and a nonabrasive sponge or soft brush.
- Do not soak cast iron; rinse it quickly to prevent rust and moisture damage.
- Dry thoroughly with a lint-free towel, and use low heat if needed to remove hidden moisture.
- For stains or burnt spots, use a baking soda paste; re-season cast iron lightly after cleaning.
What You’ll Need to Clean a Dutch Oven
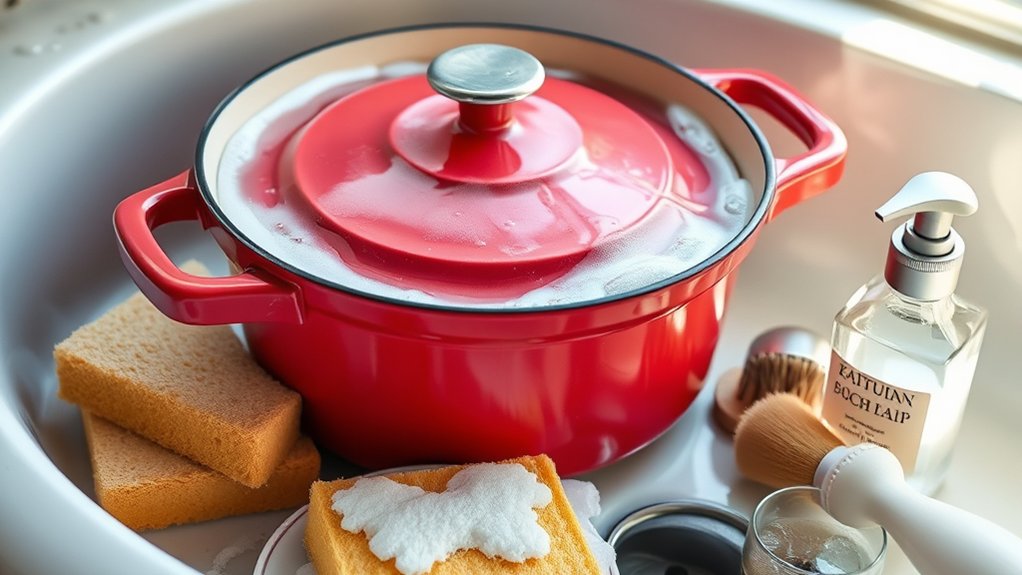
Before you start, gather a few basic supplies so you can clean the Dutch oven safely and effectively: warm water, mild dish soap, a nonabrasive sponge or soft brush, a plastic scraper for stuck-on food, and a clean towel for drying. These cleaning tools give you controlled cleaning without damaging the surface.
Use the sponge or brush to loosen residue, and reserve the plastic scraper for hardened bits, applying steady pressure to avoid scratches. Keep a sink or basin nearby for soaking, but use only enough water to cover the dirty areas. Add dish soap sparingly so you can remove grease without leaving a film.
Drying matters, too, because trapped moisture can interfere with storage and handling. If you organize your cleaning tools before you begin, you’ll move faster and reduce the chance of mistakes. Avoid abrasive pads, metal utensils, and harsh powders, since they can mar the finish and make routine cleaning harder later.
Identify Enameled vs. Cast Iron First
First, check whether your Dutch oven is enameled or bare cast iron, because the cleaning method depends on the finish. Lift the lid and inspect the interior and rim. If you see a smooth, glossy coating in white, cream, or another color, you’re identifying enamel.
Check whether your Dutch oven is enameled or bare cast iron, because the cleaning method depends on the finish.
If the cooking surface looks matte, dark gray, or black and feels slightly textured, you’re distinguishing cast iron. Look for chips on the exterior edge or inside the pot; exposed metal under a colored shell confirms enamel.
Bare cast iron often shows a single continuous metal surface with no glassy layer. Test the weight and markings only as secondary clues, since brands vary. Also, check the lid underside: enamel usually matches the body, while bare cast iron stays uniformly metallic.
Once you identify the finish, you can choose the correct cleaning approach and avoid damage. Don’t assume every heavy pot uses the same care routine.
Clean an Enameled Dutch Oven After Cooking
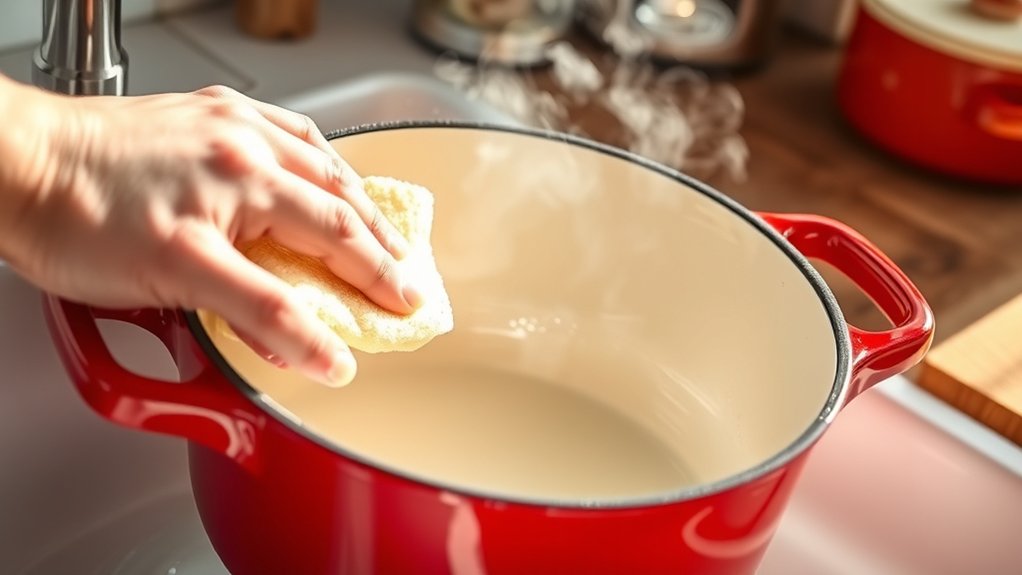
After cooking, let the enameled Dutch oven cool slightly, then remove any food residue with a silicone or wooden scraper.
Wash the pot with warm water, mild dish soap, and a nonabrasive sponge to protect the enamel coating. Rinse it thoroughly and dry it completely with a soft towel to prevent water spots.
Remove Food Residue
Got stubborn residue left in your enameled Dutch oven? Let the pot cool slightly, then remove food debris before it hardens. Use a silicone or wooden spatula to lift loose particles from the base and sides, working gently to avoid scratching the enamel.
If residue buildup persists, add a small amount of warm water and let it sit a few minutes to loosen stuck-on bits.
- Scrape the surface with a nonmetal tool.
- Target corners where residue collects.
- Stop once the interior looks clear.
For burnt spots, apply a thin paste of baking soda and water directly to the stain. Rub with a soft sponge in short, controlled strokes. This preparation minimizes abrasion and makes the next cleaning step more efficient.
Wash and Dry Gently
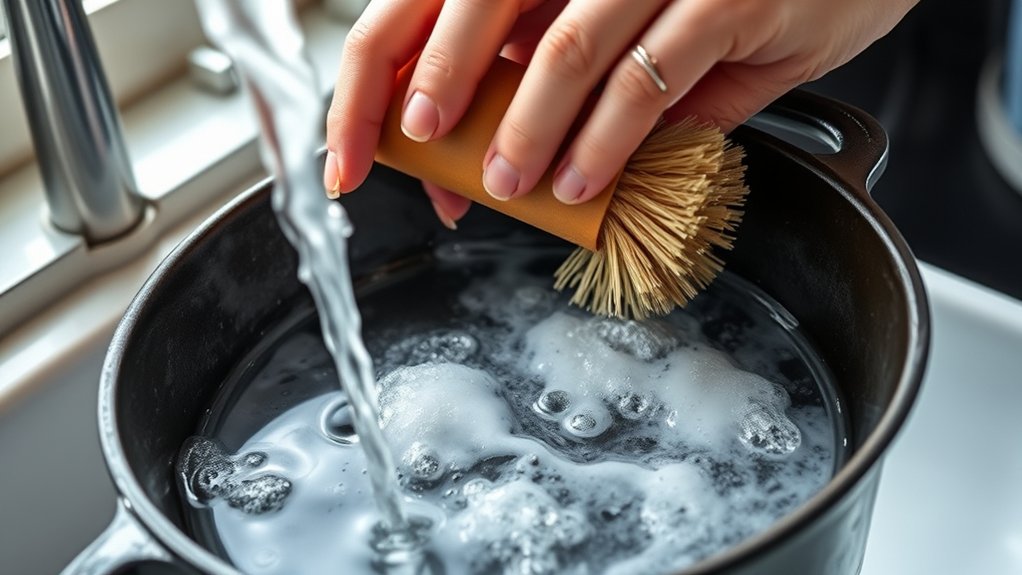
Wash the enameled Dutch oven with warm water, a small amount of mild dish soap, and a soft sponge or nonabrasive cloth. Wash gently along the interior and exterior, focusing on any remaining film without scrubbing hard.
If residue persists, soak the pot briefly in warm, soapy water, then lift softened particles with the sponge. Rinse thoroughly under clean running water to remove all soap and loosened debris.
Inspect the enamel for streaks or trapped suds, and repeat a light rinse if needed. After rinsing, dry gently with a lint-free towel to prevent water spots.
Let the Dutch oven air-dry completely with the lid off before storage. Avoid abrasive pads, harsh detergents, and sudden temperature changes, which can damage the finish.
Wash a Cast Iron Dutch Oven Safely
How do you clean a cast iron Dutch oven without damaging its seasoning? Use warm water, a small amount of mild dish soap, and a nonabrasive sponge. For cast iron safety, keep the pot off long soaks; moisture encourages rust. For enamel care, avoid metal scouring pads and harsh cleaners, which can dull the surface.
Wash the interior and exterior with light pressure, then rinse fully to remove residue.
- Scrub gently with a soft sponge.
- Rinse with warm water immediately.
- Dry at once with a lint-free towel.
After drying, place the Dutch oven on low heat for a few minutes to evaporate hidden moisture, especially around the rim and handles. If the pot is seasoned cast iron, wipe a thin film of oil inside only after it’s dry. This keeps the surface protected without adding buildup.
Remove Stuck-On Food Without Scrubbing Hard
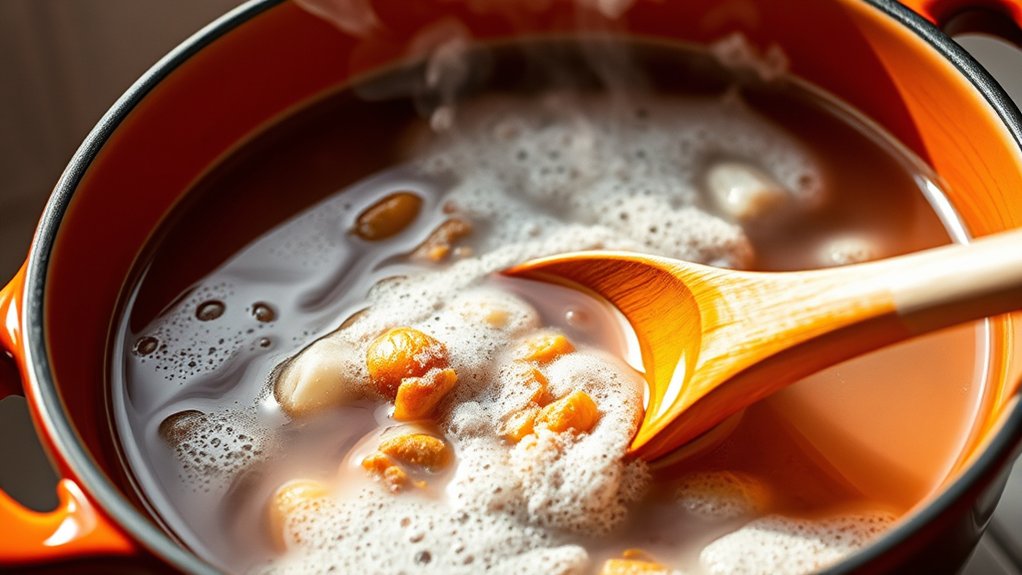
If food has baked onto the Dutch oven, soak the affected area with warm water for 10 to 15 minutes to loosen residue before you touch it again. After soaking, lift the softened bits with a wooden or silicone scraper, moving from the edge toward the center.
Keep pressure low so you don’t grind stuck on particles into the surface. If residue remains, add a small amount of mild dish soap and warm water, then repeat gentle removal with the scraper.
Wipe out loosened debris with a damp cloth between passes.
| Tool | Use |
|---|---|
| Warm water | Softens residue |
| Silicone scraper | Gentle removal |
| Damp cloth | Clears loosened food |
Avoid steel wool and other abrasive pads; they can damage the finish and make cleanup harder later. Rinse the Dutch oven thoroughly, then dry it completely with a lint-free towel before storing it.
Get Rid of Stains and Discoloration
For light stains and discoloration, make a paste of baking soda and water, then spread it over the affected areas and let it sit for 10 to 15 minutes. You’ll use this stain removal method to lift surface marks without damaging the finish.
After the wait, wipe the paste away with a damp, nonabrasive sponge and inspect the surface under bright light. If the stain remains, repeat the treatment once more.
- Apply gentle pressure only; don’t scour the enamel or seasoned surface.
- Use a soft cloth with mild dish soap to target stubborn discoloration.
- Rinse thoroughly so no residue interferes with future cooking.
For deeper marks, mix a little vinegar with water and test a small spot first. This discoloration care keeps your Dutch oven looking uniform while preserving its performance.
Finish by washing the pot normally, then dry it completely before storing.
Dry Your Dutch Oven to Prevent Rust
Dry your Dutch oven immediately after washing so moisture doesn’t linger on the surface and cause rust. Use a lint-free towel to wipe the interior, exterior, lid, and handles, paying attention to seams, rivets, and the rim.
Dry your Dutch oven immediately after washing, wiping every seam, rim, and handle to prevent lingering moisture and rust.
For thorough drying techniques, place the pot over low heat on the stovetop for 3 to 5 minutes, turning it as needed so trapped water evaporates from every surface. If you prefer, set it in a warm oven until completely dry.
Check for hidden droplets under the lid knob and along the base. Never air-dry cast iron, because standing moisture defeats rust prevention. Once the metal looks fully dry, remove it from heat and let it cool before storing.
Keep the lid slightly ajar so residual humidity can escape. Store the Dutch oven in a dry cabinet or on an open shelf where air circulates freely. This routine protects the finish, preserves performance, and keeps rust from developing after each wash.
Re-season a Cast Iron Dutch Oven When Needed
Inspect your cast iron Dutch oven for signs of worn seasoning, such as dull patches, sticky spots, or light rust. If you notice any of these, you’ll need to re-season it to restore its protective coating.
Clean and dry the pot completely, then apply a thin layer of oil and bake it to rebuild the seasoning.
Signs Of Seasoning Wear
When does a Dutch oven need fresh seasoning? You should inspect the surface for seasoning wear after normal cleaning. If the interior looks dull, feels tacky, or food begins sticking, the protective layer is degrading.
Rust spots, patchy color, and a rough texture also signal loss of oil bonding. Use these maintenance tips to judge condition accurately:
- Water beads no longer form quickly.
- Brown or orange corrosion appears after drying.
- Dark sheen turns gray, dry, or uneven.
These signs mean your cast iron isn’t fully protected. Catching them early helps you prevent deeper damage and preserve cooking performance. If you notice any of these symptoms, re-season the Dutch oven soon.
Regular inspection keeps the surface stable, improves release, and extends service life.
Re-Seasoning Steps
If your Dutch oven shows dull patches, tackiness, rust spots, or uneven sheen, re-season it before the surface degrades further. Wash it, dry it fully, then heat it briefly to drive off hidden moisture.
Wipe on a thin film of neutral oil, then buff off all excess so only a micro-layer remains. Place it upside down in a 450°F oven and bake for one hour; let it cool inside. Repeat if the finish still looks weak.
Use these re-seasoning steps to restore the polymerized coating and improve release.
| Step | Action |
|---|---|
| 1 | Clean and dry |
| 2 | Oil lightly |
| 3 | Bake hot |
| 4 | Cool slowly |
For seasoning maintenance, store it dry and rub on a trace of oil after use.
Avoid Common Dutch Oven Cleaning Mistakes
To keep your Dutch oven in good condition, avoid the most common cleaning mistakes that can damage its seasoning, enamel, or metal finish. Follow the dos and donts of care: use warm water, a soft sponge, and a nonabrasive cleanser.
Do not soak cast iron for long periods, because moisture can trigger rust and weaken seasoning. Scrub only after the pot cools; sudden temperature changes can crack enamel.
- Rinse food residue promptly, then dry the surface completely with a lint-free cloth.
- Avoid steel wool, harsh detergents, and metal tools that can scratch or strip protective layers.
- For stuck-on residue, simmer water briefly, then lift it with a wooden or silicone scraper.
If you use a dishwasher, you risk dulling the finish and shortening the pot’s service life. Keep your technique controlled, gentle, and consistent, and your Dutch oven will clean up efficiently without damage.
Store Your Dutch Oven the Right Way
Once your Dutch oven is clean and completely dry, store it with the lid slightly ajar so trapped moisture can escape. Place a folded paper towel or clean cloth between the pot and lid to maintain airflow and protect the rim from abrasion.
Choose a dry, well-ventilated cabinet for store placement, away from sinks, dishwashers, and direct steam. If you stack cookware, keep the Dutch oven on a stable shelf or beneath lighter items so you don’t chip the enamel or deform the seasoning on bare cast iron.
For lid care, avoid sealing the pot airtight during storage, and never nest a damp lid inside the base. If you use a pot protector, verify that it doesn’t retain moisture.
Before long-term storage, inspect the interior and handles for residue, then wipe them with a dry cloth. Consistent storage habits reduce rust, odor, and surface damage, helping your Dutch oven stay ready for reliable cooking.
Frequently Asked Questions
Can I Put My Dutch Oven in the Dishwasher?
No, you usually shouldn’t put it in the dishwasher. You’ll risk dishwasher safety issues and damage seasoning maintenance.
Wash it by hand with warm water, dry it thoroughly, and reoil cast iron surfaces.
How Often Should I Clean My Dutch Oven?
You should clean it after every use; otherwise residue builds, and trouble follows.
For seasonal maintenance, scrub, dry, and inspect it thoroughly. Then renew the oil seasoning as needed to protect the finish and prevent corrosion.
Can I Use Bleach on a Dutch Oven?
No, you shouldn’t use bleach on a dutch oven; it can damage seasoning and enamel. You can use bleach alternatives like baking soda, vinegar, or hydrogen peroxide, plus odor remedies such as lemon and charcoal.
Why Does My Dutch Oven Smell After Washing?
You’re likely noticing trapped residues; even a teaspoon of oil can release odor when heated. Food acids, soap film, or moisture cause smells.
Use deodorizing methods: bake it dry, then wipe with baking-soda paste.
How Do I Clean the Lid and Knob?
Wash the lid in warm, soapy water, then rinse and dry completely.
For knob maintenance, wipe it gently with a soft cloth, avoid abrasives, and tighten any loose hardware after cleaning.
Conclusion
When you clean your Dutch oven well, you’re tending a sturdy hearthstone after the fire dies down: scrape away the ash, wash the surface gently, and dry it completely. If it’s cast iron, renew the seasoning like oiling a shield.
Avoid soaking, scrubbing too hard, and storing it damp to keep corrosion and wear at bay. Careful maintenance protects performance and extends service life.
By following these steps, you’ll keep your Dutch oven in excellent condition, ready for the next cook. Proper cleaning is key to preserving the quality and durability of your Dutch oven.