How to Broil in Oven
You slide a salmon fillet onto the top rack, and the oven’s broiler turns its surface glossy and crisp in minutes.
Broiling in an oven cooks with intense top heat, so you need the right rack position, a preheated broiler, and close attention to avoid burning.
You’ll see how to set up your oven, choose safe pans, time meat and vegetables, and finish with clean, even results.
Following these steps ensures a perfectly broiled dish every time.
Key Takeaways
- Broiling uses the oven’s top element, like an upside-down grill, to quickly brown and crisp food with radiant heat.
- Position food on the top rack, usually 3–6 inches below the broiler, and preheat the broiler before cooking.
- Use broiler-safe cookware, keep the oven area clear, and monitor food closely to prevent burning.
- Broil until browned and cooked through, adjusting rack height or timing if the top cooks faster than the center.
- Turn off the broiler, let everything cool, then clean pans, racks, and nearby surfaces safely.
How Broiling Works in the Oven
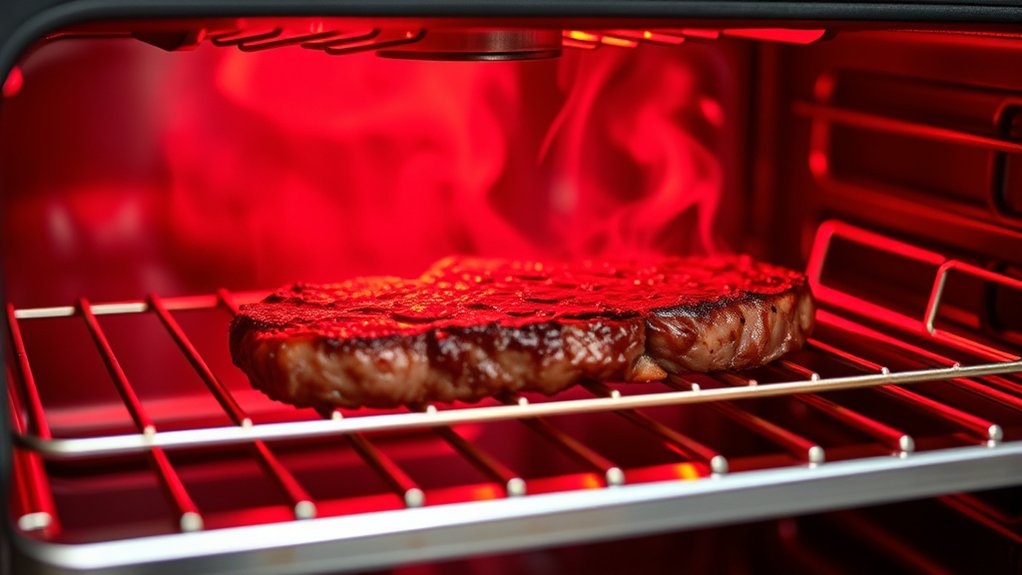
Broiling works by using intense heat from the oven’s top element to cook food quickly, much like an upside-down grill. You place food close to that heat, so the surface browns fast while the interior stays tender.
Broiling uses intense top heat to brown food fast, creating a crisp surface and tender interior.
Because the heat comes from above, you’re relying on radiant energy, not circulating air, and that changes how food cooks. You may think broiling is just high-heat baking, but broiler myths often ignore how direct the heat is.
This method excels at caramelizing sugars, crisping edges, and finishing delicate foods fast. It also affects energy usage because the oven runs for a short time and reaches cooking temperature without long preheating.
You should watch food closely, since broiling can shift from browned to burned in seconds. Understanding this process helps you choose foods that respond well to intense top heat and avoid common mistakes that lead to uneven results.
Set Up Your Oven for Broiling
Before you turn on the broiler, move the oven rack so the food sits 4 to 6 inches below the top element, or follow your recipe if it calls for a different distance. Then preheat the broiler for several minutes so the element gets fully hot and starts cooking immediately.
While it heats, line a broiler pan or sheet with foil if your recipe allows, and keep the surface clean to reduce smoke. Check that your cookware is broiler-safe; thin plastics, wood, and low-heat pans can warp or burn.
For broiling safety, clear the area around the oven, keep handles turned inward, and use dry mitts when you work near the hot cavity. Good oven ventilation helps control heat and smoke, so switch on the range hood or open a nearby window.
Once everything is ready, watch the broiler closely; it cooks fast and can brown food in minutes.
Pick the Right Rack Position
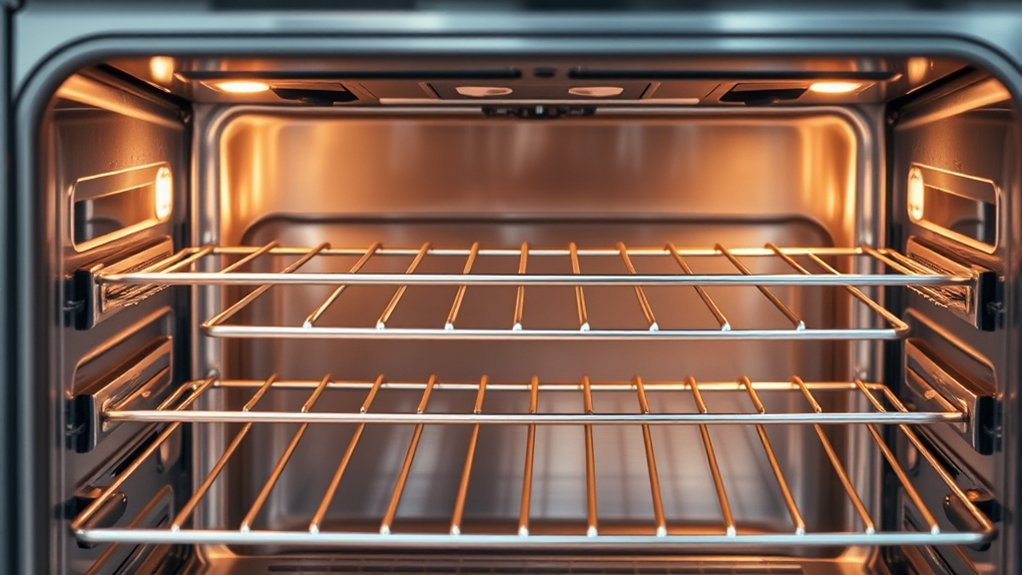
Choose the top rack for most broiling, since it puts your food closest to the heat and helps it brown fast. If you need a gentler broil, move the rack lower to increase the distance from the element.
Keep an eye on the food, because even a small rack change can affect how quickly it cooks.
Rack Distance Basics
How close should the food sit to the broiler? Position it so the top surface sits 3 to 6 inches below the element for most foods. This rack placement gives you fast browning without burning the outside before the inside catches up.
Thinner cuts need less distance, while thicker pieces usually need a bit more room to manage heat. Watch airflow dynamics around the pan too; leave space so hot air can move evenly and the food can brown instead of steam.
Use the center of the oven, not the very top, unless your recipe calls for intense direct heat. If you’re unsure, start farther away, then move the rack closer only after you’ve checked the color and timing.
Top Rack Benefits
Why use the top rack when broiling? You place food closest to the heating element, so you get faster browning, better caramelization, and crisper edges before the center overcooks. Use it for thin cuts, vegetables, and toppings that need quick color.
Watch the first few minutes closely, because top-rack heat varies by oven and can shift from golden to burnt fast. For reliable results, preheat fully and keep your pan stable on the rack.
If splatter is a concern, choose foil alternatives like a lightly oiled sheet pan or a broiler-safe rack. Follow these tips for rack heat: move food down one level if it browns too fast, and raise it only when you need stronger searing.
How to Broil Without Burning Food?
Adjust the oven rack so your food sits at the right distance from the broiler, and use a lower position if it browns too fast. Keep a close eye on it the entire time, because broiling can go from golden to burnt in seconds.
Pull the food out as soon as it reaches the color and doneness you want.
Adjust Oven Rack
Before you preheat the broiler, move the oven rack to the position that matches your food: use the upper rack for quick browning, or lower it a few inches if the top is thin or prone to burning. To adjust oven setup well, choose rack positioning before the heat starts, so you can control intensity without guesswork.
- Place thick cuts higher for fast searing.
- Lower delicate toppings to soften direct heat.
- Center the food under the broiler element.
- Leave enough space for air to circulate.
Good rack positioning gives you even color and better texture. If you’re broiling multiple items, keep them on the same rack depth so they finish at a similar rate. Make this adjustment every time, and you’ll avoid uneven results.
Watch Food Closely
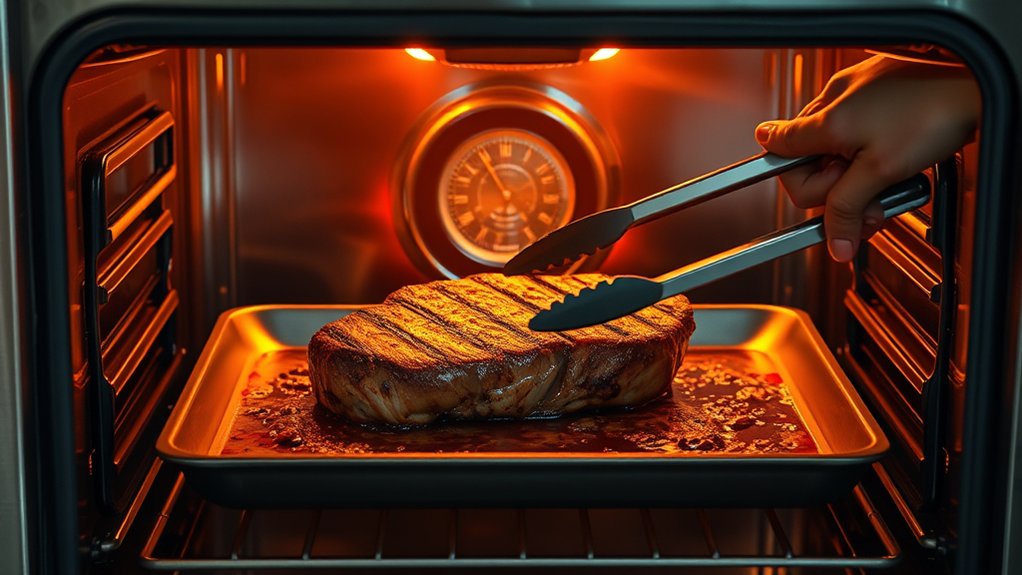
Watch the food closely once the broiler turns on, because it can go from browned to burned in seconds. Stay near the oven door and check the surface every 30 to 60 seconds. Use the oven light if you have one, and keep the rack pulled partway out only when you need to turn or reposition food.
Watch food edges first; they usually darken fastest. If one side browns sooner, rotate the pan so the heat hits evenly. Don’t walk away, answer calls, or prep other dishes while broiling.
If you see smoke, lower the rack or remove the food briefly. Monitor heat by noting how quickly color changes, then adjust your timing for the next batch.
Broiling Times for Meat, Fish, and Vegetables
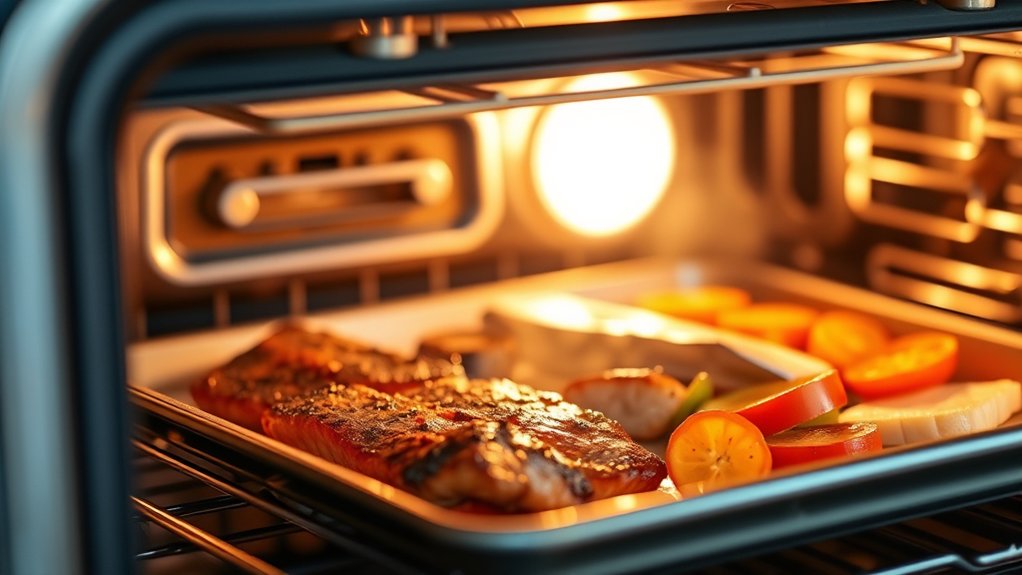
How long should you broil each food? Use broiling science to match thickness, moisture, and surface browning, and keep oven safety in mind as you adjust the rack. Thin cuts cook fast; vegetables need less time than dense meat. Start with a hot broiler, preheat the pan if you can, and stay nearby.
- Meat: Broil 4–6 minutes per side for thin, even pieces, then check early.
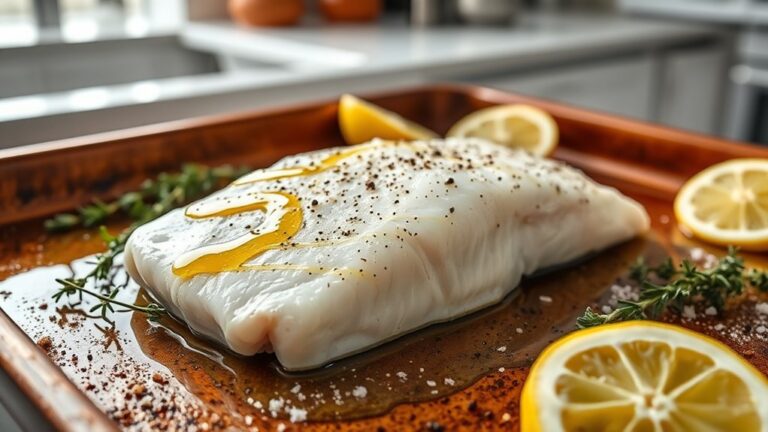
- Fish: Broil 3–5 minutes per inch of thickness; stop when it flakes easily.
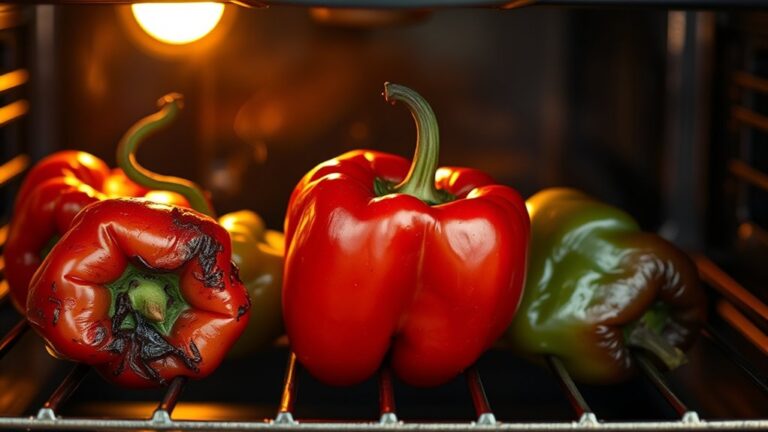
- Vegetables: Broil 5–10 minutes, turning once for charred edges and tenderness.
- Adjustments: If food sits farther from the element, add time; if it browns too quickly, move it down.
You should rely on visual cues, not the clock alone. Look for golden edges, opaque centers, and steady sizzle. Let thicker pieces rest briefly before serving so the heat settles and the juices stay put.
How to Broil Steak, Chicken, and Salmon?
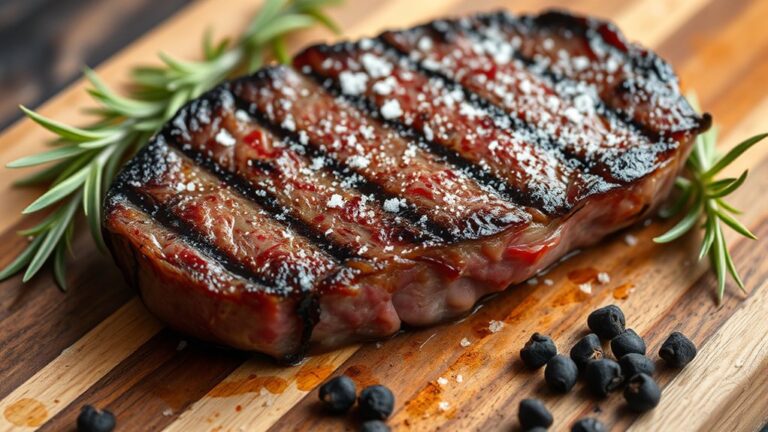
Broil steak, chicken, and salmon by matching each one to its thickness and doneness target, then use the broiler’s intense heat to build a browned surface without drying the center. Pat each piece dry, season well, and set it on a rack so heat can circulate.
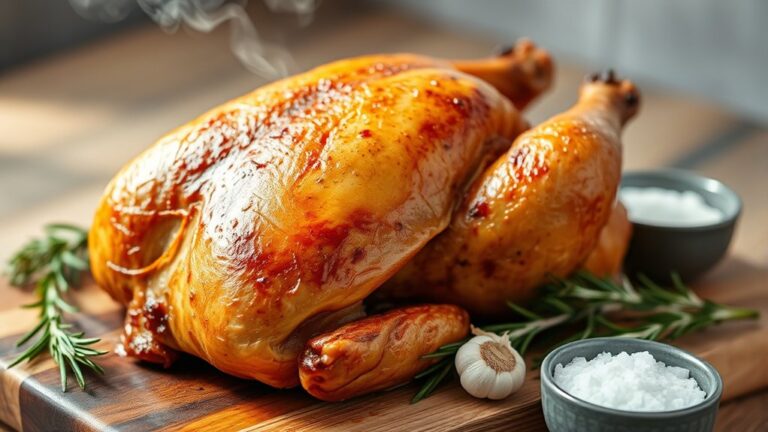
For steak, broil close for a juicy sear and turn once. For chicken, broil slightly farther from the element and cook until the thickest part reaches safe temperature. For salmon, broil skin-side down and stop when it flakes.
| Food | Broil cue |
|---|---|
| Steak | Deep browning, firm edges |
| Chicken | Opaque meat, clear juices |
| Salmon | Flakes easily, glossy center |
| All | Rest briefly, then serve |
Watch the color, not just the clock, and you’ll get an even crust with tender results.
Common Broiling Mistakes to Avoid
One common broiling mistake is placing the food too far from the heat, which leaves you with pale, uneven results instead of a quick, browned finish. Keep the rack close enough to the element so you get fast, even caramelization without burning the surface.
- Don’t skip preheating; a cold broiler slows browning and can dry the food.
- Don’t use the wrong pan; choose a broiler-safe pan or sheet that handles intense heat.
- Don’t walk away; broiling happens fast, and a few seconds can turn golden into charred.
- Don’t cut food too thick or too thin; size affects how evenly it cooks.
Use these troubleshooting tips when you notice weak color, uneven cooking, or sudden scorching. If the top browns before the center finishes, lower the rack slightly next time. If the food cooks too slowly, move it closer.
Clean Up Safely After Broiling
Once the broiler’s off and the oven’s cool enough to handle, you can clean up safely by wearing oven mitts, removing the pan carefully, and letting greasy surfaces cool before wiping them down. Keep your face and hands clear of lingering steam and hot drips.
Once the broiler’s off, let surfaces cool, then remove the pan carefully and wipe away grease safely.
For cleanup safety, slide out racks only after they’ve cooled, then soak any crusted pan in hot, soapy water to loosen residue. Use a nonabrasive sponge or cloth, since harsh scrubbing can damage finishes and scatter grease.
Wipe the oven door, broiler compartment, and nearby counters with a degreasing cleaner, then rinse and dry them to prevent slick spots. For post broil cleanup, empty grease traps, discard foil if you used it, and check the floor for spills.
Finish by washing your mitts and towels, so they’re ready for next time.
Frequently Asked Questions
Can I Broil Frozen Food Directly?
Yes, you can broil frozen food, but you shouldn’t rely on direct cooking alone. Thaw first for even results; if you broil frozen pieces, watch closely, flip often, and extend time carefully.
Should I Use Foil Under the Broiler?
You can use foil under the broiler like a shield, but watch foil safety and pan placement closely. Keep foil off heating elements, use a broiler-safe pan, and leave space for airflow.
Is Broiling the Same as Baking?
No, you’re not baking when you broil. In this is broiling vs baking, broiling temperature comparison, broiling uses intense top heat to brown fast, while baking cooks more evenly at lower heat throughout the food.
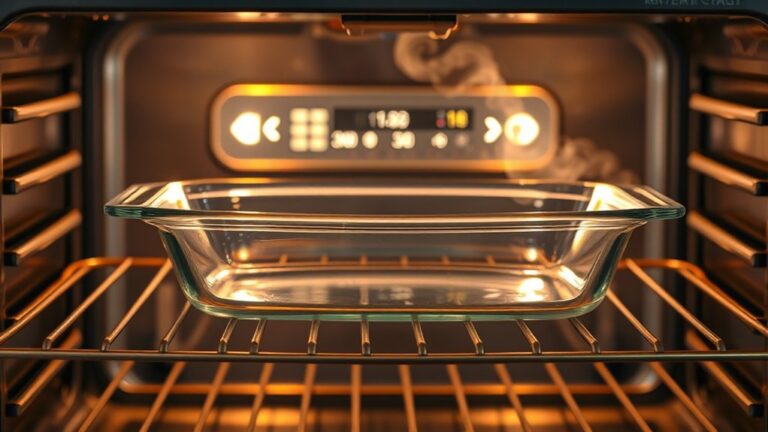
Can Glass Pans Go Under the Broiler?
Not all glass bakeware likes the heat spotlight under the broiler. You shouldn’t use it unless the manufacturer allows it, because oven safety matters.
Choose broiler-safe glass, or swap to metal for better results.
How Do I Know When the Broiler Is Preheated?
You’ll know it’s preheated when the broiler’s preheat indicators switch off or signal ready; if yours doesn’t, wait 5–10 minutes, then verify with an oven thermometer near the rack for accurate heat.
Conclusion
Now you can broil with confidence, turning your oven’s top heat into a quick, golden finish. Keep your rack in the sweet spot, watch your food like a hawk, and give each piece a gentle turn when needed.
A short rest lets the juices settle nicely. Then switch off the broiler and tidy up while everything’s still warm.
With a little care, you’ll bring out crisp edges, tender centers, and easy, reliable results. Mastering how to broil in oven ensures your dishes come out perfectly every time.