How to Cook Pork Chops in Oven
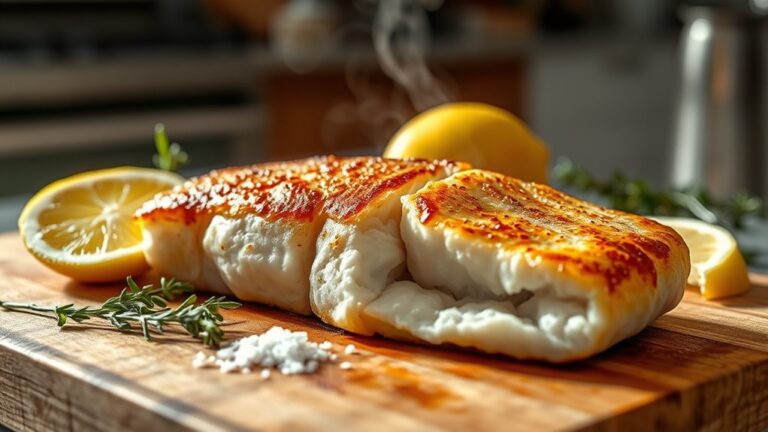
To cook pork chops in the oven, you’ll want to start with thick, dry chops and a hot skillet for a quick sear. This initial step locks in flavor and gives the meat a beautiful crust. Then, finish them in a 400°F oven until they’re just shy of done.
The difference between dry and juicy often comes down to timing, thickness, and a brief rest. Pay close attention to these details to ensure tender, flavorful pork chops every time.
Get those details right, and the next step gets much more interesting.
Key Takeaways
- Preheat the oven to 400°F and place the rack in the middle for even cooking.
- Choose thick pork chops, about 1 to 1 1/2 inches, and pat them dry before seasoning.
- Season with salt, pepper, and optional garlic, paprika, or herbs, then rest 15 to 30 minutes.
- Sear chops in a hot skillet for 2 to 3 minutes per side, then bake about 10 to 15 minutes.
- Use an instant-read thermometer, pull at 145°F, and rest the chops 3 to 5 minutes before serving.
Choose the Best Pork Chops
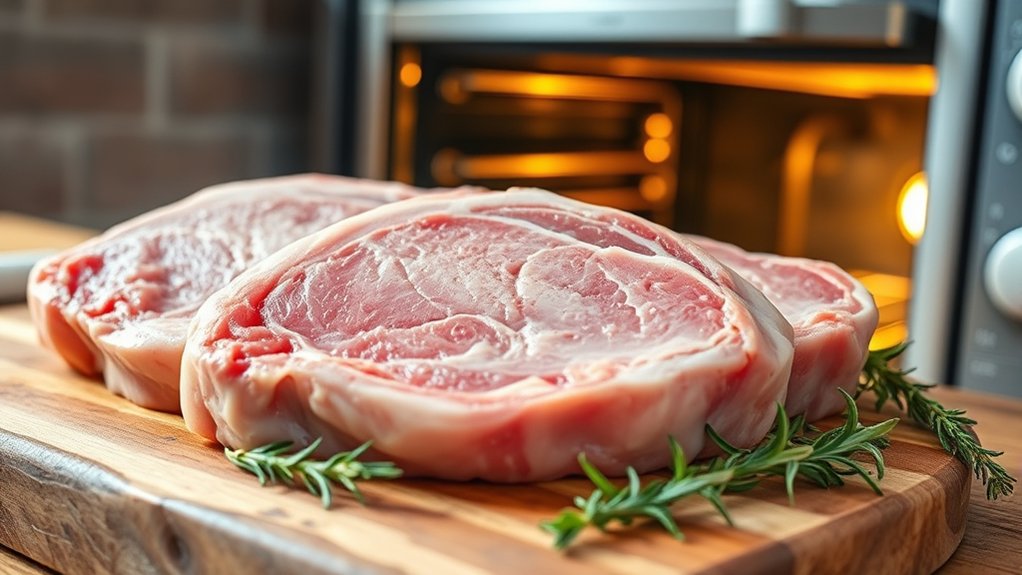
What should you look for when choosing pork chops for the oven? Start with thick, even cuts, ideally 1 to 1 1/2 inches, so you get juicy meat and steady heat. Choose chops with a pale pink color, firm feel, and fine marbling; those texture considerations help you predict tenderness after baking.
Bone-in chops usually stay more flavorful and moist, while boneless chops cook a little faster and work well if you want neat slices. Check sourcing details on the package or from your butcher: look for fresh packing dates, reputable farms, and minimal added solution.
Avoid chops with excess liquid in the tray, gray edges, or dull surfaces, since they often bake up dry. If you can, pick pieces of similar size so they cook evenly in the oven. Good pork starts with careful selection, and that choice sets you up for a tender, savory result every time you roast them.
Season Pork Chops for Oven Baking
Once you’ve chosen good pork chops, season them simply so their natural flavor can shine in the oven. Pat each chop dry, then rub both sides with a little oil to help spices cling and promote even browning.
Pat chops dry, rub lightly with oil, and season simply so their natural flavor shines.
Use salt and black pepper as your base, then add garlic powder, onion powder, or paprika for deeper flavor. Keep your seasoning techniques balanced; a light, even coating works better than a heavy crust that can mask the meat.
If you like herbs, try thyme, rosemary, or sage, but use them sparingly so they don’t overpower the pork.
Let the seasoned chops rest for 15 to 30 minutes at room temperature so the salt starts working. If you’re prepping ahead, follow smart storage tips: place the seasoned chops on a plate, cover them tightly, and refrigerate them for up to 24 hours.
Before baking, check that the coating still looks even and fragrant.
Preheat the Oven to 400°F
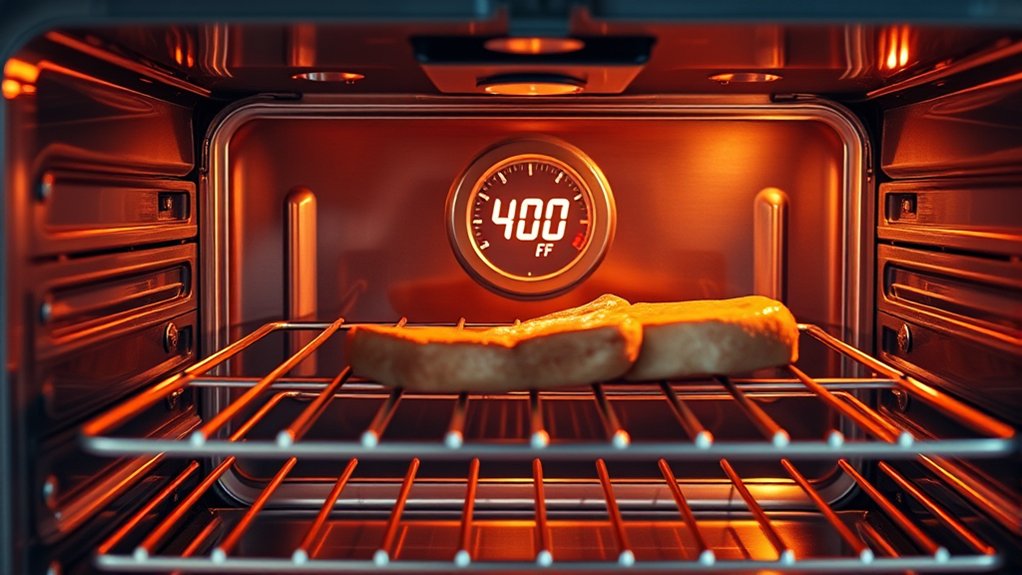
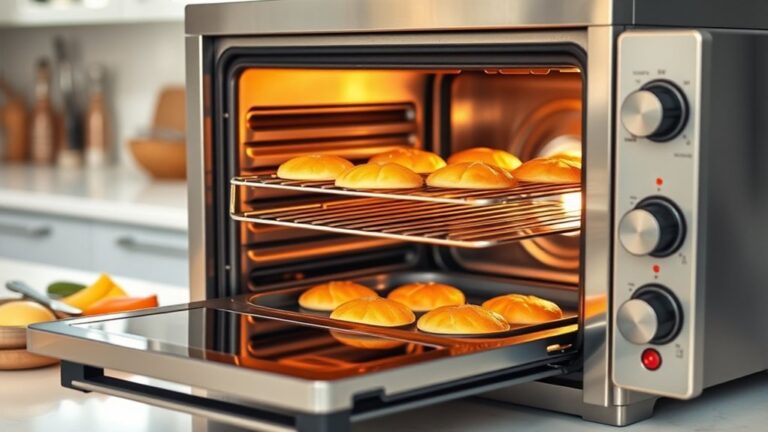
Set your oven to 400°F and let it fully preheat before the pork chops go in. This steady heat helps them cook evenly and develop a juicy, tender center.
While the oven warms, position the rack in the middle so the heat circulates well. Check that the oven is clean and that nothing sits too close to the heating elements; good oven safety starts here.
Use this time to finish your pork handling steps, then keep the chops covered or on a clean plate until you’re ready to bake. Don’t rush and slide them into a lukewarm oven, because that can lead to uneven results and dry edges.
Once the temperature signal says it’s ready, open the door only as long as needed and place the dish inside promptly. A fully heated 400°F oven gives you the reliable, appetizing bake you want for pork chops.
Sear Pork Chops for More Flavor
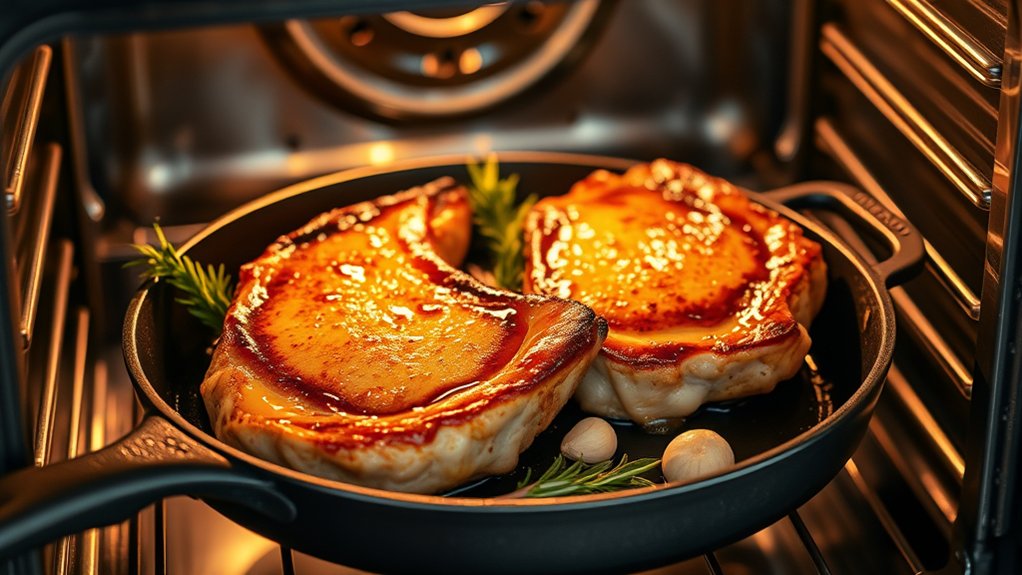
Searing your pork chops first builds a golden crust that locks in savory flavor and adds rich color. Use a heavy skillet, like cast iron, so you get even heat and a strong sear without scorching.
Pat the chops dry, then sear them for 2 to 3 minutes per side before they go into the oven.
Why Searing Matters
Why does searing matter? It builds a deep brown crust that boosts flavor, improves texture, and helps your pork chops look irresistible. You’ll lock in savory juices by hitting the surface with high heat before the oven finishes cooking.
For best results, keep your focus on:
- Two word discussion ideas like crust depth and flavor boost
- Searing timing so you brown each side without overcooking
- A quick, even sear that turns the exterior rich and appetizing
When you sear properly, the meat develops caramelized notes that make every bite taste fuller. Then, when you move the chops to the oven, you’re starting with a head start on taste. That’s why searing isn’t optional; it’s the flavor foundation.
Best Pan For Searing
A good sear starts with the right pan, and for pork chops, you want one that heats evenly and holds that heat well. Choose cast iron or heavy stainless steel because both support steady browning and crisp edges.
This pan material gives you the control you need for a reliable searing technique without scorching the meat. Look for a flat, wide skillet so the chops sit in a single layer and make full contact with the surface.
A thin pan cools fast, so it won’t build the deep crust you want. You’ll get better flavor when the pan stays hot and the pork releases cleanly. Skip nonstick pans here; they can’t handle the heat needed for that savory, golden finish.
Searing Timing Tips
For the best flavor, sear your pork chops right after you’ve seasoned them and before they go into the oven. This searing timing locks in surface moisture, builds a savory crust, and starts the caramelization science that deepens taste. Use a hot, lightly oiled pan, then add the chops without crowding.
- Sear 2 to 3 minutes per side for golden color.
- Let the pan stay hot so the crust forms fast.
- Move the chops to the oven as soon as both sides brown.
You want quick, confident contact, not long cooking in the skillet. A brief sear gives you browned edges and juicy meat inside, making every bite richer and more appetizing.
Bake Pork Chops Until Nearly Done
Slide the pork chops into the oven and bake them until they’re nearly done, about 10 to 15 minutes depending on thickness. Keep the chops on the center rack so heat surrounds them evenly, and let the pan stay undisturbed.
Bake the chops until nearly done, keeping them centered and undisturbed so the heat finishes them evenly.
This steady bake finishes the interior while preserving the browned crust you built earlier. If you’re cooking thicker chops, give them a few extra minutes; thinner chops may finish sooner.
Anecdotal guidance suggests that opening the oven too often can slow the process and dry the surface, so trust the timer and keep the door closed. Watch for uneven cooking by spacing the chops apart on the pan, which helps the hot air flow around each piece.
When the edges look firm and the centers have just a little give, you’re ready for the next step. The meat should smell rich, savory, and lightly caramelized, signaling that it’s close to serving.
Check the Pork Chop Temperature
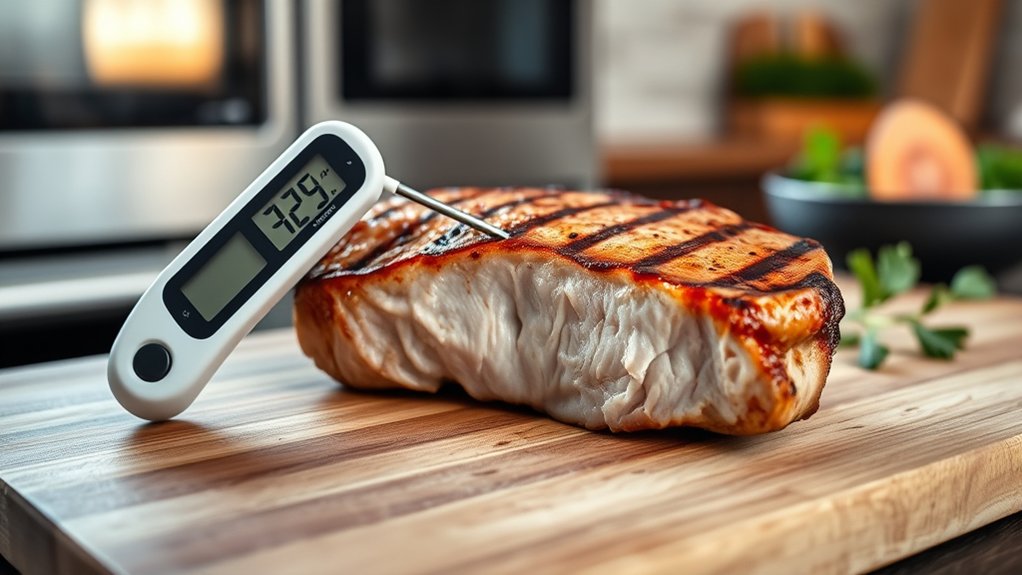
Use an instant-read thermometer to check the thickest part of a pork chop, avoiding the bone and any large pockets of fat. You want accurate pork temperature, so slide the probe in from the side for the cleanest reading.
When the center reaches 145°F, the meat stays juicy and safe. If you’re comparing two word discussion ideas, focus on doneness, color, and rest, not a subtopic unrelated to heat checking.
Insert the thermometer after baking, not while guessing. Read the display quickly to avoid losing juices. Pull the chop when it hits target temperature.
The surface should look lightly browned and the juices should run clear, but the thermometer matters most. If the number is a little low, give it another minute, then test again.
This precise check helps you serve tender pork with a savory, appetizing finish every time.
How Long to Bake Pork Chops
How long you bake pork chops depends on their thickness, so thinner chops cook faster while thicker ones need more time. Set your oven to the right temperature and bake until the chops reach a juicy, safe doneness.
Check the thickest part with a thermometer so you can pull them out at the perfect moment.
Pork Chop Thickness
Pork chop thickness matters because it directly affects how long you need to bake them and how easily they stay juicy. If you’re using a thick cut, bone in chop, expect it to need more time than a thin one, but it also gives you a little more cushion against drying out. Aim for even thickness so each chop cooks at the same pace.
- Thin chops bake faster and need close attention.
- Thick cut chops stay moist longer and brown nicely.
- Bone in chops often taste richer and hold heat well.
For the best bite, check the center early and stop baking when the meat feels firm but still tender. Let it rest before you slice so the juices stay inside and every bite stays flavorful.
Oven Temperature
Once you’ve matched your pork chop thickness to the right bake time, the oven temperature sets the pace. Set your oven to 400°F for juicy, evenly cooked chops with browned edges. At 375°F, you’ll need a little more time, but the gentler heat suits a thicker cut or a pork swap like boneless loin steaks.
Keep the chops in a hot, lightly oiled skillet or baking dish so the surface starts to caramelize fast. If you want extra flavor, deglaze the pan after baking and turn those browned bits into a quick pan sauce.
Higher heat shortens the bake and boosts browning, while lower heat gives you more forgiveness. Choose the temperature that fits your timeline and cut, then bake with confidence.
Doneness Check
Check doneness by temperature, not guesswork: pull pork chops when the thickest part reaches 145°F on an instant-read thermometer. Then let them rest for 3 to 5 minutes so the juices settle. This doneness check protects moisture and keeps the meat tender.
Slide the thermometer in from the side, avoiding bone and fat, to read the true internal temperature.
- 145°F: juicy, safe, and ready to rest
- 150°F to 155°F: slightly firmer, still succulent
- Above 155°F: drier, so watch closely
During baking, start checking a few minutes before the estimated time. Thin chops finish faster, thick chops need longer, and carryover heat will raise the center a bit more after you remove them from the oven.
Keep Oven Pork Chops Juicy
To keep oven pork chops juicy, start by brining or seasoning them well, then pat them dry and coat them lightly with oil before baking. This juicy technique helps the surface brown while locking in moisture.
Keep your oven timing tight: roast at 400°F and start checking early, because carryover heat finishes the job.
| Step | Action | Why it matters |
|---|---|---|
| 1 | Salt or brine | Seasons deep |
| 2 | Dry surface | Promotes browning |
| 3 | Oil lightly | Seals the crust |
| 4 | Bake briefly | Prevents drying |
| 5 | Rest 5 minutes | Redistributes juices |
Use a thermometer and pull the chops when they reach 145°F. Let them rest on a warm plate, not in the hot pan.
If you slice too soon, the juices run out. Keep the heat steady and avoid overcooking, and you’ll serve tender, succulent pork every time.
Try Flavor Variations for Pork Chops
You can finish oven-baked pork chops with an herb butter to add rich, savory flavor and a glossy sheen. For more kick, rub them with spices like paprika, garlic, cayenne, or black pepper before baking.
If you want a sweeter finish, brush on a honey, maple, or brown sugar glaze during the last few minutes in the oven.
Herb Butter Finish
Melt butter with minced garlic, chopped rosemary, thyme, and a pinch of lemon zest, then spoon it over the hot pork chops as they rest. You’ll create a glossy finish that deepens flavor and keeps each bite juicy. This herb butter pairing works best right after baking, when the meat can absorb the aroma.
Let the chops rest 5 minutes before saucing. Tilt the pan or plate so the butter pools. Save any leftover butter for roasted vegetables.
For pork chop storage, cool leftovers quickly, then refrigerate them in a sealed container. Reheat gently so the herbs stay bright and the texture stays tender. A final drizzle before serving adds freshness without masking the pork’s natural savor.
Spicy Dry Rubs
Want a little heat on your pork chops? Mix spicy rubs with paprika, cayenne, garlic powder, onion powder, black pepper, and salt. Pat the chops dry, then coat both sides evenly so the seasoning sticks.
For better two word discussion ideas, think chipotle kick, pepper heat, or chili smoke when you build your blend. Let the rub sit on the meat for 15 to 30 minutes so the flavors penetrate.
If you want more edge, add a pinch of crushed red pepper; if you want balance, use extra paprika. Bake the chops as directed, and the spice will bloom in the oven, giving you a savory crust and a warm finish without overpowering the pork.
Sweet Glaze Options
For a sweeter finish, brush the pork chops with a quick glaze during the last few minutes of baking so the sugars caramelize without burning. Whisk the glaze, then baste once at the 5-minute mark and again before serving for glossy color and deep flavor.
Keep your sweetness balance in check so the pork still tastes savory. Good glaze pairing options include:
- Honey and Dijon for tangy warmth
- Maple and apple cider for soft fruit notes
- Brown sugar and soy sauce for a salty-sweet edge
Use a thin layer; too much glaze can hide the meat’s seasoning and steam the surface. If the chops are thick, broil briefly after glazing to set the finish and build a sticky crust.
Avoid Common Pork Chop Mistakes
Why do oven-baked pork chops turn out dry or tough so often? You usually overcook them, skip seasoning, or bake unevenly thick chops. For better pork care, buy chops with even thickness and a little marbling. Good purchase timing also matters: cook them soon after buying, or refrigerate properly and use within two days.
| Mistake | Why it hurts | Fix |
|---|---|---|
| Cold meat | Uneven baking | Rest 20 minutes |
| Thin chops | Fast drying | Choose 1-inch cuts |
| No thermometer | Guessing doneness | Pull at 145°F |
| Crowded pan | Steaming, not browning | Leave space |
Pat chops dry before seasoning so they brown well. Don’t skip a preheated oven, and don’t flip them endlessly. Let them rest after baking so juices stay inside. With these habits, you’ll serve tender, juicy pork chops that taste rich, savory, and restaurant-worthy.
Frequently Asked Questions
Can I Bake Frozen Pork Chops Directly?
Yes, you can bake frozen pork chops directly, but you’ll need extra baking temp control and longer cooking time. Skip thawing time, season well, and bake until they reach 145°F for juicy, safe results.
Should I Cover Pork Chops While Baking?
You don’t usually need to cover chops; uncovered baking gives you browning. About 68% of home cooks overcover meat.
If you do use covering chops briefly, it helps even heat and keeps them juicy.
Do Bone-In Chops Cook Differently Than Boneless?
Yes, bone-in chops usually cook a bit slower than boneless. You’ll notice bone in vs boneless cooking times differences, so check doneness early.
Aim for 145°F, then rest them so you keep the meat juicy and tender.
Can I Use Aluminum Foil in the Oven?
Yes, you can use aluminum foil in the oven; it’s practically your oven’s superhero cape. You’ll get safe, easy cleanup if you keep foil away from heating elements and consider parchment alternatives for delicate, juicy pork chops.
What Sides Go Best With Oven-Baked Pork Chops?
You’ll love mashed potatoes, roasted green beans, applesauce, or garlic butter carrots; they create balanced side dish pairings and complement savory flavor profiles.
Add a crisp salad or rice for easy, appetizing variety tonight.
Conclusion
Now you’ve turned a humble pork chop into something worth bragging about—by doing the very unglamorous work of preheating, searing, and actually checking the temperature. Funny how the simplest steps make the juiciest results.
Pull the chops at 145°F, let them rest, and don’t rush the finish; that’s how you keep them tender, not tragic. Serve them hot, glossy, and full of flavor, and you’ll wonder why you ever settled for dry pork.
Mastering how to cook pork chops in oven ensures every bite is perfectly cooked and deliciously juicy.