How to Dry Oranges in the Oven
Nearly 70% of home cooks say they want simple ways to reduce food waste, and drying oranges in the oven is one of the easiest methods to achieve this. You’ll start with firm fruit, slice it evenly, then use low heat and steady airflow to slowly remove moisture without burning the edges.
The method is straightforward, but getting slices that stay bright, fragrant, and shelf-stable takes a few small details you won’t want to miss. Following these tips will help you create perfect dried orange slices every time.
Key Takeaways
- Choose firm oranges, wash and dry them, then slice into even 1/8 to 1/4-inch rounds.
- Preheat oven to 170°F to 200°F and place racks in the center for steady, low heat.
- Arrange slices in a single layer on parchment-lined trays or wire racks.
- Dry for 2 to 4 hours, flipping every 30 to 45 minutes, until crisp, slightly translucent, and non-tacky.
- Cool completely, then store in an airtight container away from heat and moisture.
Gather Your Supplies
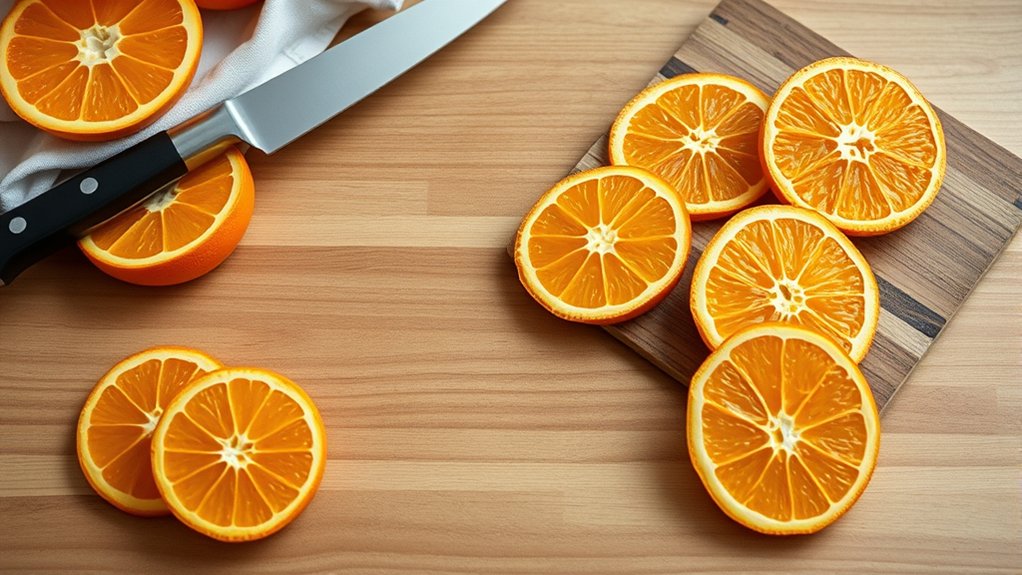
Before you start drying oranges in the oven, gather a few simple supplies: fresh oranges, a sharp knife, a cutting board, a baking sheet, parchment paper, and a cooling rack if you have one. You’ll also want oven mitts and a clean kitchen towel nearby for easy handling.
Choose oranges that feel firm and heavy, with smooth, bright skin, because they’ll dry more evenly. Set everything within reach so you can work efficiently and keep your prep area tidy. This helps you stay organized and makes the process smoother from the start.
Check your baking sheet for a stable fit in the oven, and line it with parchment paper to prevent sticking. Keep your workspace dry and clear to support oven safety.
When you gather supplies before you begin, you reduce hassle and avoid last-minute searching. With the right tools ready, you can move confidently into the next step and dry your oranges with less effort.
Slice Oranges for Oven Drying
Slice the oranges into even rounds about 1/8 to 1/4 inch thick so they dry at the same rate. Use a sharp knife and steady pressure so you get clean slices without crushing the fruit. If you cut them too thick, they’ll take longer to dry and may stay chewy; too thin, and they can turn brittle fast.
Lay the slices on a cutting board and inspect each one for uniform size before you move on. For better results, keep these steps in mind:
- Trim off any damaged spots.
- Remove visible seeds as you slice.
- Pat the rounds dry with a clean towel.
Even slices also look better once dried, which helps if you’re saving them for future use or testing garnish ideas. You’ll get neat, attractive pieces that hold their shape and add a bright citrus touch to drinks, crafts, or gift packaging.
Prep Your Oven for Low Heat

Set your oven to a low temperature, usually around 200°F to 250°F, so the orange slices dry slowly without browning too fast. Position the oven rack in the center so heat can circulate evenly around the fruit.
This setup helps you get evenly dried oranges with better color and texture.
Set The Temperature Low
Aim for a low oven temperature, usually around 170°F to 200°F, so the orange slices dry slowly without browning or burning. You’ll avoid the low temperature debate by choosing steady heat over speed, and you can answer most oven safe questions by checking that your setup tolerates gentle warmth.
Set your oven, then let it fully preheat before you slide in the fruit.
- Use 170°F for very thin slices.
- Choose 200°F if your oven won’t hold a lower setting.
- Keep the heat consistent so moisture escapes evenly.
This approach helps the oranges keep their color, shape, and bright citrus scent. If the slices start to darken, lower the temperature right away and continue drying patiently.
Position The Oven Rack
Place the oven rack in the center of the oven so the orange slices dry with even airflow and gentle heat on all sides. This position helps you avoid hot spots that can brown the fruit too quickly.
If your oven runs uneven, move the rack one notch higher or lower, but keep it away from the bottom heating element. You want steady circulation, not direct blast heat.
Before you start, check that the rack is clean and stable so the slices stay level on the tray. These simple drying techniques help you position the oven for reliable results.
With the rack centered, your oranges dry slowly, keep their color, and develop a crisp texture without scorching.
Dry Orange Slices Step by Step
Now you’ll prepare the orange slices by washing them well and cutting them into thin, even rounds. Lay them in a single layer on a baking sheet so they dry evenly.
Then place them in the oven and let the low heat slowly remove the moisture, turning them as needed.
Preparing Orange Slices
How do you get evenly dried orange slices? Start by choosing firm, bright oranges with thin skins, then wash and dry them well. Slice them into even rounds, about 1/4 inch thick, so they dry at the same rate. Remove seeds and trim any bruised spots.
- Use a sharp knife or mandoline for clean, uniform cuts.
- Pat each slice with a towel to remove surface moisture.
- Lay the slices on a board and check thickness before arranging.
Even slices help you avoid chewy centers and scorched edges, giving you cleaner results for crafts, snacks, and topic ideas. If you’re planning recipes or decorations, think about nonrelated angles too, like gift tags or garlands. Careful prep saves time later and keeps the slices looking polished.
Oven Drying Process
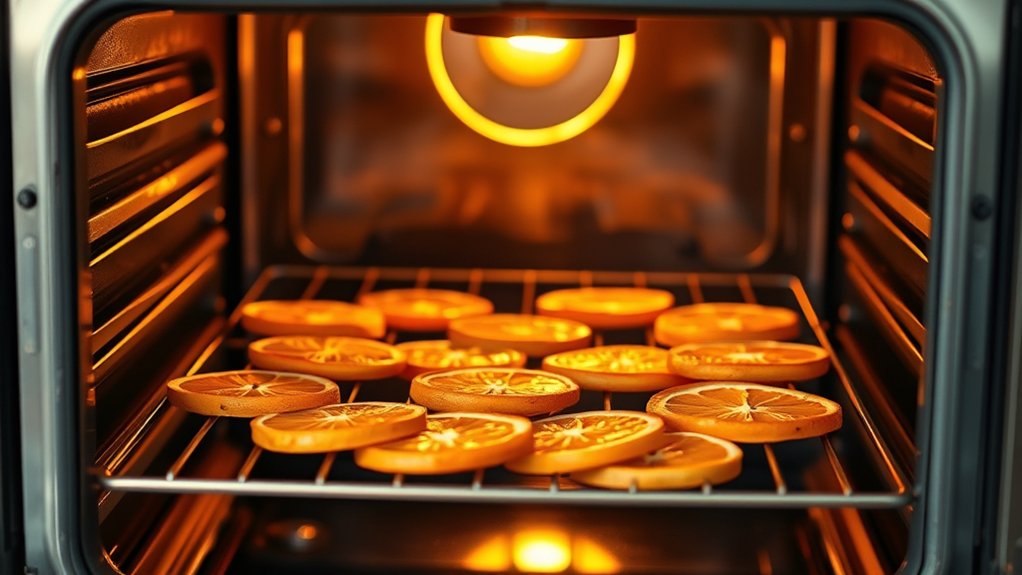
Set your oven to its lowest temperature, ideally around 170°F to 200°F, and line a baking sheet with parchment paper or a wire rack. Arrange the orange slices in a single layer, leaving space between each one so air can circulate.
Slide the tray into the oven and dry the slices for 2 to 4 hours, flipping them every 30 to 45 minutes. Watch closely as they shrink, darken slightly, and lose moisture. This slow method follows oven drying science, letting water escape without burning the fruit.
Keep the door cracked if needed for better airflow. When the slices feel dry and leathery, remove them and cool completely. Their flavor compounds stay bright, giving you fragrant, colorful slices for garnish, tea, or crafts.
How Long Should Orange Slices Dry?
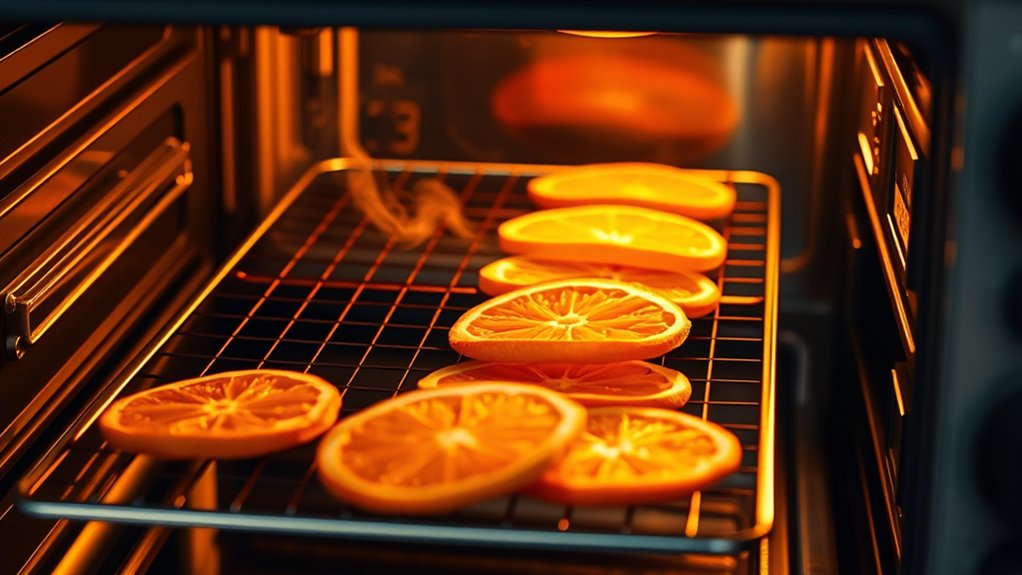
The drying time for orange slices usually ranges from 2 to 4 hours, depending on their thickness, oven temperature, and how much moisture they hold. You’ll get the best results when you keep the heat low and give the slices enough space. Thicker rounds need more time, while thin, even cuts dry faster.
For practical planning, use this guide:
- Thin slices at 170°F may dry in about 2 hours.
- Medium slices often need 3 hours.
- Thick slices can take 4 hours or a bit longer.
Check your batch periodically so you can rotate trays and keep drying even. If you want extra flavor variations, try blood oranges or add a light dusting of cinnamon before drying.
Once finished, cool them fully before using them in drinks, garlands, or recipes. For tips on storage, keep them in an airtight container away from heat and humidity so they stay useful longer and maintain their color and scent.
How to Tell When They’re Done
You can tell orange slices are done when they feel dry to the touch, look slightly translucent, and no longer feel sticky in the center. Lift one from the tray and let it cool for a minute; warm fruit can seem softer than it really is.
If you’re checking how to prevent browning, keep an eye on the edges: they should stay golden, not dark. Use this quick guide:
| Check | Done looks like |
|---|---|
| Texture | Dry, firm, not tacky |
| Color | Bright, lightly translucent |
| Flexibility | Bendable, not wet |
When you want alternatives to the oven, a dehydrator or air-drying rack can give similar results, but the same signs still apply.
Once the slices pass these tests, remove them right away and let them cool fully before storing. Final dryness matters because they’ll firm up a bit more as they cool.
Troubleshoot Common Problems
If your orange slices turn leathery, sticky, or unevenly dried, a few simple fixes can get them back on track. Check your oven temperature first; too much heat causes a burning smell and can darken the fruit before the centers dry. Rotate the trays halfway through so hot spots don’t cause uneven drying.
If slices overlap, separate them and give each one space for air to move around.
- Lower the heat to 200°F or less if edges brown too fast.
- Pat slices dry before baking to reduce excess moisture.
- Flip slices if one side dries much faster than the other.
If the oranges still feel tacky, keep drying them in short intervals and watch them closely. Open the oven briefly only when needed, so you don’t lose too much heat. Small adjustments usually solve the problem and help you end up with evenly dried slices.
Use Dried Orange Slices
What can you do with your dried orange slices? You can use them in drinks, baking, and décor. Drop one into tea, mulled wine, or sparkling water to add a bright dried orange flavor without extra sugar.
You can also crush a slice into sugar for rimming glasses or mixing into cookies, muffins, and spice blends. For a simple citrus garnish, place a whole slice on cakes, cheeseboards, roasted meats, or cocktail rims.
If you like crafts, thread slices into garlands, wreaths, or gift ties for a natural look. You can tuck them into simmer pots with cinnamon and cloves to scent your kitchen. They also make thoughtful additions to homemade spice jars and holiday packages.
Use them soon after drying for the best color and aroma, and let their vivid look lift everyday food and décor.
Store Dried Orange Slices
To keep dried orange slices looking and smelling their best, let them cool completely before storing them. Once they’re cool, you can store dried slices in an airtight container, glass jar, or sealed bag. Keep them in a cool, dark pantry away from heat, moisture, and direct sunlight. This helps preserve their color and helps their orange aromas last longer.
- Layer slices with parchment if you stack them to prevent sticking.
- Add a small silica packet or dry rice nearby, not touching the fruit, to reduce moisture.
- Label the container with the date so you can check freshness easily.
If you want decorative use, inspect the slices before each project and discard any that feel soft, look dusty, or smell stale. Proper storage keeps your dried oranges crisp, fragrant, and ready for garlands, gifts, potpourri, or holiday displays whenever you need them.
Frequently Asked Questions
Can I Dry Other Citrus Fruits the Same Way?
Yes, you can dry other citrus fruits the same way. You’ll use thinner orange slices and watch citrus peels closely, since lemons, limes, and grapefruits may dry faster or need slight time adjustments.
Should I Peel Oranges Before Drying Them?
You don’t have to peel oranges; the rind acts like a bright shield. Keep it on for color and shape, but trim if peel thickness varies.
Uniform peels dry more evenly and look better.
Do Dried Orange Slices Keep Their Color?
Not fully; you’ll lose some bright color as they dry. You’ll get better color retention versus sugar crystallization if you slice evenly and dry low and slow.
Texture changes during drying also darken edges slightly.
Can I Use a Convection Oven for This?
Yes, you can use a convection oven; it’s often better for drying oranges. You’ll get more even airflow, improved conduction vs. convection performance, and better energy efficiency.
Just lower the temperature and watch them closely.
Are Dried Orange Slices Edible?
Yes, you can eat dried orange slices, and their edible status is safe if you’ve dried them well. You’ll notice a concentrated flavor profile, so don’t expect juicy fruit. Use them as a chewy, citrusy snack.
Conclusion
Now you know how to dry oranges in the oven with simple, low-heat steps. In fact, studies show that about 1 in 4 households keeps citrus on hand year-round, so this trick is a handy way to use every extra orange.
Keep your slices thin, flip them often, and watch for that leathery finish. Once they’re cool, you can store them for weeks and use them in tea, décor, or snacks.
Drying oranges in the oven is an easy and effective method to preserve this versatile fruit for various uses.