Do It Yourself Wood Fired Pizza Oven
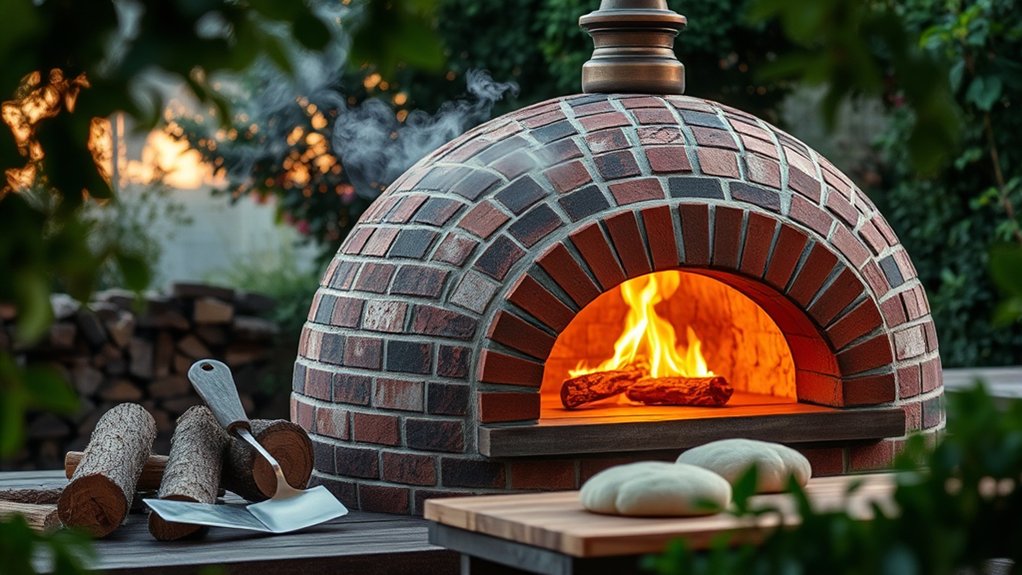
A wood-fired pizza oven loses heat fast if you skip the right insulation, even when the dome looks solid. Building a wood-fired pizza oven requires careful planning to ensure it retains heat effectively.
You’ll need to plan the site, pour a level foundation, and choose firebrick that can handle repeated heating and cooling. From there, you can shape the oven, wrap it for heat retention, and cure it slowly so cracks don’t ruin the build.
The next step makes all the difference.
Key Takeaways
- Plan your oven size, cooking goals, budget, and local safety codes before starting.
- Choose a flat, well-drained location with safe clearance from buildings and easy access.
- Build a reinforced concrete base, then lay the firebrick floor and shaped dome accurately.
- Add proper insulation and a weather-resistant exterior finish to retain heat and protect the oven.
- Cure the oven slowly with small fires, monitoring heat and moisture to prevent cracking.
Plan Your DIY Wood Fired Pizza Oven
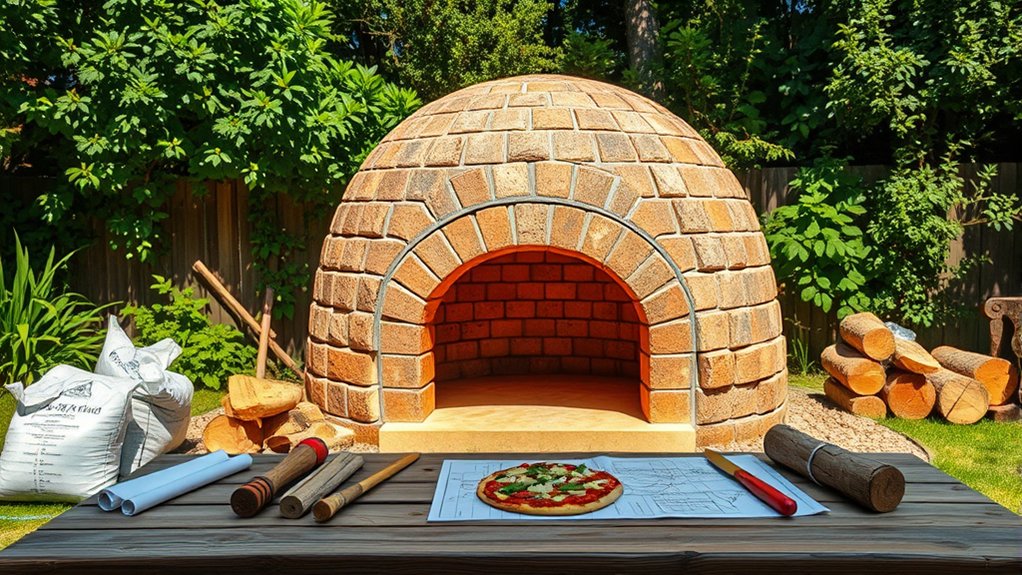
Before you mix mortar or cut brick, take time to plan your DIY wood fired pizza oven carefully. Define your cooking goals first: decide how many pizzas you want to bake, whether you’ll roast bread or meat too, and how often you’ll use it.
Plan your wood fired pizza oven around your cooking goals, so every brick supports how you’ll use it.
Measure the oven size, dome height, and hearth area to match your needs and fuel use. Create a planning budget that covers firebrick, insulation, concrete, chimney parts, tools, and finishing materials, then add a cushion for waste or price changes.
Check local codes and think through safety considerations, including heat clearance, fire-resistant surfaces, and safe handling of tools and materials. Sketch a simple layout, list each step, and gather supplies before you start.
When you plan carefully, you reduce mistakes, control costs, and build an oven that cooks efficiently and lasts for years.
Choose the Best Oven Location
Where should you place your DIY wood fired pizza oven? Start by choosing a flat, stable spot with good drainage and enough room to work around it. You’ll want easy access from your kitchen or patio, but keep the oven far enough from walls, fences, trees, and overhangs to reduce fire risk.
Check local codes and homeowner rules before you commit, because some areas limit outdoor heat sources.
Think through location considerations such as wind direction, sun exposure, and how smoke will move across your yard. A sheltered area can help you cook comfortably, but don’t trap heat or fumes.
Make sure the surface can support the oven’s weight and stay level over time. For safety concerns, avoid low spots that collect water, and keep the oven away from anything flammable.
Also, plan for clear walking paths so you can carry dough, wood, and hot pans without tripping.
Gather Materials and Tools
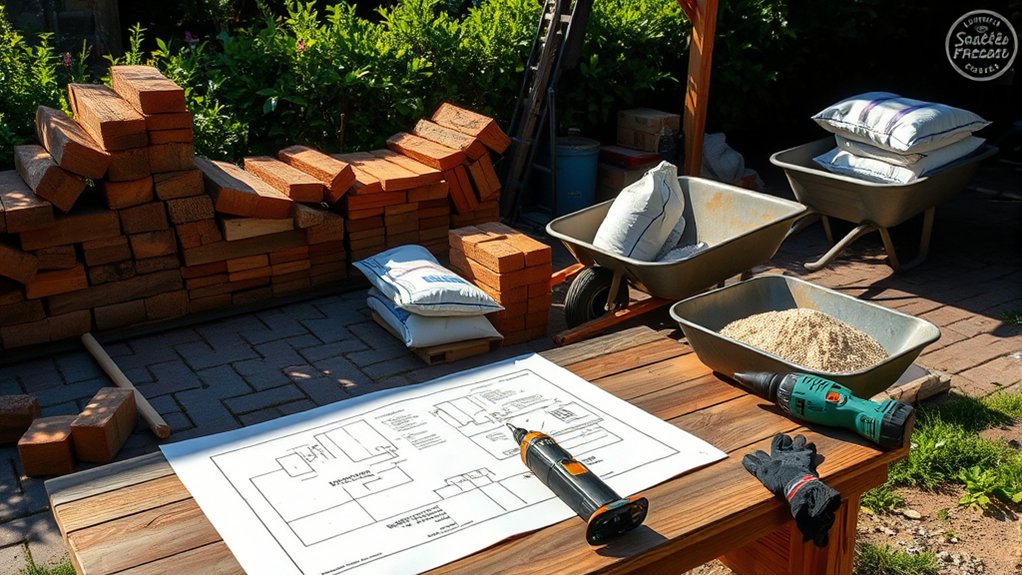
Now that you’ve chosen the best spot, gather the essential building materials: firebricks, concrete blocks, cement, sand, insulation, and a heat-safe door.
You’ll also need a solid tool checklist, including a shovel, level, trowel, tape measure, wheelbarrow, masonry saw, and safety gear. Having everything on hand before you start keeps the build moving smoothly and helps you avoid costly delays.
Essential Building Materials
What materials should you gather first for a DIY wood-fired pizza oven? Start with firebricks for the cooking floor and inner dome, plus refractory mortar to bond them. You’ll also need insulating material, such as ceramic fiber blanket or vermiculite, to hold heat efficiently.
Build the base with concrete blocks, rebar, and a reinforced concrete slab that can support the oven’s weight. For the outer shell, use brick, stone, or stucco. Add a metal chimney, an insulated door, and high-temperature sealant for better draft and heat control.
Before you buy, compare ideas for substituting materials based on cost and availability, but keep safety considerations in mind: choose only heat-rated products and avoid anything that can crack, off-gas, or fail under repeated firing.
Required Tools Checklist
Before you start building, gather the tools and materials that’ll let you work safely and accurately. You’ll need a tape measure, level, square, trowel, masonry saw, angle grinder, drill, mixing buckets, and a wheelbarrow or mortar tub.
Add gloves, safety glasses, hearing protection, a dust mask, and sturdy boots so you can work without injury. Keep a shovel, broom, and hose nearby for cleanup and curing.
Check your planning budget before renting specialized cutters or a concrete mixer. As you sort supplies, confirm brick counts, insulation, fasteners, and fire-rated mortar.
If you’re sourcing permits, keep your drawings and tool list organized so inspections go smoothly. A complete checklist saves time, reduces mistakes, and keeps your oven build moving efficiently.
Build the Base and Foundation
With the site marked and level, you can start building a solid base that will support the oven’s weight and keep it stable over time. Pour a reinforced concrete footing, then set concrete blocks or a framed stand on top, making sure every corner stays square and plumb. Compact the base well so it won’t shift under heat, rain, or frost.
- Use rebar and gravel to improve drainage and strength.
- Check for weatherproofing concerns by sealing joints and planning a slight overhang.
- Add insulation layers now to support fuel efficiency tips later by retaining heat better.
You should let the foundation cure fully before adding more weight. Keep the top surface flat and level, because small errors here can throw off the whole build. If you’re working on a deck or patio, confirm it can handle the load, or you’ll need to reinforce it first.
Shape the Oven Dome and Floor
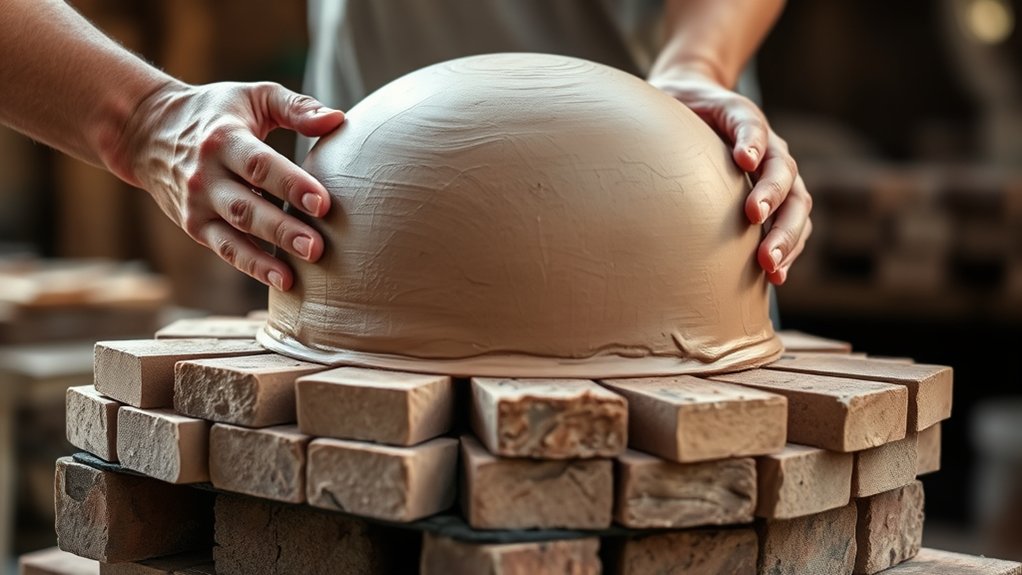
Lay the oven floor first, making sure the bricks sit level and tight on the base so heat spreads evenly. Next, build the dome form to guide the oven’s curve, then stack and shape the refractory material around it for a strong, rounded shell.
Finish by shaping the inner arch carefully so you get a snug opening that holds heat while still giving you easy access to the cooking chamber.
Lay The Oven Floor
Start by setting the oven floor on a level, stable base so the cooking surface stays flat and holds heat evenly. Dry-fit your firebrick or refractory tiles first, then mark any cuts with chalk so you can keep joints tight. Use idea1 and idea2 to plan the layout around the center point, leaving a small expansion gap at the edges.
- Check each brick with a level before you place it.
- Tap pieces gently with a rubber mallet to seat them.
- Sweep away grit so the floor stays smooth and fires cleanly.
Keep the surface flush, because uneven bricks can snag pizza peels and create hot spots. When you finish, inspect the entire floor for wobble, loose pieces, and gaps.
Build The Dome Form
Now you’ll build the dome form that defines the oven’s shape and supports the inner arch while you work. Set a sturdy sand or plywood template at the center of the floor, then check its radius against your oven plan.
Mark reference lines on the hearth so you can keep every brick course even. As you stack each ring, use a level and tape measure to confirm the curve stays true. Keep joints tight and stagger bricks to match your brick pattern considerations.
If you’re using a temporary support, brace it well so it won’t shift under weight. Pay attention to dome form aesthetics too, because a smooth, consistent curve improves heat circulation and gives your oven a clean, professional look.
Shape The Inner Arch
Shape the inner arch by cutting each brick to follow the curve of your oven opening, since this arch controls how well the door seals and how evenly the heat stays inside. You’ll want to dry-fit every piece before mortaring, checking the angle from both sides so the arch stays centered over the floor. Use these techniques:
- Mark a template on plywood and trace each brick.
- Trim slowly with a masonry saw to keep joints tight.
- Test the arch against the dome form for clean clearance.
Keep mortar joints thin and consistent, because gaps weaken heat retention and affect aesthetics. As you work, sight across the opening to confirm symmetry, then tap bricks gently into place. A true arch gives you strong support, better insulation, and a polished finish.
Add Insulation and Exterior Finish
Once the dome and base are complete, you can lock in the heat by adding insulation over the oven body. Wrap the dome with ceramic fiber blanket or another high-temp material, covering every curve and seam so heat stays inside longer.
If you want extra efficiency, mix in ideas about insulation such as a loose vermiculite or perlite layer over the blanket, but keep drainage in mind so moisture can escape. Secure the insulation with wire, mesh, or a thin scratch coat of mortar, then let it firm up before moving on.
For the exterior finish, apply a weather-resistant render, brick veneer, or stucco shell that matches your space and protects the insulation. Keep the finish thin enough to avoid trapping cracks, and leave the vent and opening clear.
Smooth the surface, patch gaps, and seal joints as needed. A well-built exterior finish gives your oven durability, insulation support, and a polished look.
Fire Up Your Oven for the First Time
Before you cook your first pizza, you need to cure the oven with a careful first firing. Start with a small, dry kindling fire near the center and keep the door open so moisture can escape. Let the heat rise slowly; rushing it can crack the dome or floor. Your goal is steady warmth, not high temperature.
- Build the first fire with thin sticks and a few small splits.
- Add fuel gradually every 30 to 45 minutes.
- Watch for steam, smoke, or popping sounds, then pause if needed.
Use a thermometer to track the floor and dome, and target a gentle increase over several hours. This is the best time to test draft, check for leaks, and observe how the oven holds heat. If you want a simple idea one, focus on patience; if you need idea two, record temperatures for later firings.
Once the oven cools completely, you’re ready for a hotter second firing.
Frequently Asked Questions
How Long Does a DIY Wood Fired Pizza Oven Usually Take to Build?
You’ll usually spend 2 to 8 weekends on a DIY build, depending on size, materials, and weather.
Plan extra time for curing and finish work, and don’t skip safety considerations like gloves, ventilation, and stable footing.
What Permits Are Required for a Backyard Wood Fired Pizza Oven?
You’ll usually need a building permit, and sometimes a fire or electrical permit; about 30% of U.S. areas require extra approvals.
Check your permits overview, zoning considerations, HOA rules, setbacks, and local smoke regulations before building.
How Much Does a DIY Wood Fired Pizza Oven Typically Cost?
You’ll usually spend $500 to $3,000 on materials, depending on size and finish. Your cost estimates should include brick, insulation, concrete, and tools.
Shorter build timelines often mean higher labor or prefabricated parts.
Which Wood Type Burns Best in a Pizza Oven?
Oak’s your anchor: choose best hardwoods like oak, maple, or ash with low moisture content.
You’ll get hotter, steadier flames, cleaner smoke, and better pizza. Skip softwoods; they pop, soot, and flavor your oven poorly.
How Do I Maintain and Clean My Wood Fired Pizza Oven?
You sweep out ash after each use, then scrub the floor and dome with a dry brush.
You’ll protect performance by maintaining ash levels and cleaning creosote buildup from the chimney regularly.
Conclusion
You’ve built more than a pizza oven—you’ve created a backyard centerpiece that can turn a simple meal into an unforgettable feast.
Now keep your first fires small and let the oven cure slowly, so the structure lasts and heats evenly. Check the venting, watch the temperature, and adjust as needed.
With each bake, you’ll get better results and more confidence. Before long, you’ll be pulling out pizzas so good they’ll make your neighbors swoon.
This is the true joy of a do it yourself wood fired pizza oven.