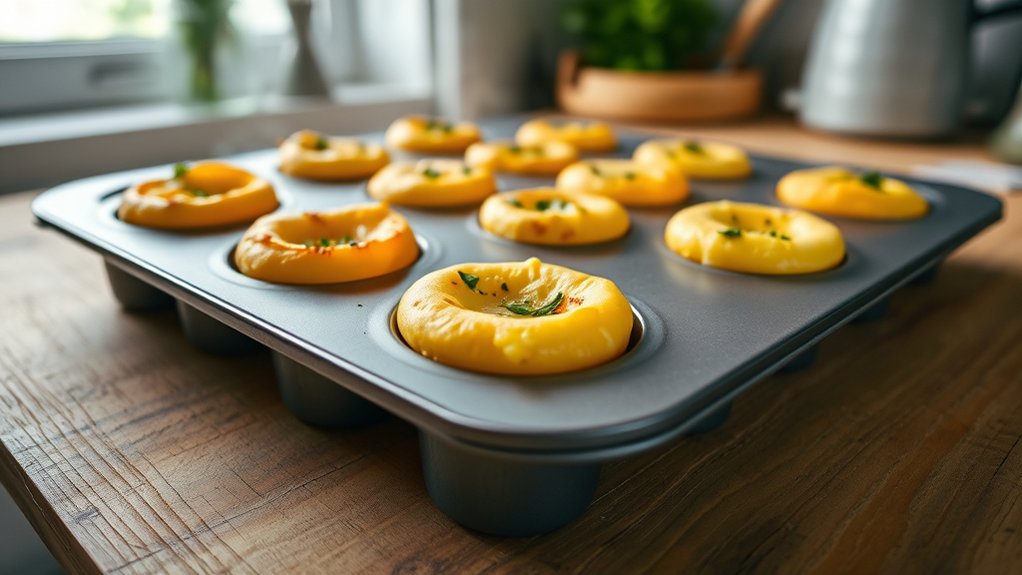
How to Make Egg Bites in Oven
You don’t need a fancy appliance to make tender egg bites in the oven at home. You whisk eggs with milk, salt, and pepper until smooth, then fold in finely chopped fillings.
Next, pour the mixture into greased muffin cups. Bake until the centers barely wobble, and you’ll get a soft, savory bite worth repeating.
A few small adjustments can turn one simple method into several delicious flavors.
Key Takeaways
- Whisk eggs with milk or cream, salt, and pepper until smooth and slightly foamy; strain for a silkier custard.
- Grease a muffin tin well, then add fillings like bacon, spinach, cheese, or mushrooms in small, evenly chopped pieces.
- Fill each cup about three-quarters full and tap the pan gently to level the mixture.
- Bake at 300–350°F until tops are matte, centers are barely set, and edges begin pulling from the cups.
- Rest 3–5 minutes, loosen with a knife, then cool, store, or reheat gently to keep them tender.
Ingredients for Oven-Baked Egg Bites

To make oven-baked egg bites, you’ll need a simple base of eggs, milk or cream, salt, and pepper, then a few flavorful add-ins to build texture and taste. You can whisk the eggs until smooth, then choose dairy that keeps the bites tender without making them heavy.
For filling, use cooked bacon, ham, spinach, mushrooms, bell peppers, onions, or shredded cheese. Each ingredient should serve a purpose: cheese adds richness, vegetables add moisture, and meat adds depth.
Aim for texture pairing by combining soft custard with crisp, chewy, or melty elements. Think about color balance too; bright peppers, green herbs, and golden cheese make the bites look vibrant and appetizing.
Keep your mix-ins finely chopped so they distribute evenly in each portion. If you want a cleaner flavor profile, choose just two or three add-ins and let the eggs stay front and center.
Grease and Prep Your Muffin Tin
Once your egg mixture and add-ins are ready, turn to the muffin tin so the bites release cleanly after baking. Coat each cup lightly with butter or nonstick spray, then trace the corners and curves with a pastry brush or paper towel for even coverage.
If you prefer extra insurance, cut parchment squares for the bottoms, but keep the sides greased so each bite lifts out without tearing. This small step protects shape and preserves a tidy finish, especially when you’re aiming for a polished cheese pairing with tender eggs and greens.
Fill the cups only after the pan’s surface feels slick, not wet, so the texture discussion stays focused on the final bite, not a stuck edge. Check for missed spots along the rim and in the center wells; those hidden dry patches can grab the custard and break the delicate dome.
Mix the Egg Base Until Smooth
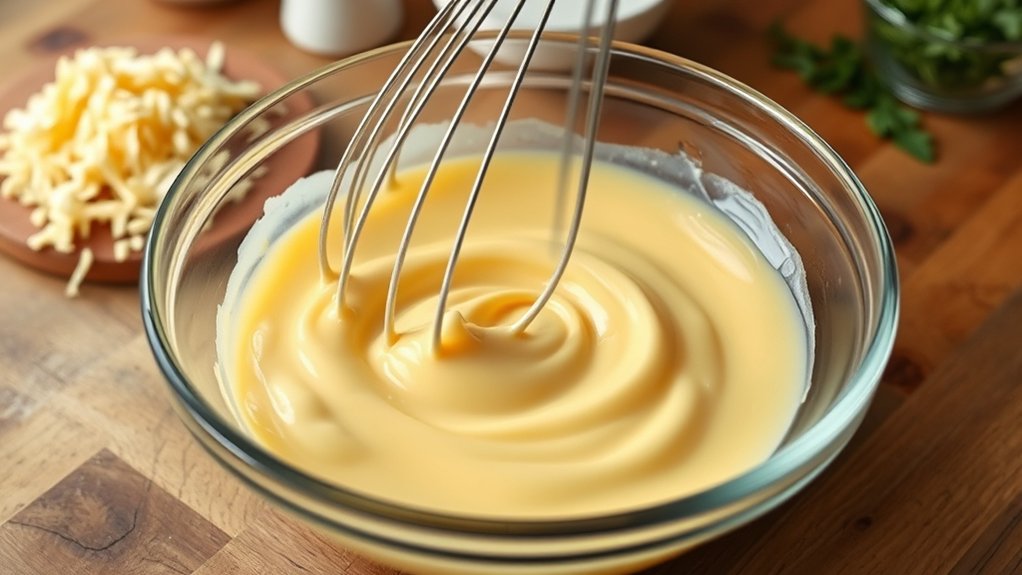
Whisk the eggs with your milk, salt, and seasonings until the mixture looks fully unified and lightly foamy.
If you want an extra-smooth custard, pour it through a fine-mesh strainer to catch any streaks or clumps. This simple step helps your egg bites bake up with a silky, even texture.
Whisk Until Fully Blended
A smooth egg base sets the stage for tender, uniform egg bites, so beat the eggs with the cottage cheese, milk, salt, and seasonings until the mixture looks completely even and slightly frothy. Keep your whisk moving in wide, steady circles, then sweep the edges and bottom of the bowl so every streak disappears.
Don’t chase whisking myths that promise extra air will fix weak flavor; balanced blending works better. You’re after texture secrets: a glossy base that pours like cream and carries seasoning through every bite.
If any pale ribbons remain, whisk a little longer, but stop before the mixture turns foamy and loose. That measured rhythm helps your egg bites bake up cohesive, delicate, and neatly structured in the oven.
Strain for Silky Texture
For an even silkier base, pour the blended egg mixture through a fine-mesh strainer into a clean bowl. This strain method catches chalazae, foam, and tiny curds, so you get a silky texture that bakes into tender, uniform egg bites. Press the mixture gently with a spatula; don’t force it through, or you’ll reintroduce bubbles.
| Step | Result |
|---|---|
| Strain once | Smooth base |
| Skim bubbles | Cleaner top |
If you spot streaks, strain again for insurance. You’re aiming for a custard-like liquid that flows like cream, not scrambled eggs. After straining, let it rest briefly, then pour it into prepared molds. That quiet pause helps the surface settle, giving your oven-baked egg bites a refined, delicate finish and a more polished bite.
Choose Your Egg Bite Fillings
Start by choosing fillings that add flavor without releasing too much moisture, so your egg bites stay tender instead of watery. Reach for cooked bacon, diced ham, sautéed spinach, roasted peppers, or shredded cheddar; each brings a distinct note and holds up well in the oven.
Choose flavorful, low-moisture fillings like bacon, ham, spinach, peppers, or cheddar to keep egg bites tender.
You can also use mushrooms, but cook them first so their liquid doesn’t thin the custard. For quick nutrition, add chopped kale, scallions, or crumbled feta for brightness and balance.
Keep pieces small and uniform so each bite tastes deliberate, not cluttered. Think like a designer: pair colors and textures for creative plating when you serve them, such as green herbs against golden eggs.
Season each filling lightly, since the egg base already carries salt and pepper. When you choose ingredients with restraint, you’ll build egg bites that feel polished, flavorful, and easy to repeat.
Fill the Muffin Cups Evenly
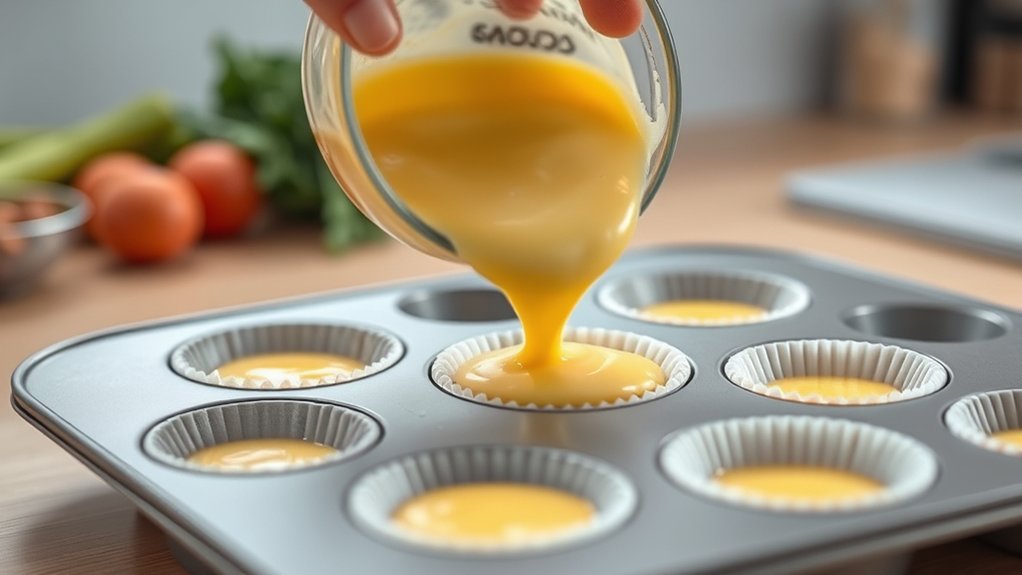
Now spoon the mixture into the muffin cups so each one fills evenly, about three-quarters full. Use a ladle or measuring cup to keep portions consistent, then adjust any cup that looks short or crowded. This method gives you balanced egg bites and supports clean topic ideas for future flavor combinations.
Work from one side of the pan to the other so you don’t double-fill. Stir the mixture gently between scoops if the fillings settle. Keep the pan close to you for better kitchen ergonomics and less spilling.
If a cup gets an extra mushroom or pepper, redistribute it before you move on. You want each cavity to hold the same volume, so the texture stays uniform and the presentation looks polished.
Tap the pan lightly on the counter to settle the contents without splashing. When you finish, inspect the tops; they should sit level, with fillings suspended evenly throughout.
Bake Until the Egg Bites Set
Bake the egg bites until the tops look just set and the centers lose their glossy sheen. You’ll know they’re close when a gentle jiggle shows only a slight wobble, not a liquid ripple.
Check them near the end of the bake so you can pull them out at the perfect moment.
Visual Set Check
Watch the egg bites closely as they bake, since the true sign of doneness is visual: the centers should look just set, with a slight wobble in the middle but no wet sheen. You’re reading the surface like a map, and that visual set tells you the custard has stabilized without overcooking.
Trust oven aesthetics too: a pale top, soft edges, and tidy domes signal balanced heat.
- Check for matte tops, not glossy pools.
- Look for edges that pull slightly from the cups.
- Notice an even rise without browning spikes.
When the color stays gentle and the structure looks composed, your egg bites are ready to leave the oven. Keep your eye steady, and let appearance guide you with precision.
Jiggle Test Timing
Give the pan a gentle nudge to check the jiggle: the centers should tremble slightly, like set custard, while the edges stay firm and the tops look dry. If the middle sloshes, keep baking in short bursts and watch the oven cues closely.
Your jiggle timing matters because egg bites finish fast once the heat penetrates the center. At this stage, the surface should look matte, not glossy, and a toothpick should meet only a faint sheen of moisture. Pull them when the wobble is limited to the core; carryover heat will finish the set as they rest.
This method keeps the texture silky, not rubbery, and helps you nail consistent oven-baked egg bites every time.
Check Doneness and Avoid Overbaking
How do you know when oven egg bites are done? Look for doneness cues: the centers should feel set, the tops should look matte, and a toothpick should come out mostly clean. You want a slight spring when you tap the pan, not a wet wobble.
Keep your eyes on the last few minutes, because overbaking risks turn silky bites rubbery and dry. If the edges puff, then just begin to pull away from the pan, your timing is usually right. Pull them when they still look barely tender in the middle; carryover heat finishes the job without scorching the texture.
- Check the center first, not just the surface.
- Stop baking at the first sign of firm set.
- Trust a gentle jiggle over a stiff one.
Use these cues like a compass, and you’ll protect moisture, texture, and flavor every time.
Cool and Remove the Egg Bites
Once the egg bites are done, let them rest in the pan for 3 to 5 minutes so they can set up and release cleanly. During this cooling rest, the centers firm slightly and the edges pull away from the pan, which makes handling easier.
Then run a thin knife or offset spatula around each bite with a gentle, deliberate sweep. Use this removal technique to break any sticky seal without tearing the delicate sides. Lift each piece from the mold from the base, not the top, so you keep the shape intact.
If a bite resists, pause for another minute rather than forcing it. You want a clean release, not a crumble. Set the egg bites on a plate or rack and let them finish cooling until they’re warm, tender, and easy to handle. This final pause keeps their texture smooth and their appearance neat.
Store and Reheat Egg Bites
Once your egg bites cool, you can store them in an airtight container in the fridge for up to 4 days or freeze them for longer keeping.
When you’re ready to eat, reheat them gently in the microwave or oven so they stay tender and don’t dry out. A quick, careful warm-up brings back their soft texture and clean flavor.
Storing Egg Bites
Wondering how to keep egg bites fresh? Cool them completely, then pack them in an airtight container before they go into the fridge. If you’re storing eggs in bite form, separate layers with parchment so they don’t cling together.
Label the container with the date and keep it chilled for up to four days. For longer storage, freeze them individually on a tray, then transfer them to a sealed bag.
Follow basic reheating guidelines later, but for now, focus on protection from air and moisture.
Use shallow containers for faster chilling. Keep portions separated for easy grab-and-go use. Remove excess condensation before sealing.
Reheating Egg Bites
When you’re ready to eat your stored egg bites, reheat them gently so they stay soft and creamy instead of rubbery. Set them on a microwave-safe plate, cover with a damp paper towel, and warm in 20-second bursts until just heated through.
If you prefer a steadier texture, use a 300°F oven for 8 to 10 minutes, loosely wrapped in foil. This method protects moisture and fits neatly into your kitchen workflow. For a crisp edge, uncover them for the last minute.
Check the center before serving; egg bites should feel hot, not blistering. Your cook’s motivation matters here: careful reheating preserves flavor, saves time, and keeps tomorrow’s breakfast as satisfying as the first.
Easy Egg Bite Flavor Variations
- Fold in chopped spinach, feta, and dill for a fresh, savory bite.
- Add cooked bacon, cheddar, and scallions for a classic breakfast version.
- Mix mushrooms, thyme, and Swiss cheese for an earthy, balanced option.
Keep fillings dry and finely chopped so your egg bites set neatly. Rotate one flavor change at a time, and you’ll quickly learn which combinations you like best.
Frequently Asked Questions
Can I Make Egg Bites Without a Muffin Tin?
Yes, you can! You can bake egg bites in mini muffin cups or use ramekins. Silicone vs metal pans matters: silicone releases easier, metal browns faster.
Grease well, fill shallowly, and bake until just set.
What Oven Temperature Works Best for Silicone Molds?
350°F usually works best for silicone molds; think of them as flexible sails in a warm oven sea.
You’ll get reliable silicone mold compatibility, even cooking, and tender egg bites without scorching.
How Do I Keep Egg Bites From Sticking to Paper Liners?
You’ll prevent sticking by greasing liners lightly, using parchment instead of paper, and cooling bites briefly before lifting. For egg safety, bake until set; ingredient substitutions like dairy-free fillings shouldn’t change release if you coat liners.
Can I Freeze Egg Bites After Baking?
Yes you can freeze egg bites after baking. About 80% of meal preppers do: cool them, wrap tightly, freeze, then reheat.
You’ll keep texture better if you freeze egg bites after baking within two hours.
Are Egg Bites Safe for Toddlers to Eat?
Yes, egg bites are safe for toddlers if you cook them fully, cool them, and cut them small. You’ll boost toddlers’ nutrition by using low-salt ingredients, avoiding choking hazards, and checking for allergies.
Conclusion
When you bake egg bites, you’re tending tiny lanterns in a warm oven, each cup a small chamber of possibility. Keep the batter smooth, the fillings modest, and the heat gentle, and you’ll pull out bites that are tender, not tough.
Let them rest before you release them, so they can keep their shape and story. Then store them well, and when morning comes, you’ll have ready-made comfort that shines again.
With these steps, making egg bites in oven ensures you enjoy a delicious and convenient breakfast anytime.