How to Bake Pizza in Oven
Most home ovens cap out around 500–550°F, and that heat can make or break your pizza when baking pizza in oven. You’ll want to preheat fully, use a hot baking stone or steel, and work with dough that stretches cleanly without tearing.
The real difference comes from how you handle the toppings and transfer, because one small mistake can leave you with a pale crust instead of the pie you wanted.
Key Takeaways
- Preheat the oven to 500–550°F with a stone or steel inside for at least 30 minutes.
- Use well-fermented, supple dough and shape it gently to keep a thicker rim.
- Add a thin layer of sauce, light cheese, and toppings in an even, balanced layer.
- Launch the pizza onto the hot surface in one smooth motion, then close the oven door quickly.
- Bake until the crust is deeply golden and the cheese bubbles, rotating once for even cooking.
Preheat the Oven for Pizza
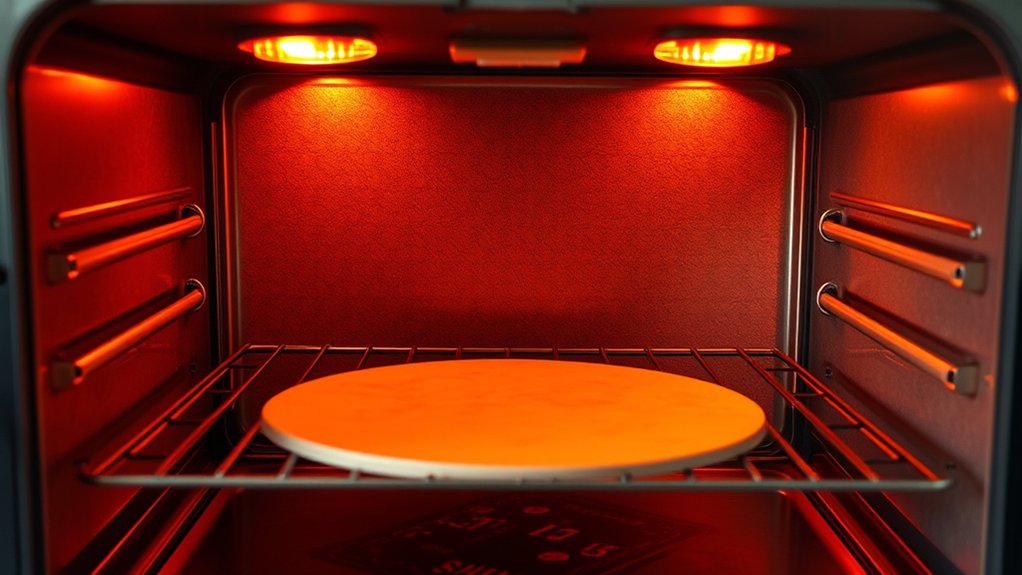
To get the best pizza, you’ll need a fully preheated oven before the dough goes in. Set your oven to its highest safe setting, usually 500°F to 550°F, and let it run long enough for the chamber, rack, and stone or steel to absorb heat evenly. If you rush this step, the pizza dough won’t spring properly, and the crust can bake pale or limp.
Fully preheat your oven so the stone or steel stores enough heat for a crisp, well-browned pizza crust.
Place your baking surface on the middle or lower-middle rack so heat can circulate beneath the pie. Close the door and resist opening it; every drop in temperature slows browning and weakens oven spring.
For a crisp, well-colored crust, give the preheat at least 30 minutes, and longer if you’re using a thick stone or steel.
You’re aiming for stored, radiant heat that mimics a professional deck oven, so treat the preheat as essential, not optional, before you launch the pizza.
Choose the Best Pizza Dough
Now that your oven’s fully heated, the dough you choose will decide how well that heat turns into a great pizza. Choose a dough that matches your oven’s power and your style: a lean, high-gluten dough gives you structure, chew, and good oven spring; a softer dough can bake up tender, but it needs careful handling.
Pay attention to dough hydration, because wetter doughs often brown faster and make a lighter crumb, while lower hydration doughs are easier to manage and can stay a bit denser. For balanced results, look for dough that’s fully fermented and has strong gluten development, since that gives you elasticity and better gas retention in the oven.
If you’re using store-bought dough, check that it’s chilled, fresh, and not overproofed. If you make your own, aim for a dough that feels supple, resilient, and lightly tacky, not sticky or slack. The right dough sets up every other step for success.
Shape the Dough Without Tearing
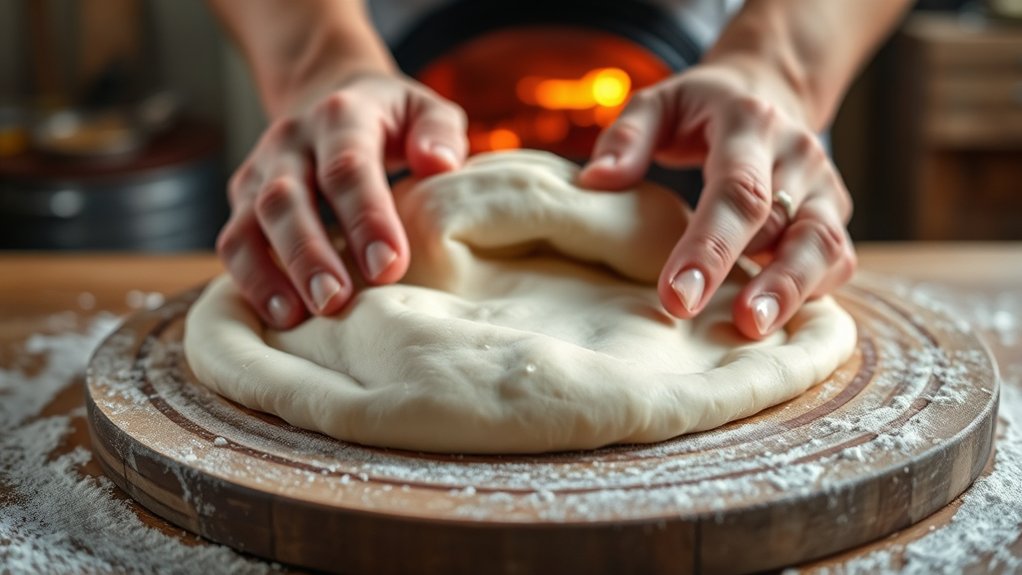
Dust your work surface lightly and turn the dough out gently, keeping the smooth side intact so you don’t deflate it. Let the dough relax for a minute, then press from the center outward with your fingertips, leaving a slightly thicker rim.
Dust the surface lightly, keep the dough’s smooth side intact, and press outward gently, leaving a slightly thicker rim.
For effective dough shaping, use controlled pressure and rotate the round often so the gluten stretches evenly instead of resisting in one spot. If the dough springs back, pause and let it rest again; forcing it only increases tension and raises the risk of tearing.
Keep your hands lightly floured, but don’t overload the dough with flour, which can dry the surface and weaken seam areas. For tearing prevention, support the dough with both hands and lift it briefly over your knuckles to stretch it gradually.
Stop as soon as you reach the desired size and thickness. A properly shaped dough should feel supple, elastic, and even, ready for the next step.
Add Sauce, Cheese, and Toppings
Spread a thin, even layer of sauce over the dough, leaving a small border for the crust. Then scatter cheese uniformly so it melts cleanly and covers the surface without clumping.
Add toppings in the right order, starting with items that need direct heat and finishing with delicate ingredients.
Sauce Layering Basics
Start by brushing a thin layer of sauce over the dough, leaving a small border uncovered so the crust can rise and brown cleanly. Keep your sauce layering even and restrained; too much moisture weakens the base and dulls the bake. Use a spoon to spread from the center outward, then stop when the surface looks lightly coated, not pooled.
Aim for tomato balance: the sauce should taste bright and concentrated, with enough acidity to support the dough without overpowering it. If your sauce seems thin, reduce it first rather than adding more. Season it before it goes on, since heat will sharpen salt and herbs.
Once you’ve built that controlled foundation, the pizza bakes more evenly and the crust stays crisp, fragrant, and structurally sound.
Cheese Distribution Tips
For cheese, aim for even coverage with a light hand so every bite melts cleanly without smothering the sauce. You should scatter shredded cheese in a thin, consistent blanket, letting a little sauce remain visible for balance and browning.
Prioritize cheese layering by starting with a modest base of mozzarella, then add any stronger cheeses sparingly so they don’t dominate the melt. Keep cheese distribution uniform to prevent dry spots and heavy centers that slide during baking.
If you use fresh or high-moisture cheese, pat it dry first and place it in small, deliberate clusters. Leave the edge slightly lighter than the center if you want a better crust rise.
This controlled approach helps the pizza bake evenly, slice cleanly, and taste balanced throughout.
Topping Placement Order
Once your cheese is evenly set, build the pizza in a deliberate order so the crust bakes properly and the toppings stay balanced. Spread sauce in a thin, even layer, stopping short of the edge to preserve a crisp rim.
Add cheese next if you’re layering beneath toppings, or reserve it for the top if you want stronger browning and hold. Use your topping placement to match density with bake timing: put moist vegetables and raw meats in smaller amounts, then finish with herbs, olives, or cured meats after baking if needed.
Keep heavy ingredients spaced apart so steam can escape and the center doesn’t turn soggy. Watch the surface closely; correct placement helps the pizza bake evenly and slice cleanly.
Transfer the Pizza to a Baking Surface
Choose your baking surface now, whether it’s a preheated pizza stone, steel, or an inverted sheet pan, so you can get strong bottom heat. Preheat it thoroughly in the oven to make the transfer smoother and reduce sticking.
Then use a peel or rimless baking sheet to slide the assembled pizza onto the hot surface in one clean motion.
Choose Your Baking Surface
Lift your stretched pizza dough onto the baking surface that best suits your method: a preheated pizza stone, steel, inverted sheet pan, or rimmed baking sheet. You’ll get the best heat transfer from stone or steel, which helps the underside set quickly and supports crisp edges.
A steel browns faster, while stone gives slightly gentler heat and can improve texture contrast between a tender center and a firmer rim. An inverted sheet pan works well if you don’t have specialty gear, though it usually delivers less intensity.
Keep the dough centered and avoid overhandling so you don’t tear the skin. Once topped, the dough should slide cleanly and hold its shape, releasing a faint crust aroma as it begins to bake.
Preheat For Easy Transfer
Preheat your oven and baking surface fully before you launch the pizza, so the dough hits intense heat and releases cleanly on contact. Set the oven rack height to the level that lets your stone or steel sit close enough to radiate strong bottom heat without crowding the top element.
Give the surface ample time to stabilize; preheat consistency matters more than a short burst of heat. If you rush this step, the dough can cling and the crust won’t set fast enough. Keep the oven closed while it preheats, and wait until the surface is thoroughly charged, not just the air.
A properly heated surface gives you quick oven spring, crisp edges, and the confidence to move fast when you’re ready to bake.
Slide Pizza Onto Surface
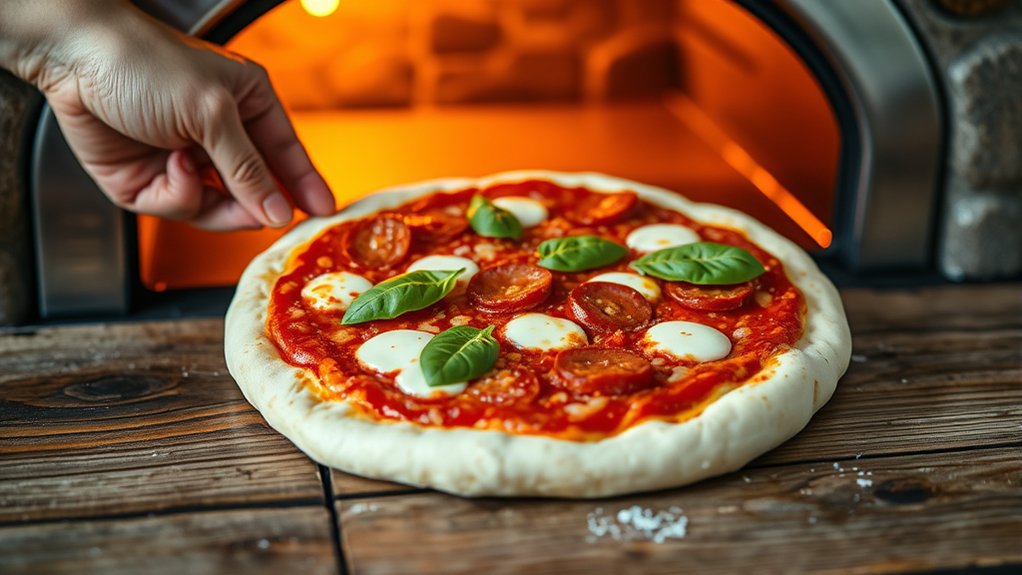
Once the oven and stone or steel are fully hot, work quickly: give the pizza peel a light dusting of flour or semolina, set the stretched dough on it, and add toppings without weighing it down. Keep the rim clean so the dough releases cleanly when you launch.
Use a confident forward-then-back motion to let the pizza glide onto the surface. If it sticks, lift the edge and add a touch more semolina.
- Shake the peel before launch.
- Aim for the center of the hot surface.
- Slide in one smooth motion.
- Close the door fast to preserve heat.
This two word idea keeps transfer controlled, while the second two word idea helps you avoid tearing, uneven shaping, and lost topping.
Bake Until the Crust Is Golden
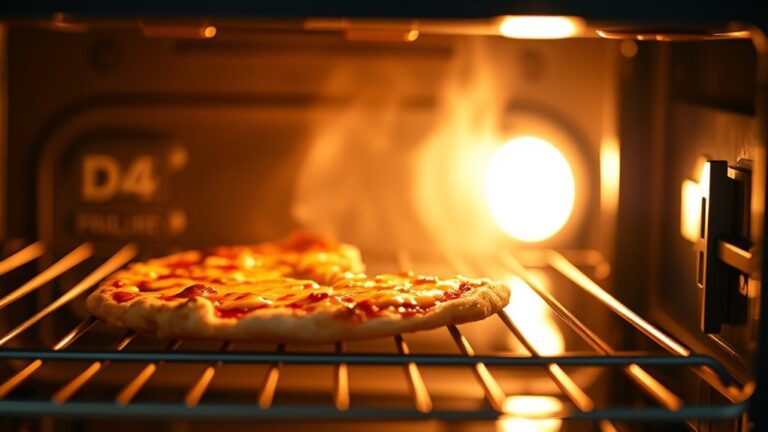
Bake the pizza until the crust turns deeply golden and the cheese bubbles with light browning on top. You’re looking for a firm, well-set edge that lifts cleanly and a center that cooks through without drying out.
Bake until the crust is deeply golden and the cheese bubbles with light browning on top.
Your dough hydration affects this stage: wetter doughs often need a slightly longer bake to drive off excess moisture, while lower-hydration doughs may finish sooner. Watch the surface closely during the final minutes and use bake timing as your guide, not the clock alone.
The best signal is color: the underside should be crisp, the rim should show even browning, and the toppings should look settled, not wet. When the crust reaches that rich golden tone, remove the pizza promptly so it doesn’t cross into overbaked territory.
Let it rest briefly before slicing; this helps the crumb set and keeps the structure intact.
Rotate the Pizza for Even Baking
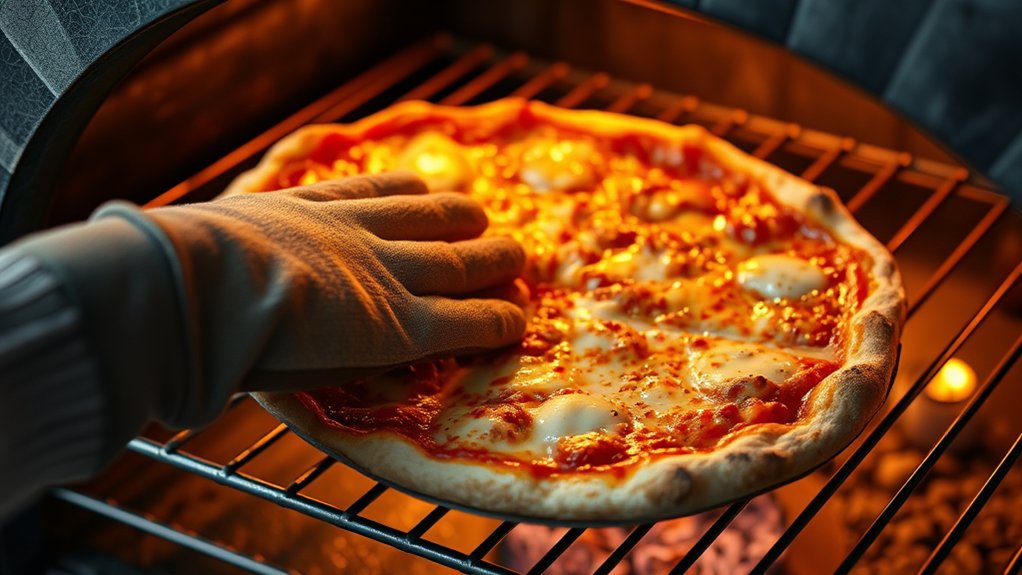
About halfway through baking, rotate the pizza so it cooks evenly from edge to edge. Open the oven quickly, turn the pan or stone 180 degrees, and return it with minimal heat loss. This simple move corrects hot spots, especially when you’ve used alternate crust thickness across pies or shaped one side a little fuller than the other.
- Keep a peel or sturdy spatula ready before you open the door.
- Turn the pizza in one confident motion, not a slow shuffle.
- If the dough stuck, note whether oil vs. flour dusting changed how easily it released.
- Use the same rotation timing for each pizza so you can judge your oven’s behavior.
You’re aiming for balanced browning, steady rise, and uniform bake color. By rotating at the midpoint, you give the rim and center equal exposure, which helps the crust finish with professional consistency.
Check for a Crisp Crust and Melted Cheese
Check the crust color at the edge and underside; you want a deep golden brown with no pale spots. Then test the cheese melt: it should be fully bubbled, glossy, and just beginning to spot with light browning.
When both look right, your pizza’s ready to come out.
Crust Color Check
How do you know when your pizza is ready? You check crust color and bake timing with a chef’s eye. The rim should turn golden brown to deep amber, with a few darker freckles that signal strong oven heat.
Aim for even color across the base, not pale dough or burnt edges. If the center still looks soft and the underside feels dull, give it another minute or two.
- Look for a bronzed edge.
- Check the base for light char.
- Confirm the whole crust looks set.
- Trust the bake timing, then remove it promptly.
A properly colored crust gives you crispness, flavor, and structure. Once it reaches that ideal shade, slide it out before it overbakes and dries.
Cheese Melt Test
When should you pull a pizza from the oven? Test the cheese: it should bubble fully, look glossy, and just begin to spot gold. Lift the edge with a spatula and tap the bottom; you want a crisp crust that resists soft spots.
If the center still looks pale, give it another minute. Track crust thickness, because a thick pie needs more time than a thin one. Watch for this finish:
| Signal | Ideal Look | Action |
|---|---|---|
| Cheese | Melted, bubbling | Pull soon |
| Crust | Deeply browned | Ready |
| Cheese stretch | Long, elastic | Serve now |
A clean cheese stretch and firm base mean you’ve hit the sweet spot.
Add Fresh Toppings and Seasoning
Now that your crust is baked and the cheese has melted, finish the pizza with fresh toppings that add brightness and contrast. Use fresh toppings sparingly so they enhance, not overload, the pie. You want a clean seasoning balance that supports the sauce, cheese, and crust.
- Scatter basil, arugula, or baby spinach for a peppery, herbal lift.
- Add thin tomato slices, olives, or roasted peppers for acidity and depth.
- Finish with shaved Parmesan, chili flakes, or cracked black pepper for measured bite.
- Drizzle a little extra-virgin olive oil or balsamic glaze to round out the flavors.
Keep moisture in check: pat wet toppings dry, and place delicate greens after baking so they stay crisp. Taste as you build, and adjust seasoning balance with a light pinch of salt if needed. The goal is contrast, freshness, and precision in every slice.
Slice and Serve Pizza Hot
A hot pizza cuts cleanly and tastes best right away, so move it to a cutting board and slice it with a sharp knife or pizza cutter before the cheese sets fully. Use confident pressure and clean passes so the crust stays crisp and the toppings don’t drag.
For slice evaluating, check that each cut reaches the center and the base holds without tearing; if the cheese pulls, let the pie rest 30 seconds, then finish the cut. Manage serve timing carefully: plate the first slices immediately, while steam still carries aroma and the mozzarella stays supple.
If you’re serving a group, transfer slices to warmed plates or a pizza peel lined with parchment to preserve heat. Offer finishing salt, chili oil, or grated cheese only after slicing, so you don’t cool the surface. Serve at once for the best texture, balance, and flavor.
Frequently Asked Questions
What Type of Oven Stone Works Best for Homemade Pizza?
Cordierite stone usually works best; you’ll get strong heat retention and crack resistance. Among stone options, it tolerates high bake temps well, crisps pizza quickly, and handles repeated use better than cheaper ceramic choices.
Can I Use Gluten-Free Flour for Pizza Dough?
Yes, you can use gluten free flour for pizza dough, but you’ll need to adjust hydration and binders for pizza dough compatibility.
You’ll get better structure with xanthan gum, tapioca starch, and careful resting.
How Do I Prevent Pizza From Sticking to the Peel?
Dust your peel lightly with semolina or rice flour; that simple coincidence of dry dough and cool surface can save you. Use quick peel technique, keep stickiness prevention tight, and try flour alternatives for baking tips.
Should I Use Parchment Paper When Baking Pizza?
Yes, you can use parchment paper for easier transfer, but it won’t crisp as well at high heat.
For better results, use a lightly floured peel or nonstick foil, then slide the pizza directly onto the stone.
Can I Freeze Leftover Pizza Dough for Later Use?
Yes, you can freeze dough, like storing a future harvest in winter. Wrap it tightly, then freeze dough promptly.
For thawing tips, thaw it overnight in the fridge; you’ll preserve texture and yeast vitality beautifully.
Conclusion
Now you know how to bake pizza in your oven with confidence. Preheat it fully, shape the dough gently, add a light hand with sauce and toppings, and slide the pizza onto a hot baking surface.
Keep the heat steady, rotate if needed, and bake until the crust is crisp and the cheese is bubbling. Finish with fresh toppings, then slice and serve right away.
Follow these steps, and you’ll hit the nail on the head every time when you bake pizza in your oven.