How to Use a Dutch Oven
A Dutch oven is a versatile kitchen essential with a warm heart: once you choose the right size, you can move from stovetop to oven with ease.
You preheat it gently, then use it to sauté, brown, bake bread, or braise meat low and slow.
Keep the lid on when moisture matters, and handle cleanup carefully so it stays ready for the next meal—because one small misstep can change everything.
Key Takeaways
- Choose a heavy cast iron or enameled Dutch oven with a tight lid and the right size for your recipe.
- Preheat it slowly on low to medium heat, or in the oven, to avoid cracking, warping, or scorching.
- Use it for braises, soups, stews, searing, and bread baking, keeping the lid on to trap moisture.
- Avoid overcrowding the pot, and reduce the liquid at the end to concentrate flavor before serving.
- Clean it gently, dry it completely, and store it dry to protect the finish and prevent rust or chips.
What Is a Dutch Oven?
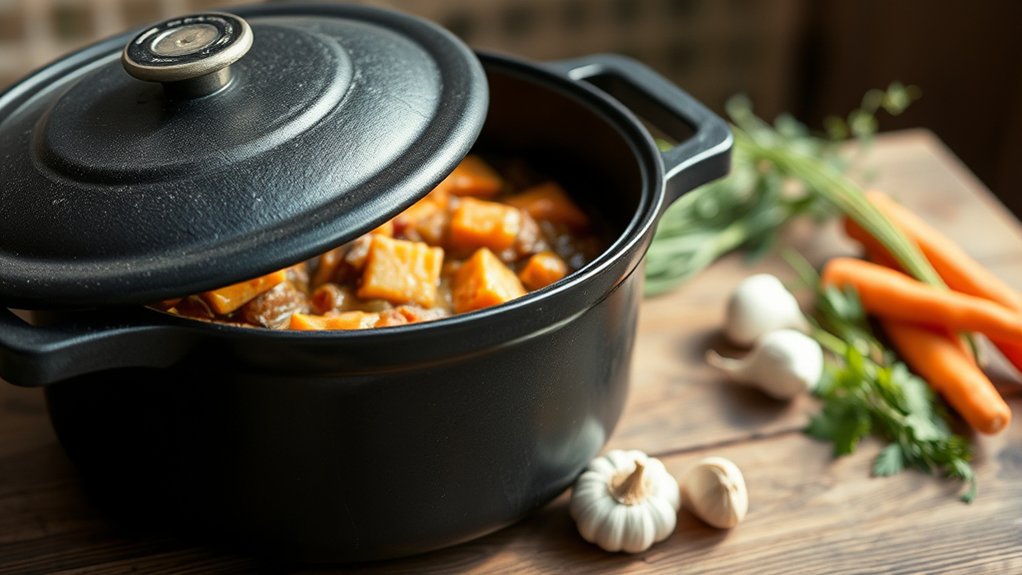
A Dutch oven is a heavy, thick-walled cooking pot, usually made of cast iron or enameled cast iron, that holds heat evenly and retains it well. If you’re asking what is a Dutch oven, think of it as a versatile, stovetop-to-oven vessel built for steady, controlled cooking.
In dutch oven 101, you should know its thick walls and tight lid help trap moisture, which makes braises, soups, stews, and breads come out consistently. It also delivers reliable heat for searing and simmering.
Durability facts matter: cast iron models can last decades with proper care, while enameled versions resist rust and simplify cleanup. Don’t fall for seasoning myths that claim every Dutch oven needs constant oiling; only bare cast iron requires seasoning, and even then, maintenance is straightforward.
Once you understand the basics, you’ll use the pot more confidently and get better results from everyday cooking.
Choose the Right Dutch Oven
Choose a Dutch oven made from durable cast iron or enameled cast iron, since both hold heat well and stand up to frequent use.
You’ll also want to match the size to what you cook most often, whether that’s a small batch of soup or a large loaf of bread. Pick the right material and capacity, and you’ll get better results with less effort.
Material and Durability
What should you look for in a Dutch oven’s material and durability? Choose heavy cast iron or enameled cast iron, because both hold heat well and resist warping under repeated use.
Inspect the finish for even coating, smooth edges, and a tight-fitting lid; these details signal strong material durability and better long-term performance. If you want easier cleanup, select enamel that won’t chip easily and check the manufacturer’s guidance on nonstick safety, especially if the oven includes a slick interior coating.
You should also verify that the handles feel solid and the base sits flat. A well-made Dutch oven will tolerate searing, simmering, and oven baking without cracking, rusting, or flaking, so you can cook confidently for years.
Size and Capacity
How much food do you usually cook at once? Choose your Dutch oven size by matching it to your typical batch. For solo meals or side dishes, a 2- to 4-quart pot works well.
For soups, braises, and family dinners, a 5- to 7-quart model gives you better room for stirring and simmering. Keep size considerations tied to burner fit and oven clearance.
Don’t ignore capacity limits; overfilling reduces browning and can cause spills.
| Use case | Suggested size |
|---|---|
| 1–2 servings | 2–4 qt |
| 3–5 servings | 5–6 qt |
| Large batches | 7+ qt |
If you’re unsure, choose a slightly larger pot. You’ll control cooking better and avoid crowding ingredients.
Do You Need to Season It?
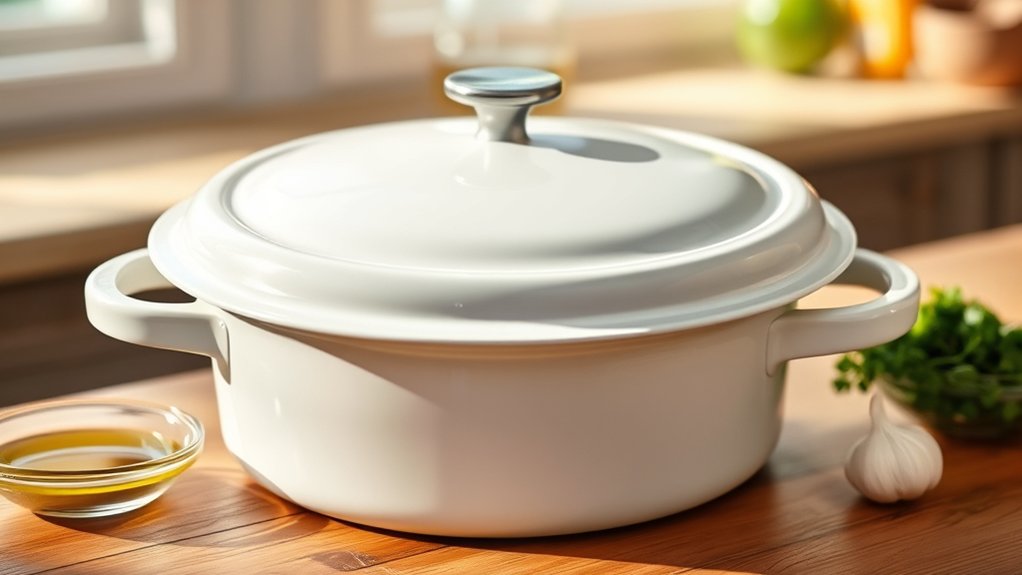
If your Dutch oven is cast iron, you should season it to build a protective, nonstick layer and prevent rust. Many new Dutch ovens come factory pre-seasoned, so you can often use them right away after a quick wash and dry.
Check the manufacturer’s instructions first, then season only if the finish needs it.
Seasoning Cast Iron
Seasoning creates the protective, nonstick layer that helps a cast iron Dutch oven perform well and resist rust, so you should do it before or after you use one for the first time. You’ll also improve care and maintenance by refreshing that coating whenever food starts sticking or moisture lingers.
For seasoning cast iron, use this simple routine:
- Wash, dry, and warm the pot fully.
- Apply a thin film of oil inside and out.
- Bake it upside down until the surface looks dry and dark.
Repeat this process as needed, especially after harsh cleaning or long storage. Keep your Dutch oven lightly oiled, store it dry, and avoid soaking it. With regular seasoning, you’ll preserve the cooking surface and extend the life of your Dutch oven.
Factory Pre-Seasoning
Many Dutch ovens come with a factory-applied seasoning layer, which gives you a usable cooking surface right away. You usually don’t need to fully re-season it before first use, but you should inspect the coating.
If the factory pre-seasoning looks even and smooth, wash the pot with warm water, dry it completely, and start cooking. If you see bare spots, dull patches, or sticky residue, add a thin coat of oil and bake it once to strengthen the surface.
Treat it like unseasoned cast iron only if the finish is missing or damaged. Avoid harsh soap, long soaking, and metal scrubbing, because they can strip the layer. With normal care, your Dutch oven’s seasoning will improve every time you cook.
Preheat It Safely
Before you heat a Dutch oven, make sure it’s dry, empty, and set on a stable burner or rack. Begin with low to medium heat so the metal warms evenly and you can control heat distribution.
Choose safe material choices such as cast iron or enameled cast iron, since they handle gradual preheating well and resist warping. Never shock the pot with high heat or sudden temperature changes.
- Set the burner to low and let the Dutch oven warm for several minutes.
- Check the handles and lid, then use dry mitts if you need to adjust it.
- Increase heat only as needed, watching for smoke, hot spots, or uneven warming.
If you use an oven, preheat both the oven and the pot slowly to protect the finish. Keep the lid nearby, but don’t seal moisture in during preheating. A careful start gives you steadier performance and safer cooking.
Make Stovetop One-Pot Meals
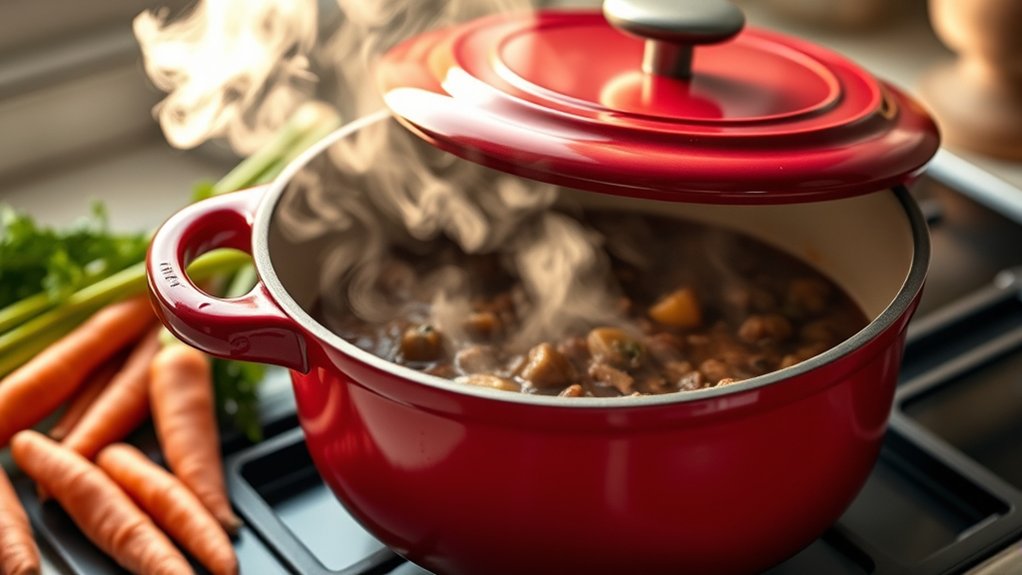
Once your Dutch oven is warmed, you can use it to build complete stovetop meals with excellent heat retention and even cooking. Start by sautéing aromatics in a thin layer of oil, then add protein and vegetables in batches so you don’t crowd the pot. Stir often, scrape up browned bits, and add liquid only as needed to create steady simmering.
You can make soups, stews, rice dishes, chili, and braised legumes with consistent results. Keep the lid on between checks to hold moisture and temperature. Use tasting tests near the end of cooking to adjust salt, acid, and seasoning before serving.
Choose ingredients with budget considerations in mind: inexpensive cuts, dried beans, grains, and seasonal produce work especially well in one pot. If the mixture thickens too fast, lower the heat and add small amounts of broth or water. Clean up stays simple because you cook, finish, and serve from one vessel.
Bake Bread in a Dutch Oven
To bake bread in a Dutch oven, preheat the pot and lid in the oven so the loaf hits a hot surface and gets strong oven spring. Mix, proof, and shape your dough, then transfer it to parchment for easy lifting. Score the top with a sharp blade so steam can escape and the loaf expands cleanly.
Preheat the Dutch oven well, then score the dough so it bakes with bold oven spring.
- Heat thoroughly: Keep the Dutch oven hot before loading the dough.
- Cover first: Bake with the lid on to trap steam and improve oven spring.
- Finish uncovered: Remove the lid near the end to deepen the bread crust.
Watch the loaf closely during the final minutes; a rich brown color signals readiness. Lift it out carefully, then cool it on a rack so the crumb sets and the crust stays crisp. With steady heat and proper timing, your Dutch oven gives you bakery-style bread at home.
Braise Meat Low and Slow
How do you turn tough cuts into tender, flavorful meat? Start by searing the meat in your Dutch oven over medium-high heat, then build depth with aromatics and liquid. Use braise techniques that keep the pot at a gentle simmer, not a boil, so collagen breaks down steadily.
Add enough stock, wine, or tomatoes to reach about one-third up the meat, then cover tightly and cook low and slow in the oven. Check every hour and turn the meat once for even cooking.
| Cut | Liquid | Time |
|---|---|---|
| Chuck roast | Beef stock | 3-4 hours |
| Short ribs | Red wine | 2.5-3.5 hours |
| Pork shoulder | Apple cider | 3-4 hours |
| Lamb shanks | Stock | 2.5-3 hours |
As the meat softens, the pot develops slow cooked sauces that concentrate flavor. Finish by reducing the liquid briefly before serving.
Clean and Store Your Dutch Oven
After the stew or braise is served, let your Dutch oven cool slightly before you clean it. Wash it with warm water, a soft sponge, and a small amount of mild soap if needed. Use cleaning techniques that protect the finish: loosen stuck bits with a wooden or silicone tool, then rinse thoroughly.
Dry the pot completely with a towel, and set it over low heat for a few minutes to remove hidden moisture. If your Dutch oven has enamel, avoid abrasive pads that can dull the surface. For bare cast iron, apply a thin film of oil after drying to maintain the seasoning.
- Remove food residue gently.
- Dry every surface fully.
- Choose storage methods that prevent chips and rust.
Store your Dutch oven with the lid slightly ajar so air can circulate. Place a paper towel inside to absorb humidity, and keep it in a dry cabinet away from heavy items.
Avoid Common Dutch Oven Mistakes
One of the easiest ways to ruin a Dutch oven is to treat it like a thin skillet. You shouldn’t blast it over maximum heat, shock it with cold water, or preheat it empty for too long. These are mistakes to avoid because they can warp metal, crack enamel, and strip seasoning.
Use medium heat first, then add fat or liquid before the pot gets too hot. Stir with wood, silicone, or nylon tools to prevent scratches. Don’t stack heavy pans inside it unless you protect the finish.
If you cook acidic foods, keep the simmer controlled and don’t let them sit for hours in unseasoned cast iron. Dry it thoroughly after washing, then oil the surface lightly if needed.
Watch for common pitfalls like overfilling, overcrowding food, and lifting a hot lid without mitts. Handle it steadily, and your Dutch oven will perform safely and consistently for years.
Frequently Asked Questions
Can I Use a Dutch Oven on Induction Cooktops?
Yes, you can use a Dutch oven on induction cooktops if it has induction compatibility. Check the base material for strong heat conductivity, and you’ll get even heating.
Cast iron usually works best.
What Size Dutch Oven Is Best for Sourdough Loaves?
You’ll usually want a 5- to 6-quart dutch oven for sourdough loaves; it gives you enough space for oven spring. If you bake larger boules, choose 7 quarts. Think crisp edges, steady heat.
Can Dutch Ovens Go in a Campfire?
Yes, you can put a Dutch oven in a campfire, but do it carefully. In Dutch oven camping, you’ll want heavy gloves and controlled campfire heat, or you’ll cook dinner and scorch the pot!
How Do I Choose Between Cast Iron and Enameled Cast Iron?
Choose cast iron for maximum cast iron durability, better heat retention, and campfire use.
Choose enameled cast iron if you want easier enamel finish care, no seasoning, and gentler cooking with acidic foods.
Are Dutch Ovens Safe for Dishwasher Cleaning?
Usually, no: only some enameled Dutch ovens are dishwasher safe, and manufacturers report handwashing extends lifespan by 30%.
You should check dishwasher safety guidance, then use gentle cleaning methods to protect seasoning, enamel, and handles.
Conclusion
Now you know how to use a Dutch oven with confidence. Choose the right size, heat it gently, and let it do the heavy lifting for soups, bread, and braises.
You might think it’s just a heavy pot, but that weight is what gives you steady heat and better results. Keep the lid on, watch the temperature, and clean it well after use.
Do that, and your Dutch oven’ll become one of your most reliable kitchen tools. Mastering how to use a Dutch oven will elevate your cooking and make it an essential part of your kitchen.